
The Sessions tab provides an overview of all scheduled Sessions so far. The columns in your list view contain Fields that have been added to your Template. You can add/remove columns from this list view as preferred. You can also search for specific Sessions by using search Filters combined with Template Fields. Create custom views of your data and include any column-configuration and filters applied, to suit your workflows.
In this article you will learn how to:
- Create and configure basic information about your Event
- Set up a basic Template with Fields
- Add Filters to find specific Sessions
- Save and load views
Create and configure basic information about your Event
To help attendees find your Event and gain necessary information for it, you can configure the information added to your Event. You can modify Event details like the Title, Description Timezone etc as often as required.
To configure the basic information added to your Event:
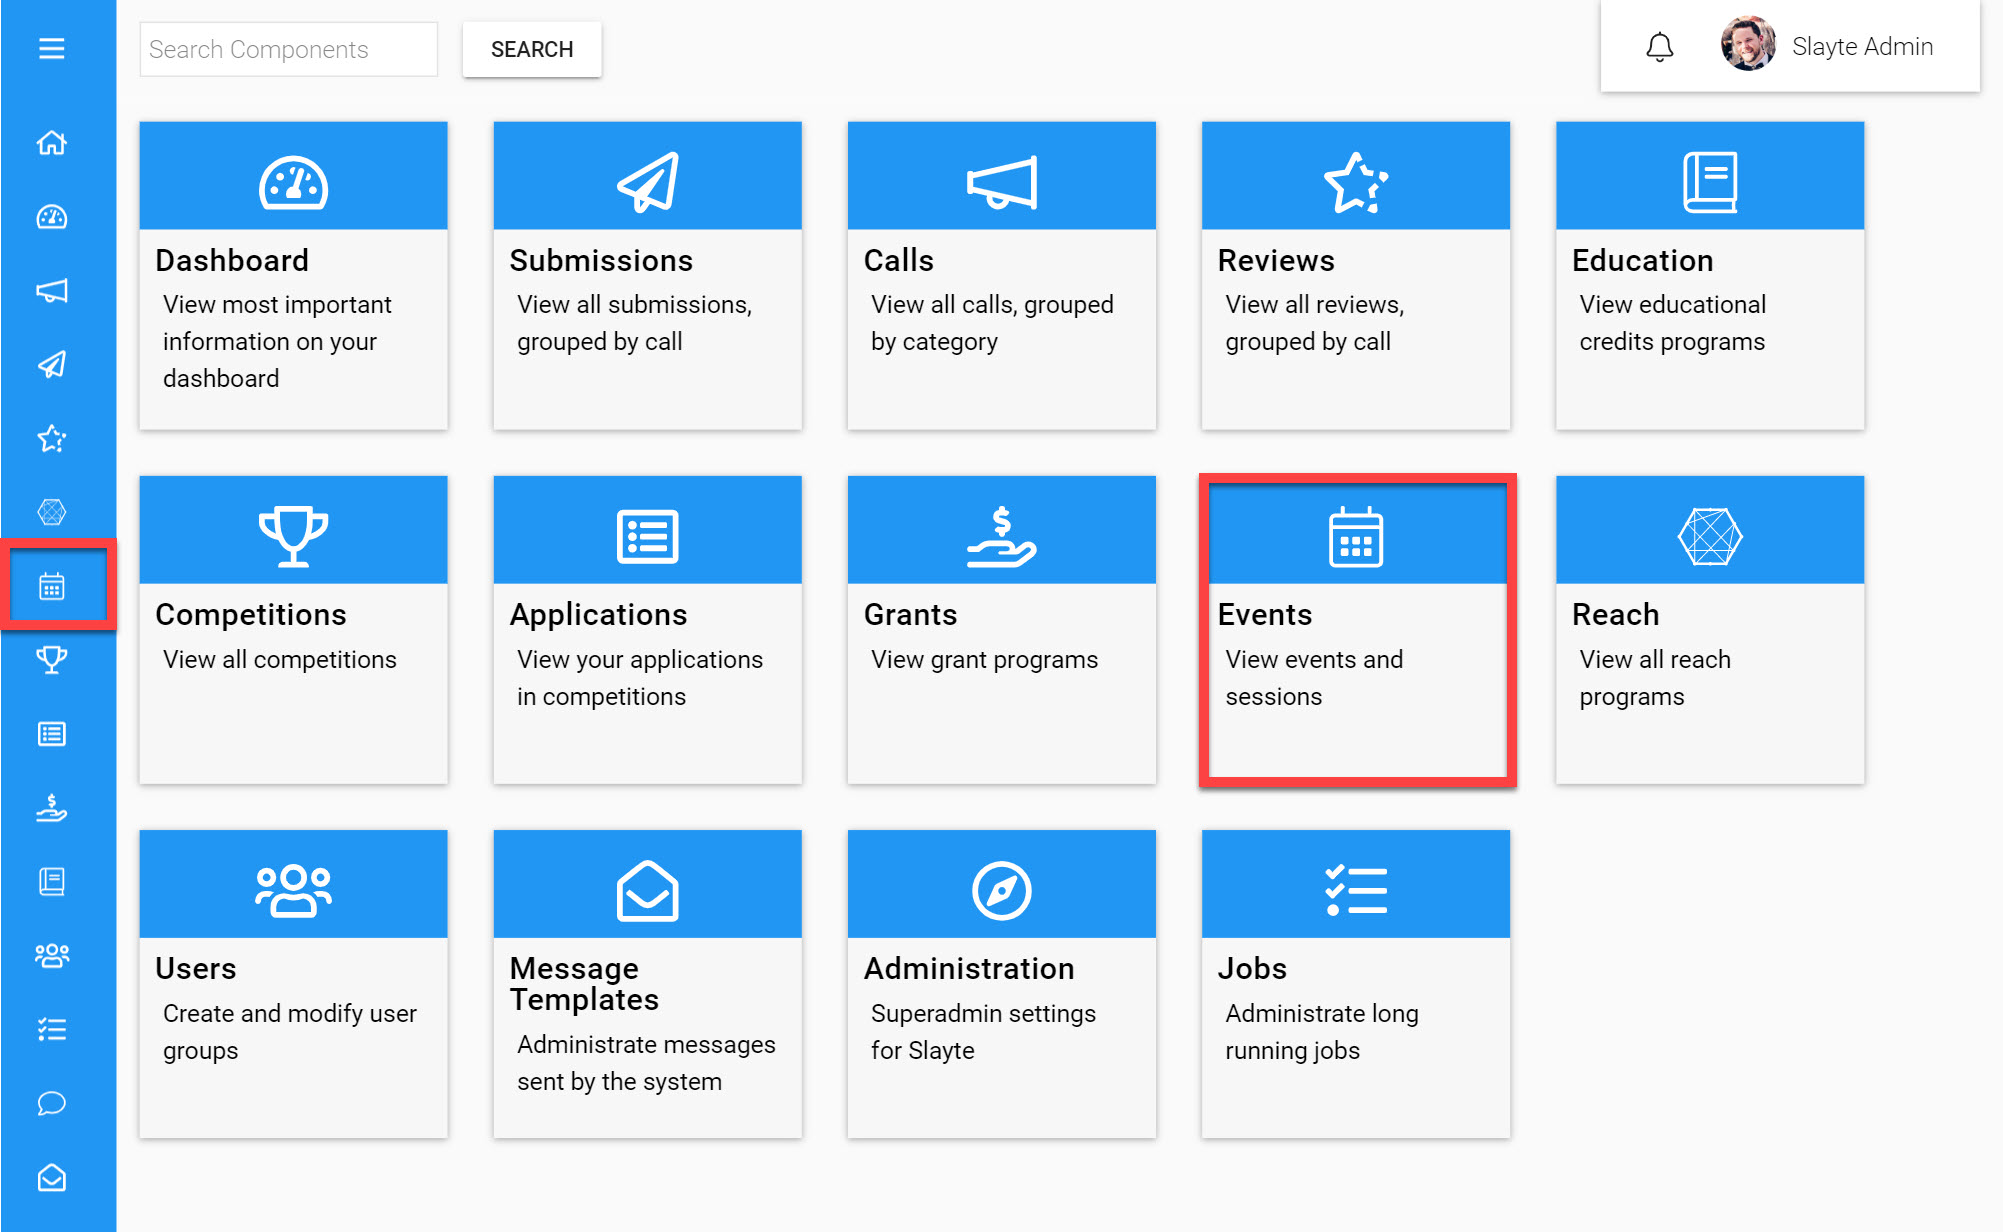
Go to the Homepage and click on the Events icon
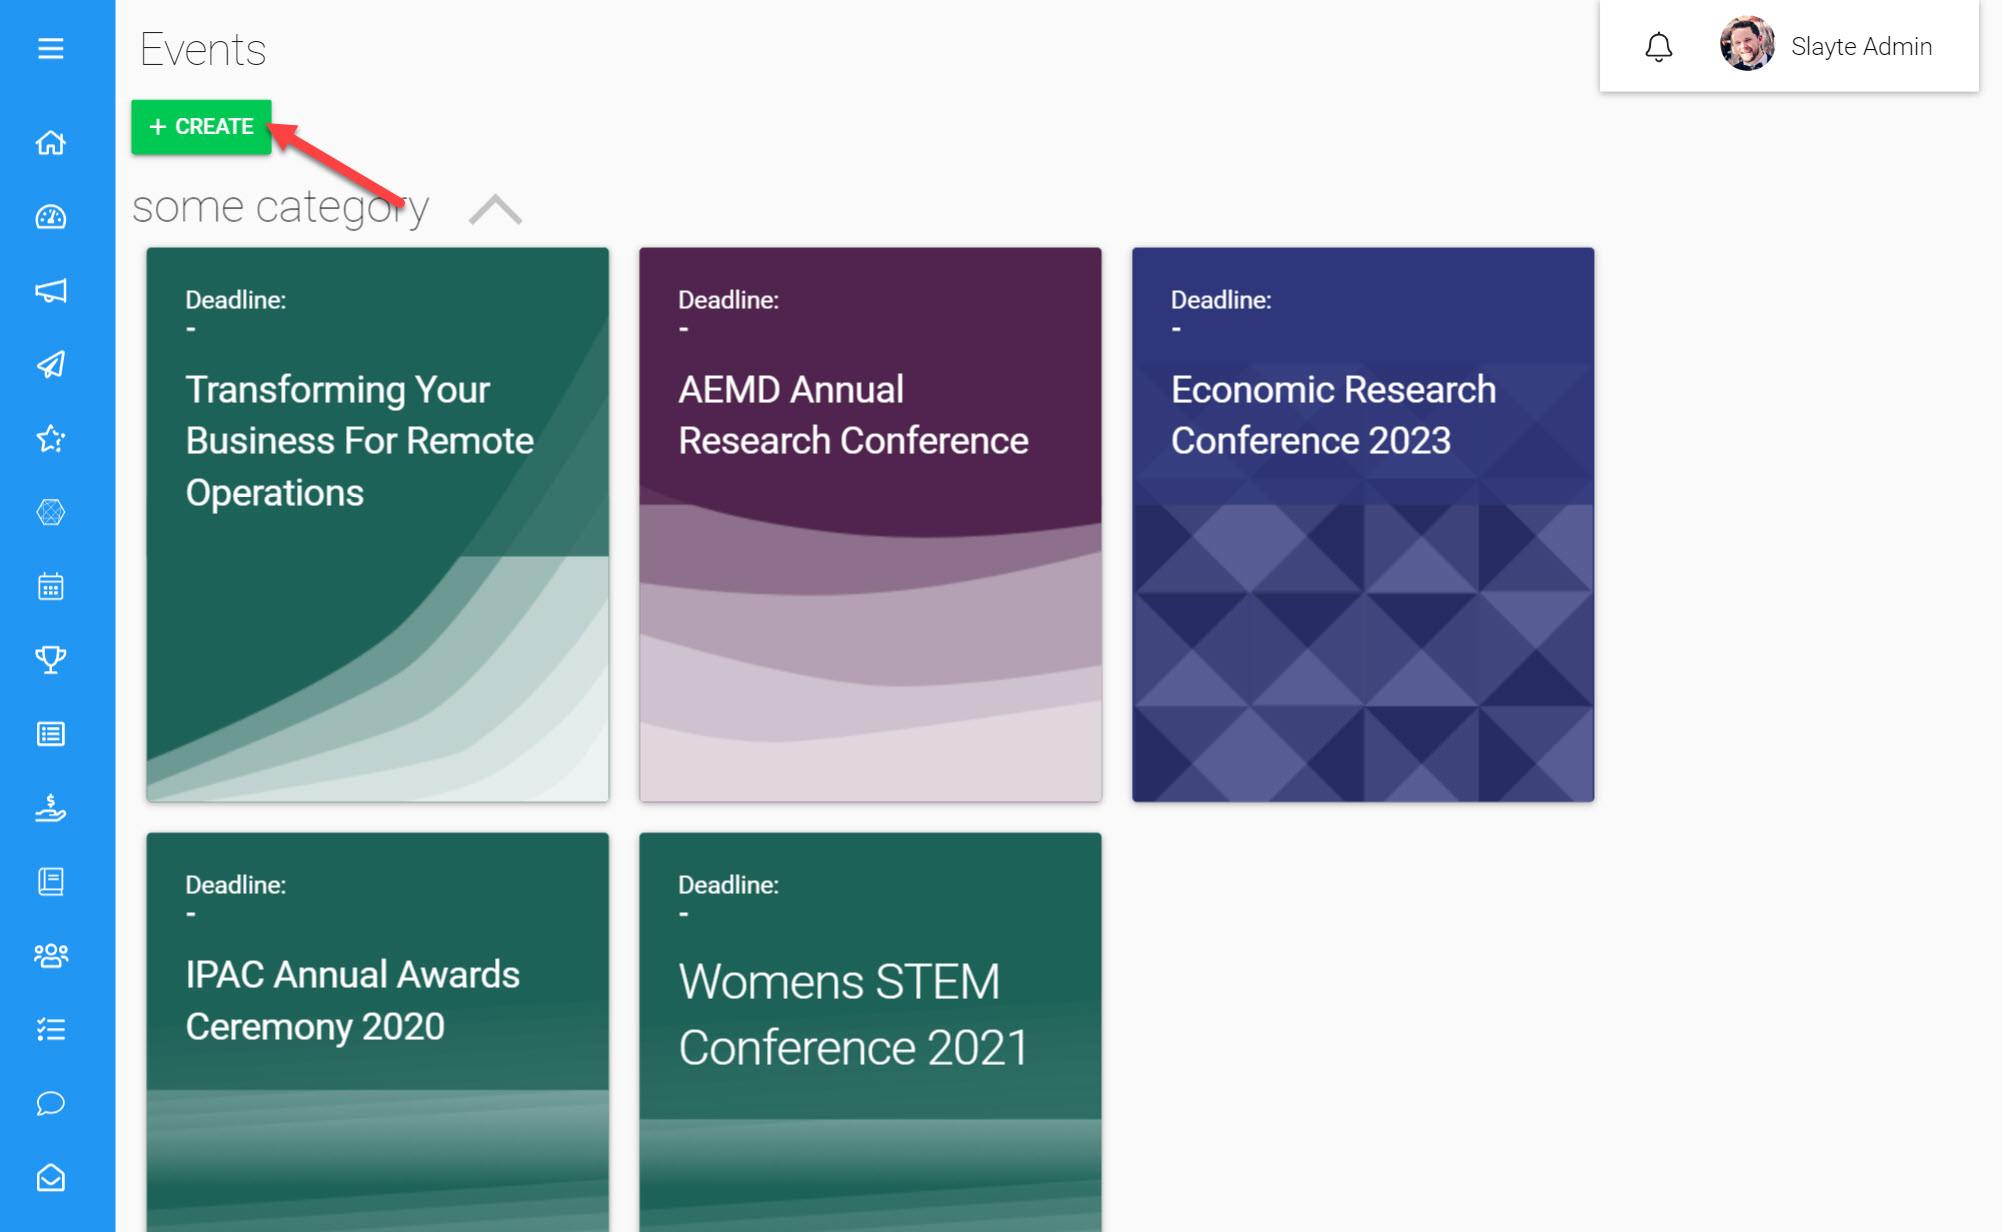
Click Create on the top-left
Click on the Settings icon next to Unnamed Event
Add a Name for your Event
A Name should be a short title for your Event that will help attendees distinguish it.
- Add a Description for your Event
You can add any Event specific details that will provide your attendees with more information such as Event Dates, Keynote Speakers, Venue Directions etc.
- Choose an Event Timezone
All session dates and times will be dependent on the Timezone selected here.
Set up a basic Template with Fields
Event Templates are a list of ordered variables that help distinguish each session such as Titles, Speakers, Tracks, Descriptions etc. These are fully customizable and will only be visible to Admins.
Screenshot
Each Field will have a Label, Field Type and configuration options as shown in the example below.
Screenshot
Both Templates and Fields can be re-used across different Events. Any changes made to a template will be immediately reflected in all Events that use that Template.
*Tip: If you plan to host multiple Events that are very similar, you can re-use previously created Event Fields so long as the Field names do not need to be changed between Events.
Most commonly we do not recommend re-using Templates and instead recommend using one Template per Event. To save time when creating new Templates, we recommend re-using Fields rather than reusing Templates as a whole.
Good examples of Fields to re-use are ones that will not need to be changed often such as a Title Field. Bad examples of Fields to re-use are ones that will be unique to each event, e.g. Rooms (as these are likely to be related to the Venue that might change between events). Changes made to re-used Fields will immediately affect all other Events and Templates that include these Fields.
Most customers use a template like below:
Create screenshot with:
- Click Edit Template
Create example with:
Title: Single line text
- Description: Multi line text
- Room / Zoom meeting: Dropdown or single line text
- Track: Dropdown (e.g. Track A, Track B, Track C)
- Type: Dropdown (e.g. Poster, Classroom, Keynote, Panel)
- Speakers: User Search (consider enabling multiple speakers)
- Click Save Template
To delete an Event you can click the red Delete Event button at the bottom of the page.
- Click Save on the bottom of the page
You have now successfully configured your event Settings.
Add Filters to find specific Sessions
Filtering is a handy feature that allows you to search for specific Sessions using search criteria of your choice. The search criteria will need to be linked to a specific Field you have added to your Template (e.g. Track).
To use a search Filter:
Go to the Sessions tab
- Click Add Filter
- Choose the Field you would like to Filter by
- Select/Type in a search term
- Click Apply Filter
Save and load views
The Sessions List View can be modified, reordered and saved for later use. Once you are pleased with the list format you can save your current view by clicking Save View on the left-hand side of the page. The saved view will include any Filters or column sorting added. Whichever filter was last loaded/saved on your Sessions list will be used the next time the Session list is loaded.
Screenshot
