Session Fields are the different variables that distinguish each Session in your Event, e.g.
Session Name, Speaker, Track etc. These are used to build an Events Template that will help to decide which information is collected on each Session.
In this article we will discuss:
- How to add Fields to your Sessions Template
- Which Fields you can add to your Template
How to add Fields to your Sessions Template
Adding Fields to your Events Template allows you to control which information on each Session should be collected. If you would like to create a completely new Event and Template, you should refer to this article.
Let’s take a quick look at how to add new Fields to an existing template:
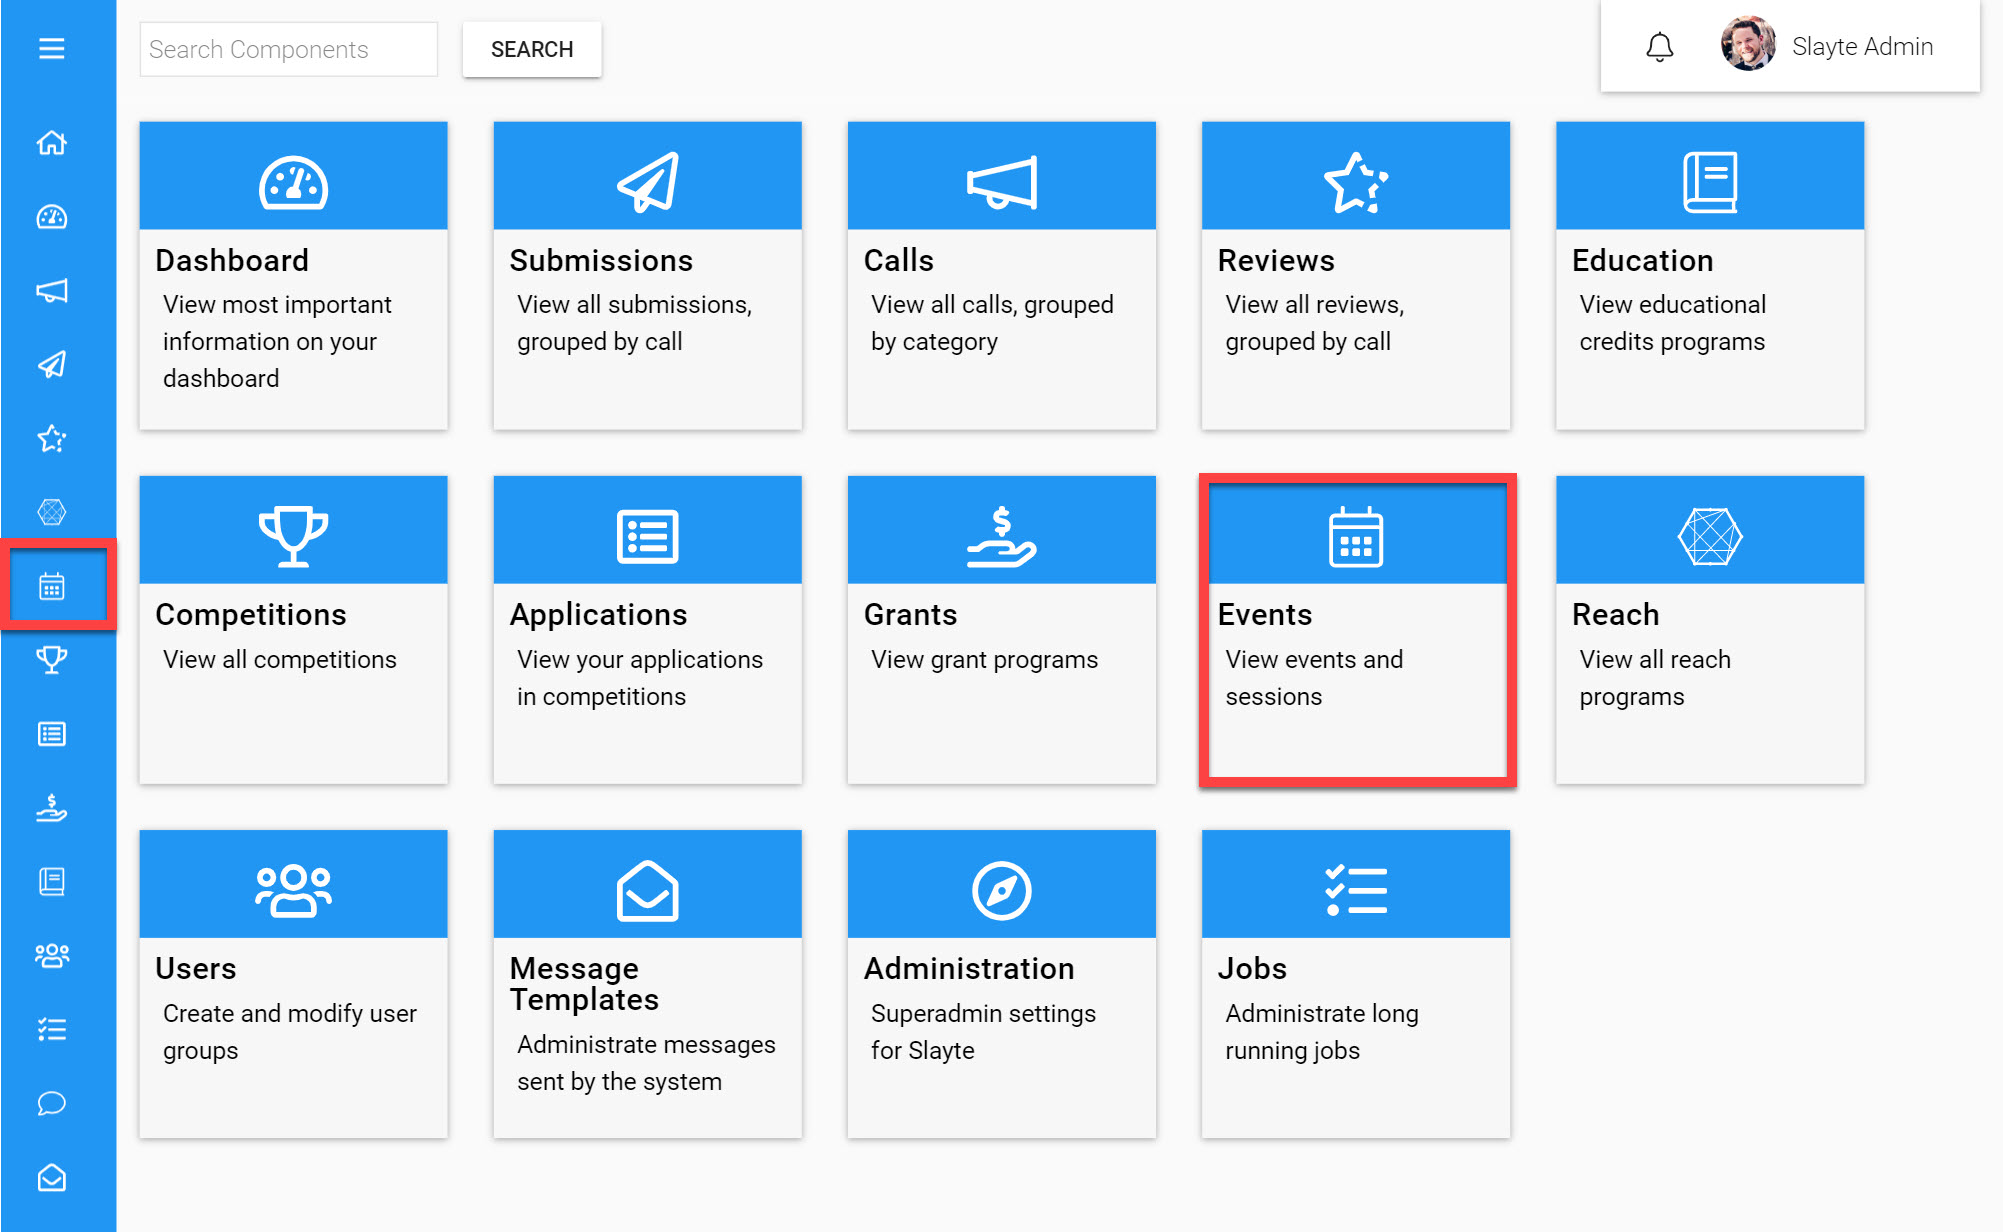
Go to the Homepage and click on the Events icon
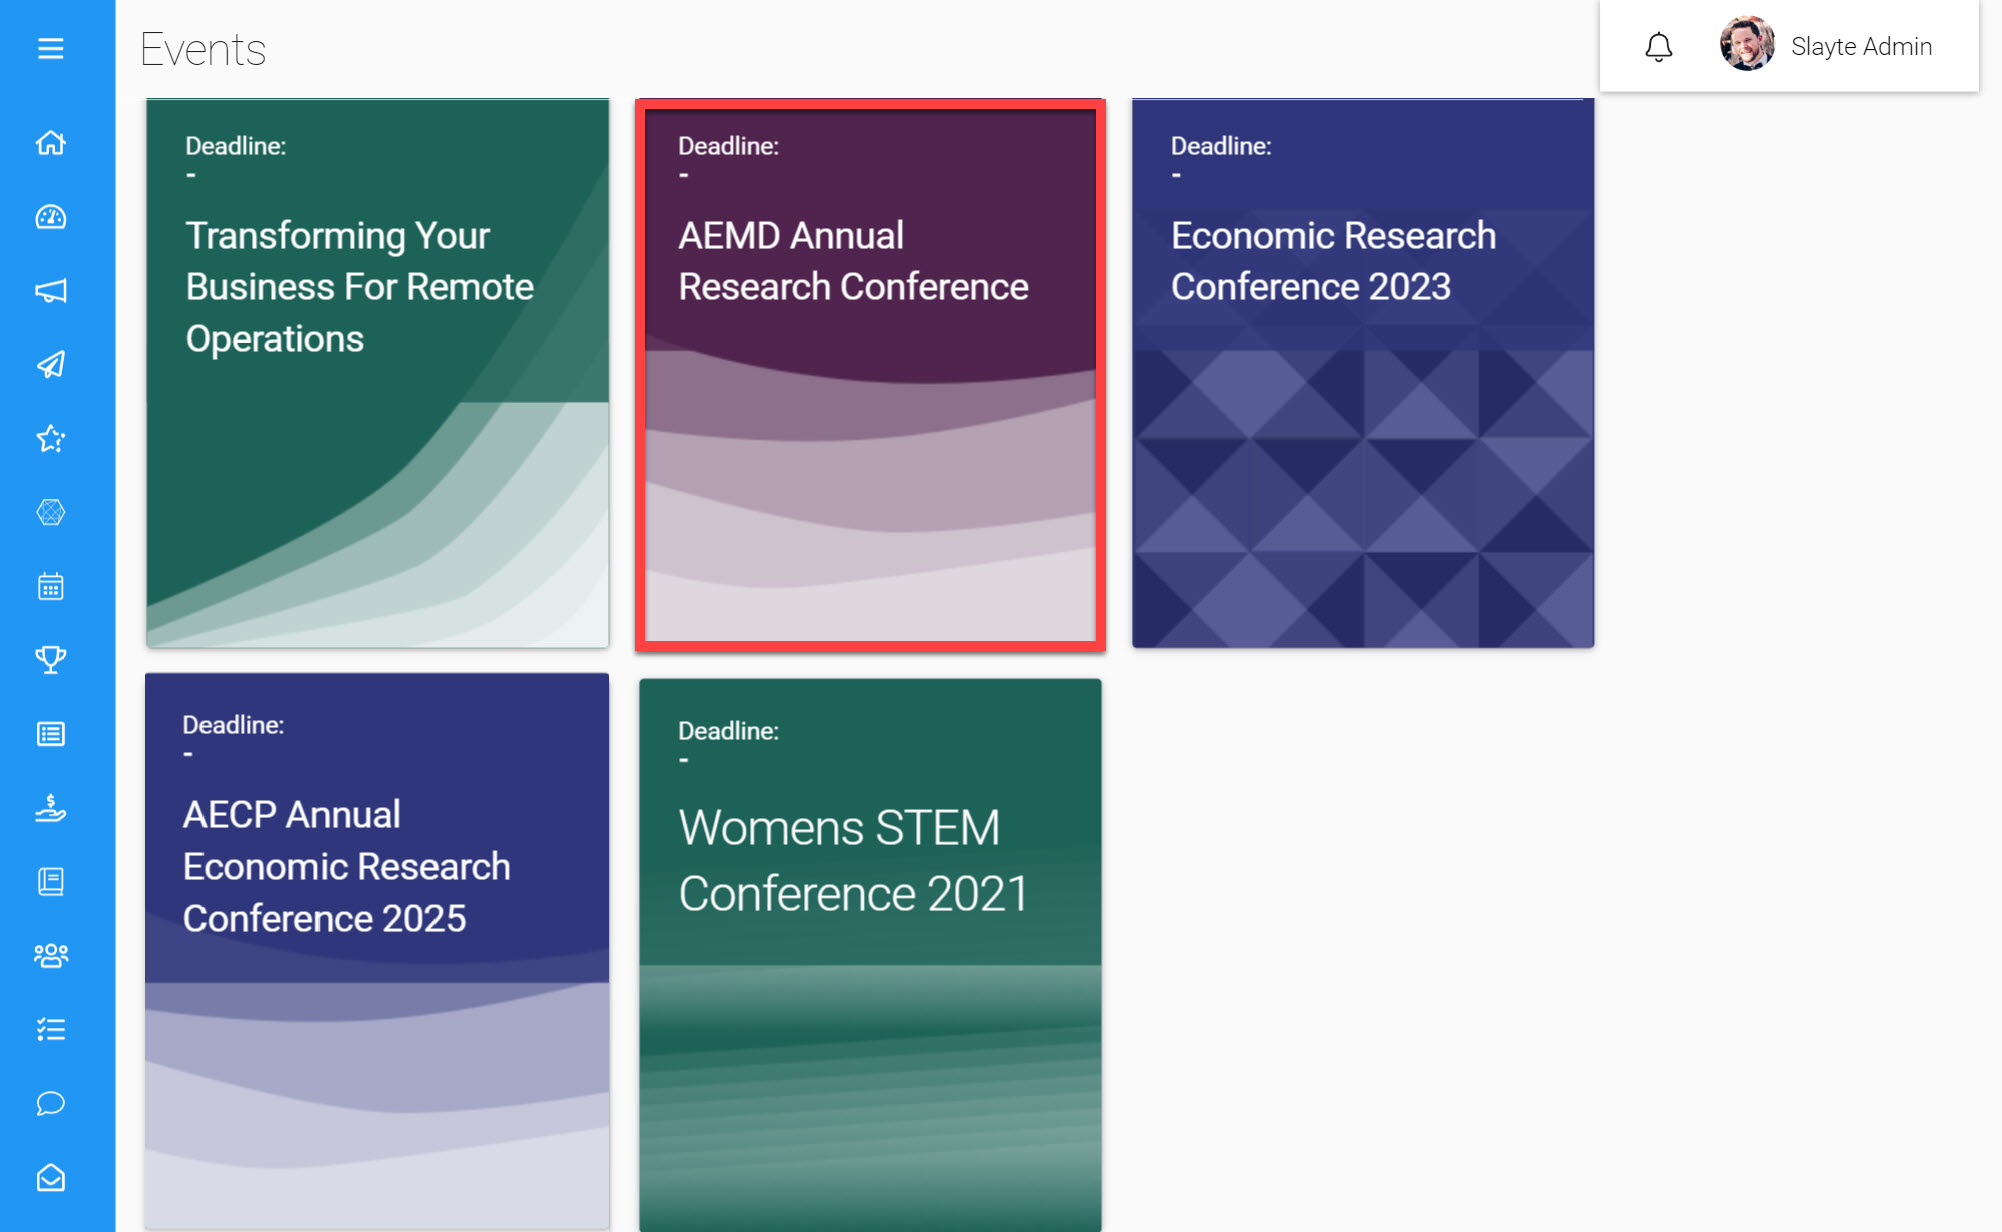
Click on the Event you would like to add Fields to
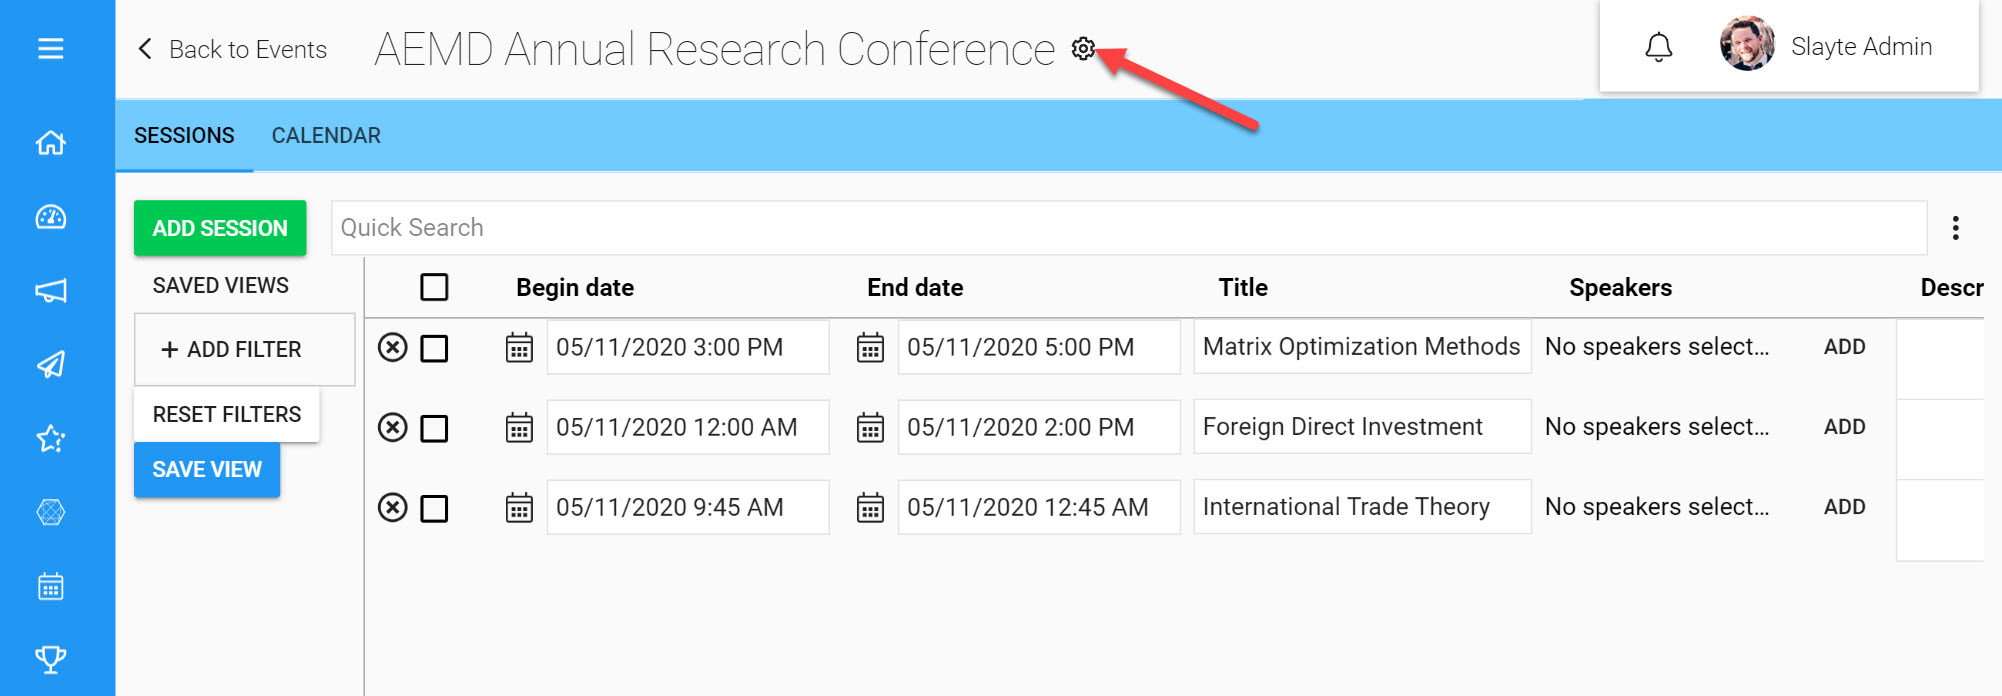
Click on the Settings Icon next to your Event name
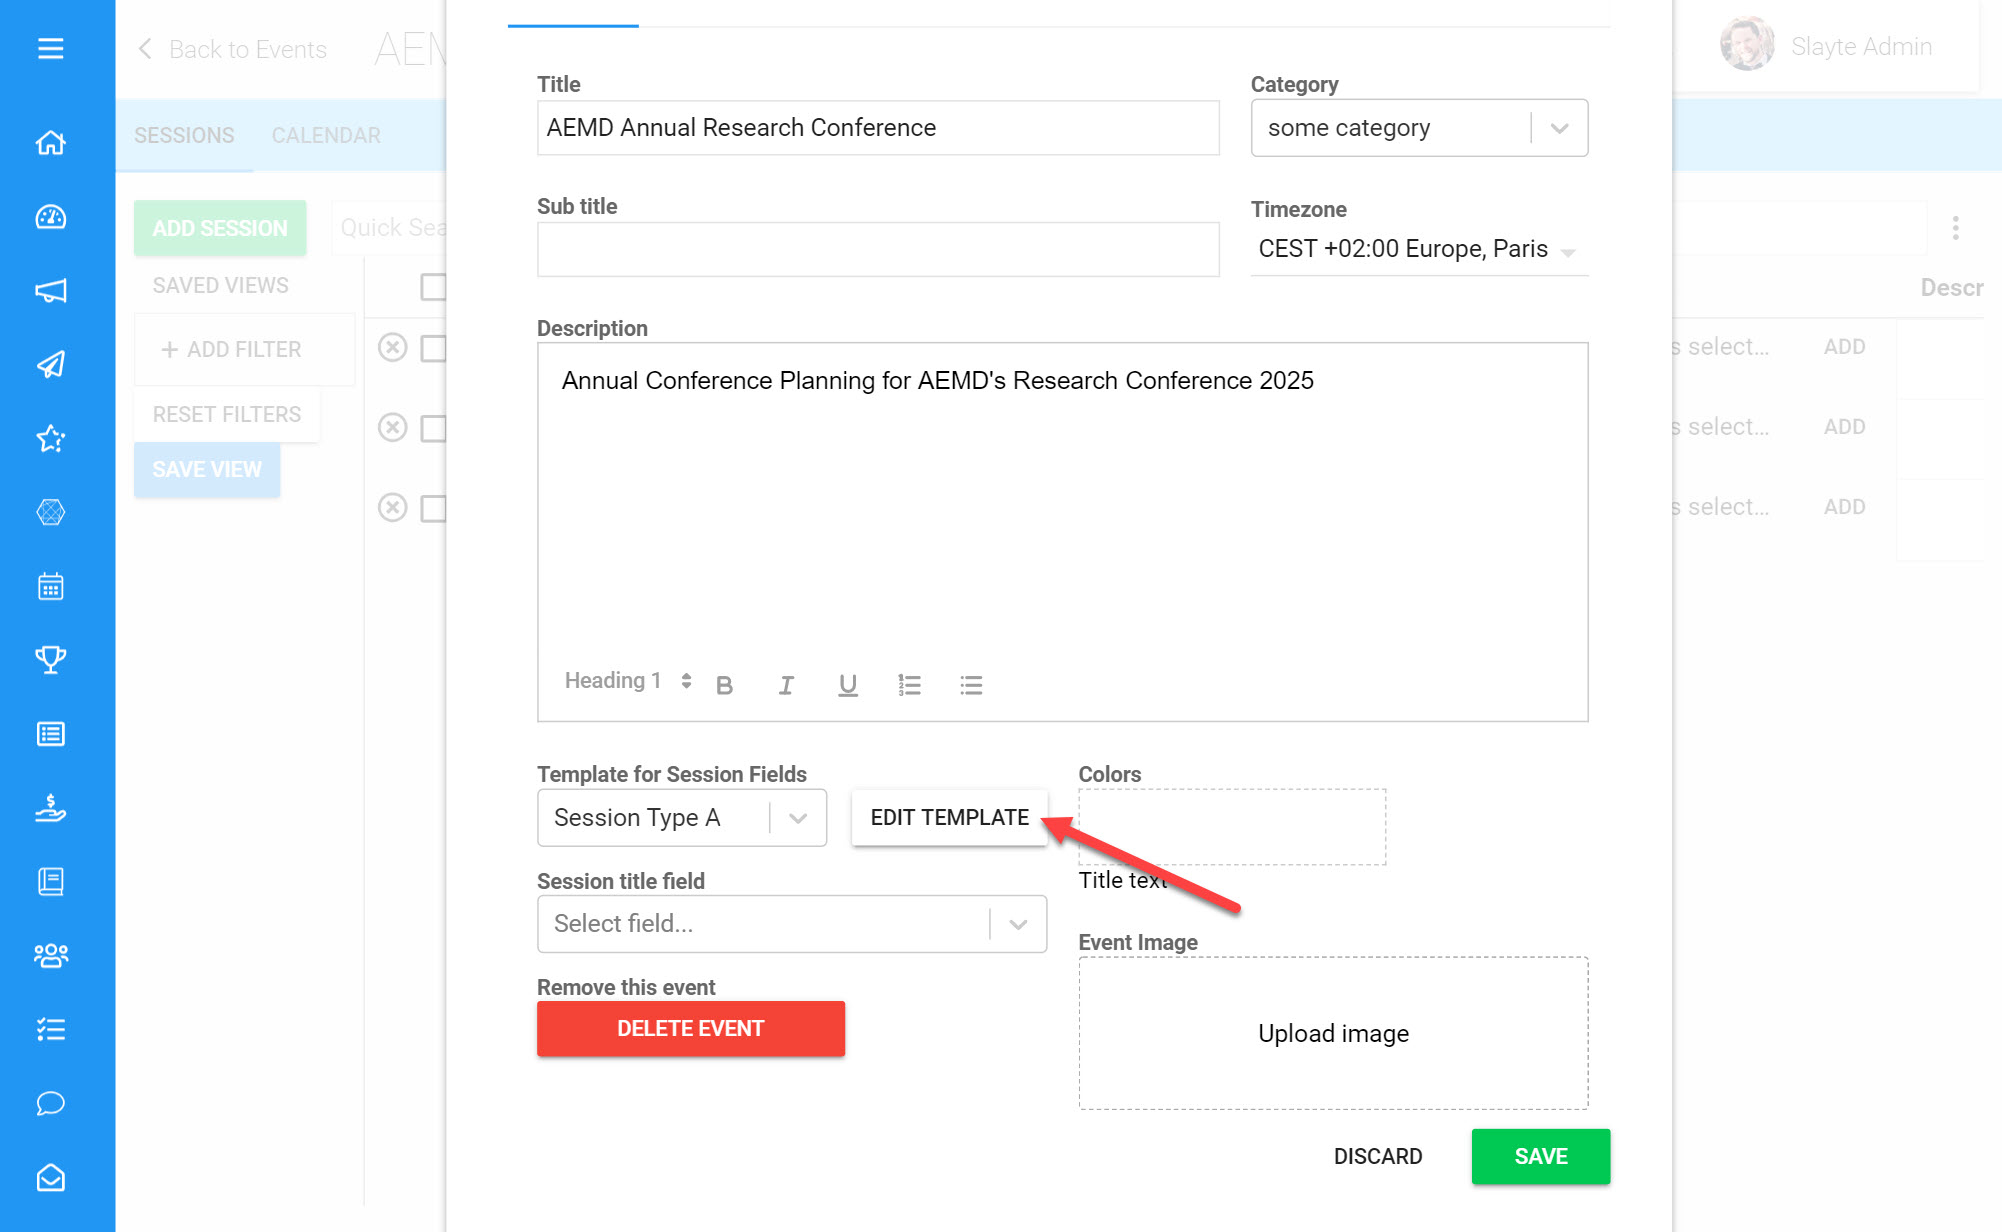
Click Edit Template under Template for Session Fields
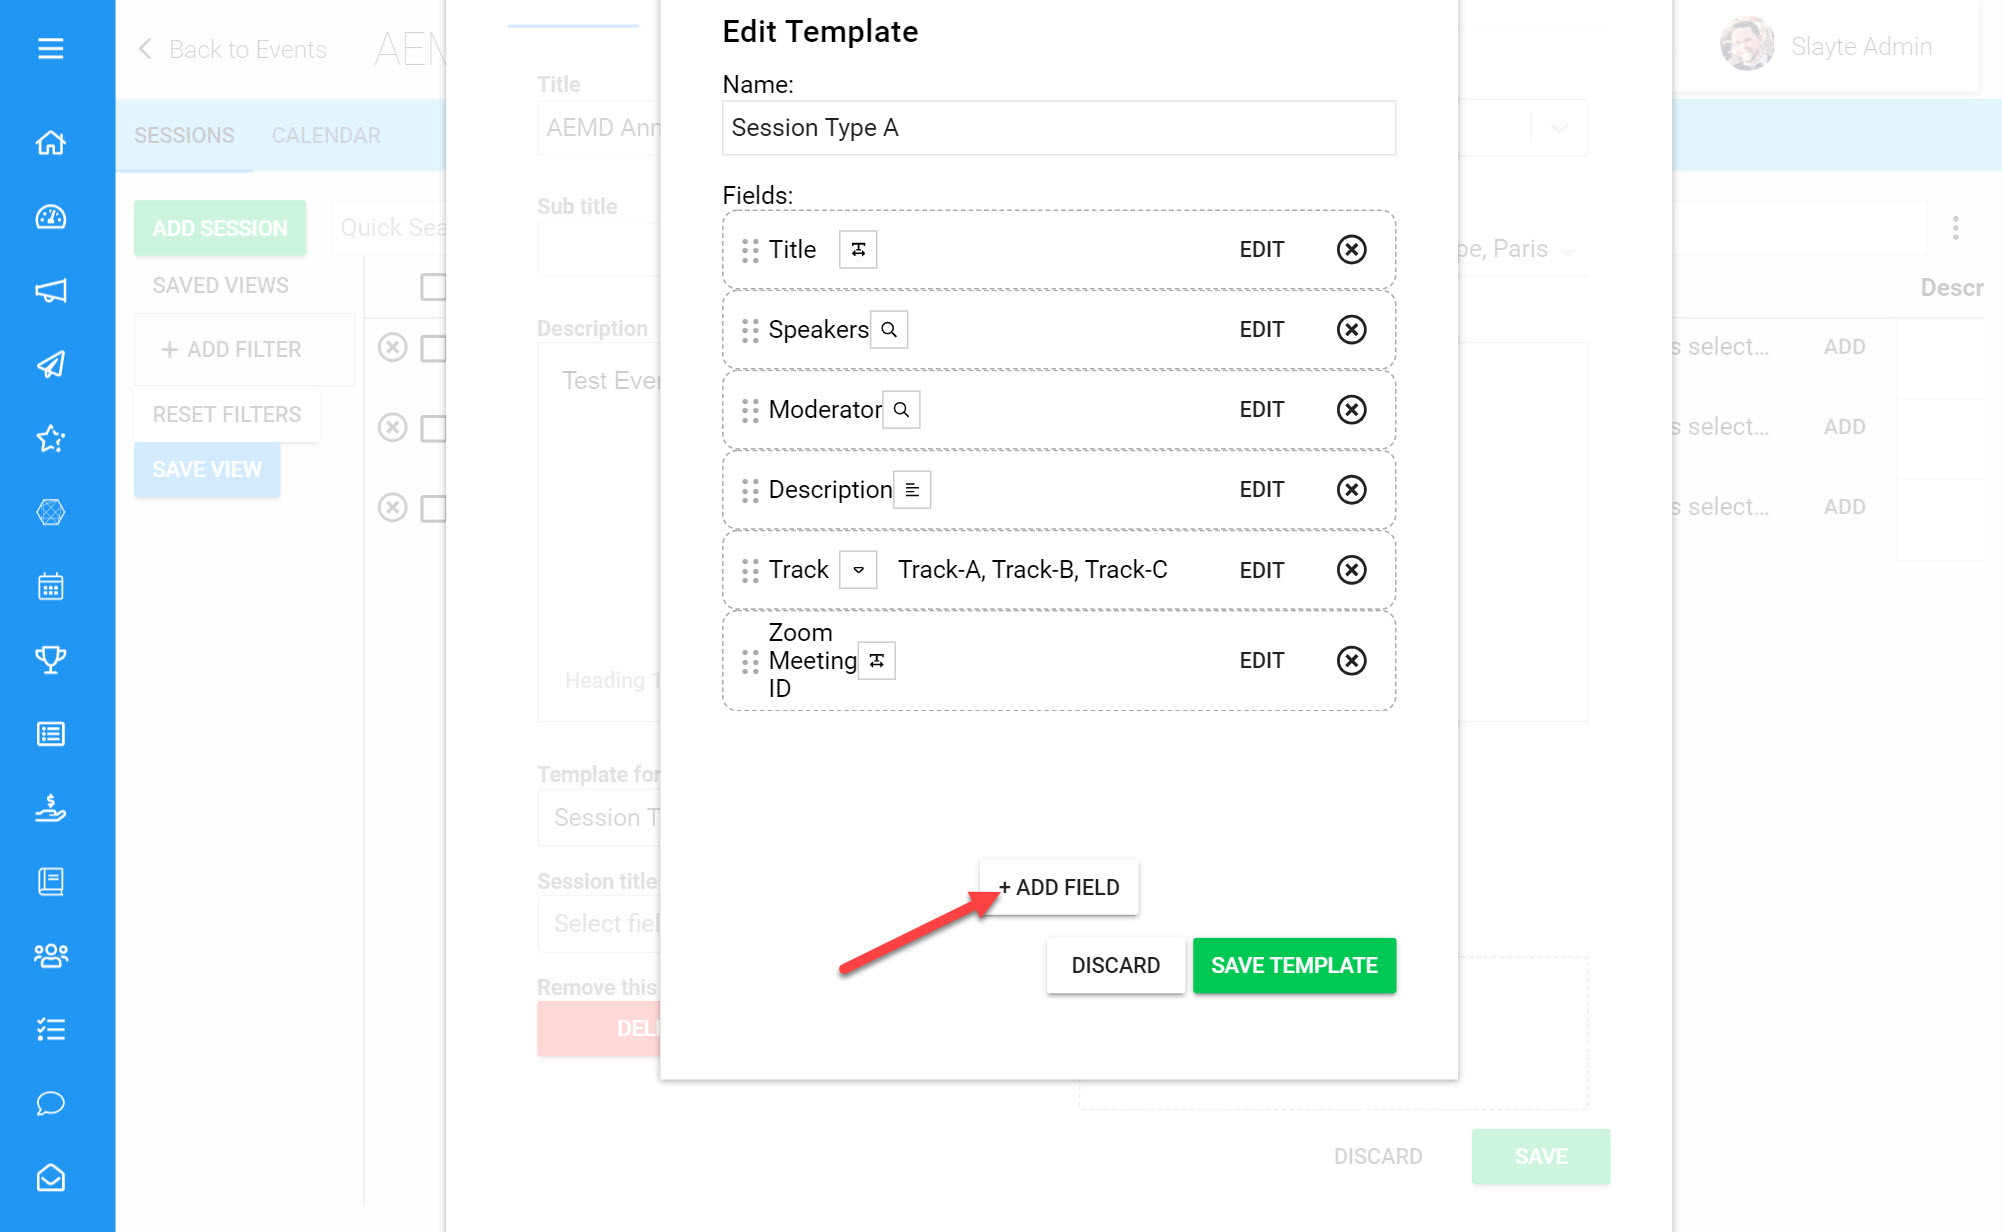
Click Add Field
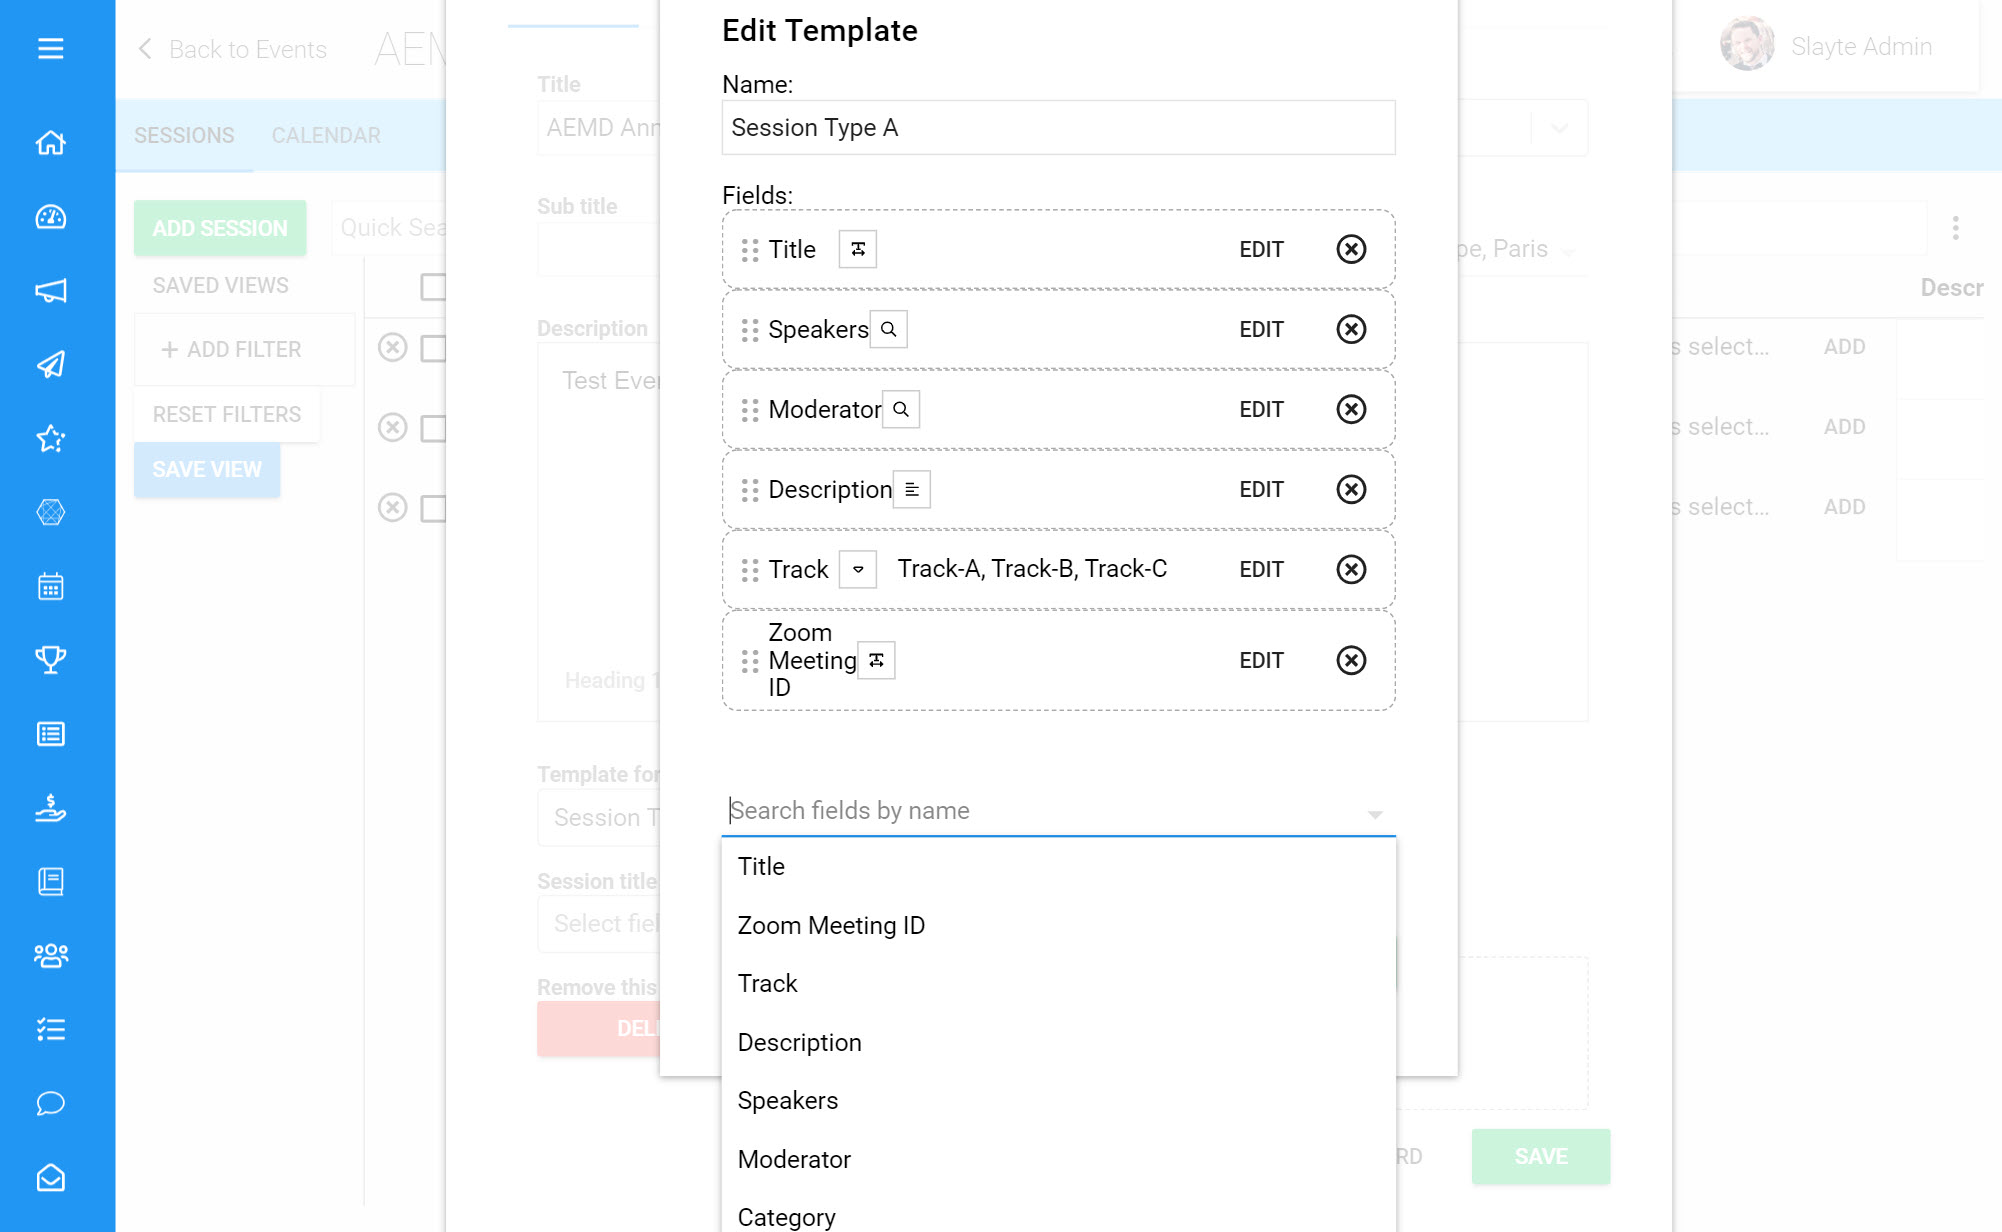
You can either use a previously added Template Field, or you can scroll to the bottom of the list to create a new Template Field and click on Create Field.
Which Fields you can add to your Template
There are a range of Field types you can add to your Template to decide which information to display on each Session.
Below we will define each Field in detail and add an example on how to use them:
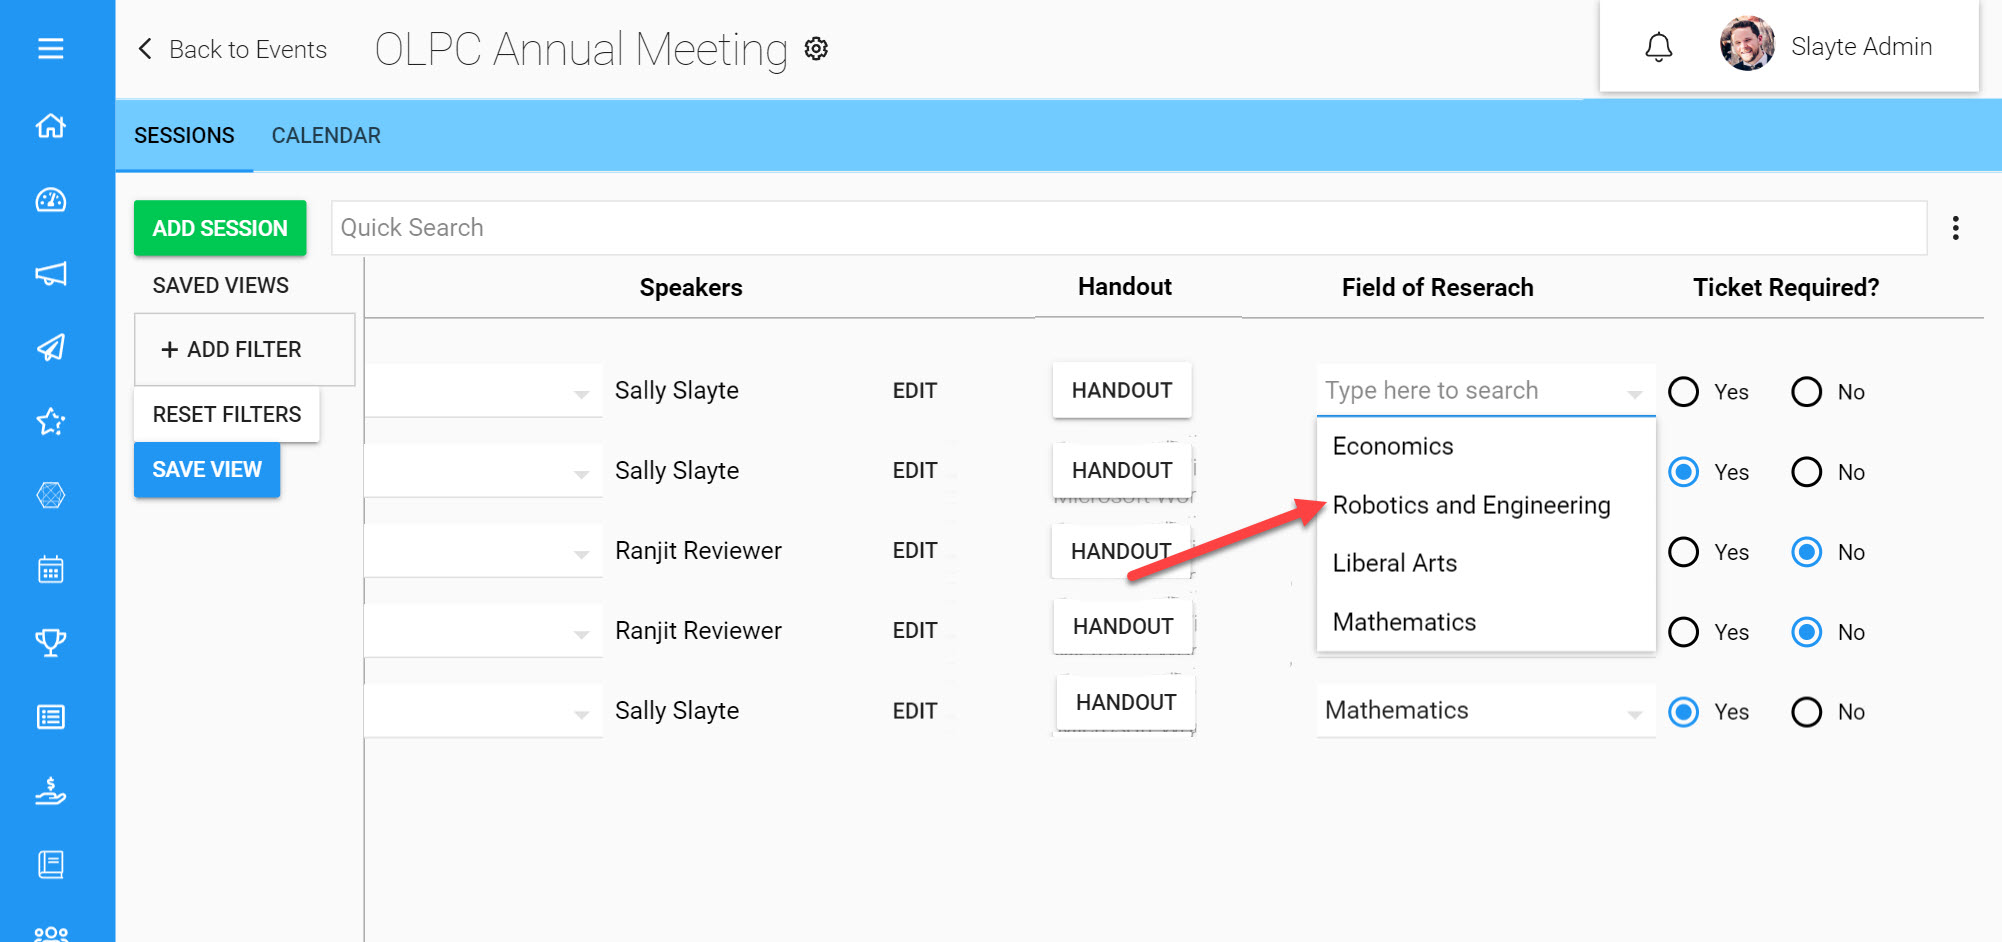
Dropdown
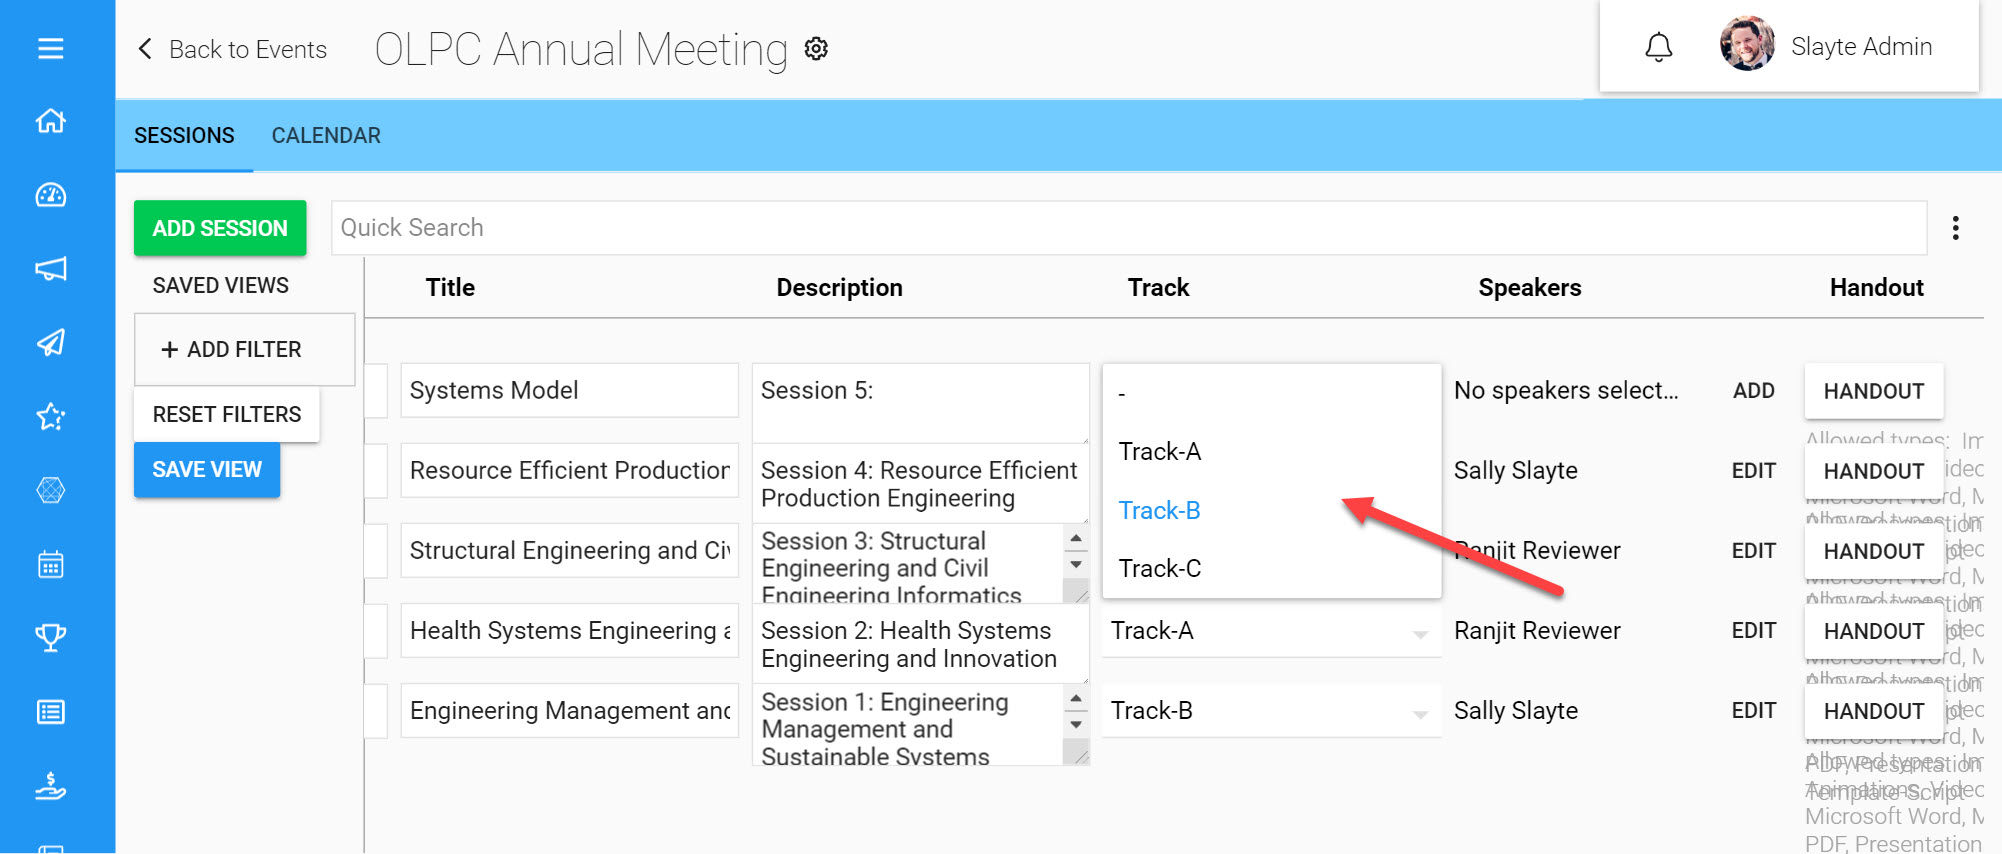
The Dropdown Field allows you to list options to choose from to classify a Session. If your event will have multiple Track options e.g. a dropdown Field with the options: Track A, Track B, Track C can be appropriate for this Field.
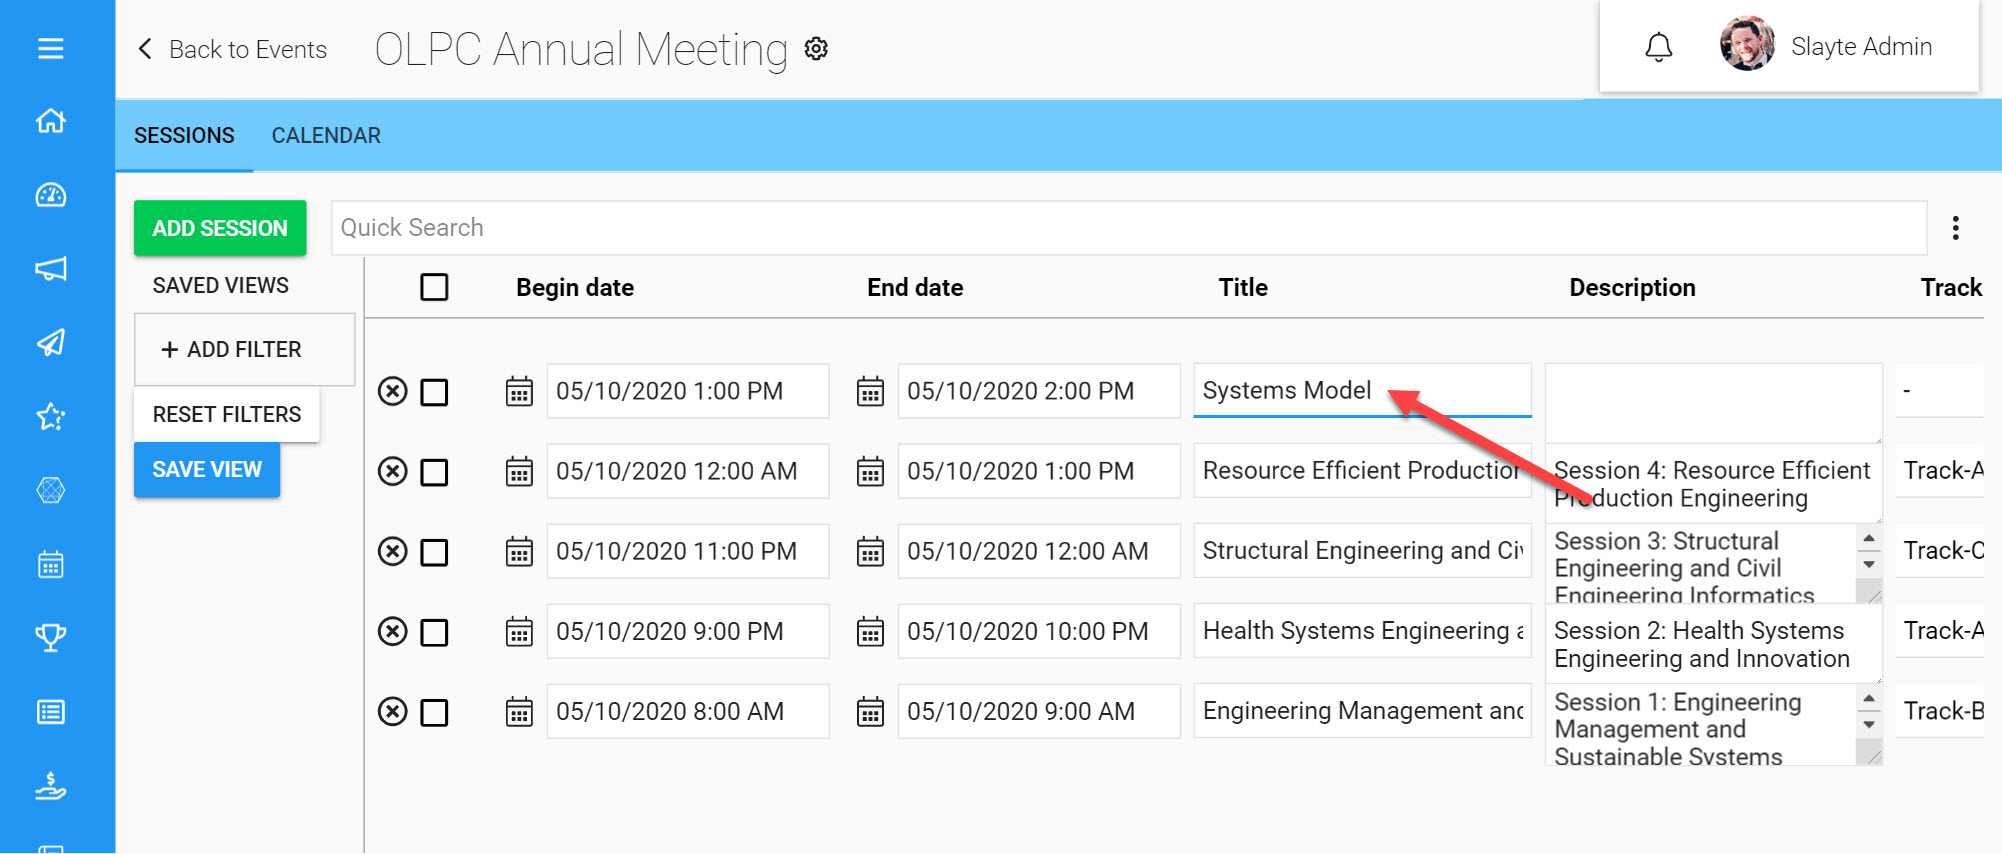
Text (Single line)
This allows you to collect a single line of text and is useful for short text inputs such as: Zoom Meeting ID or Session Title.
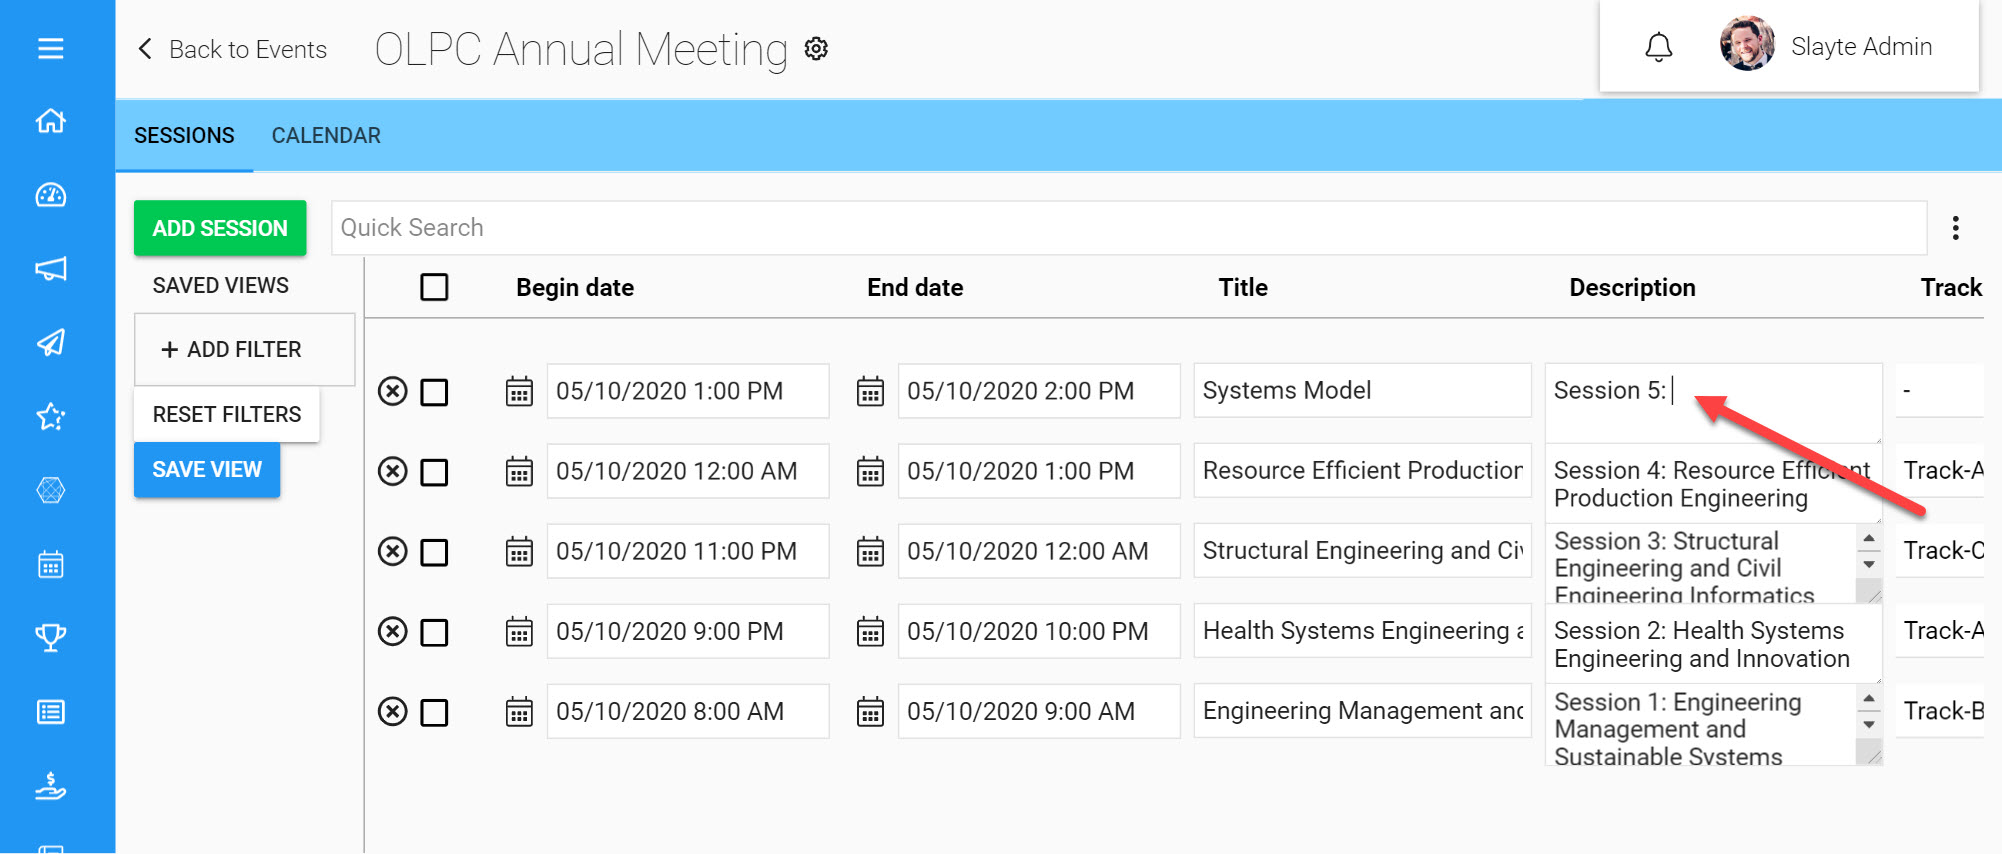
Text Area (Multi-line)
This Field is useful for collecting large text inputs such as paragraphs. You could use this field e.g. for adding descriptions on sessions.
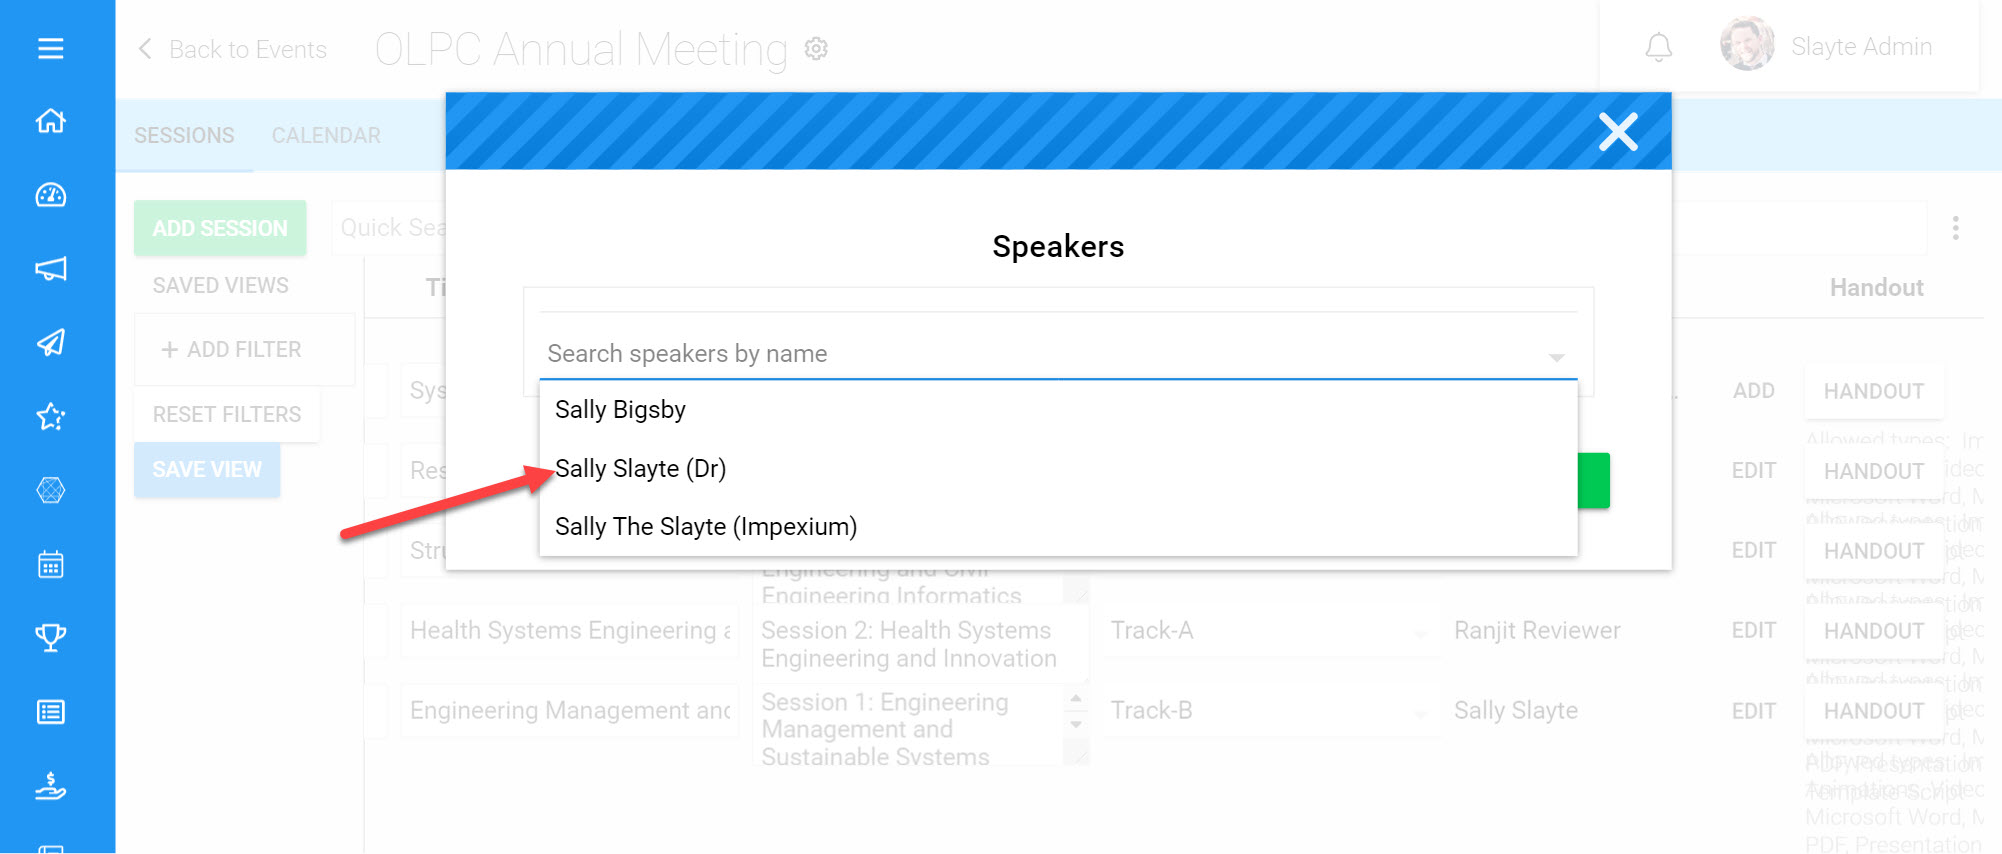
User Search
The user search field lets you link a user to the session, both Slayte users and any CRM users (e.g. Impexium or Gsuite) depending on the integrations you have installed). This can be useful to note which Speaker will be leading each Session for example.
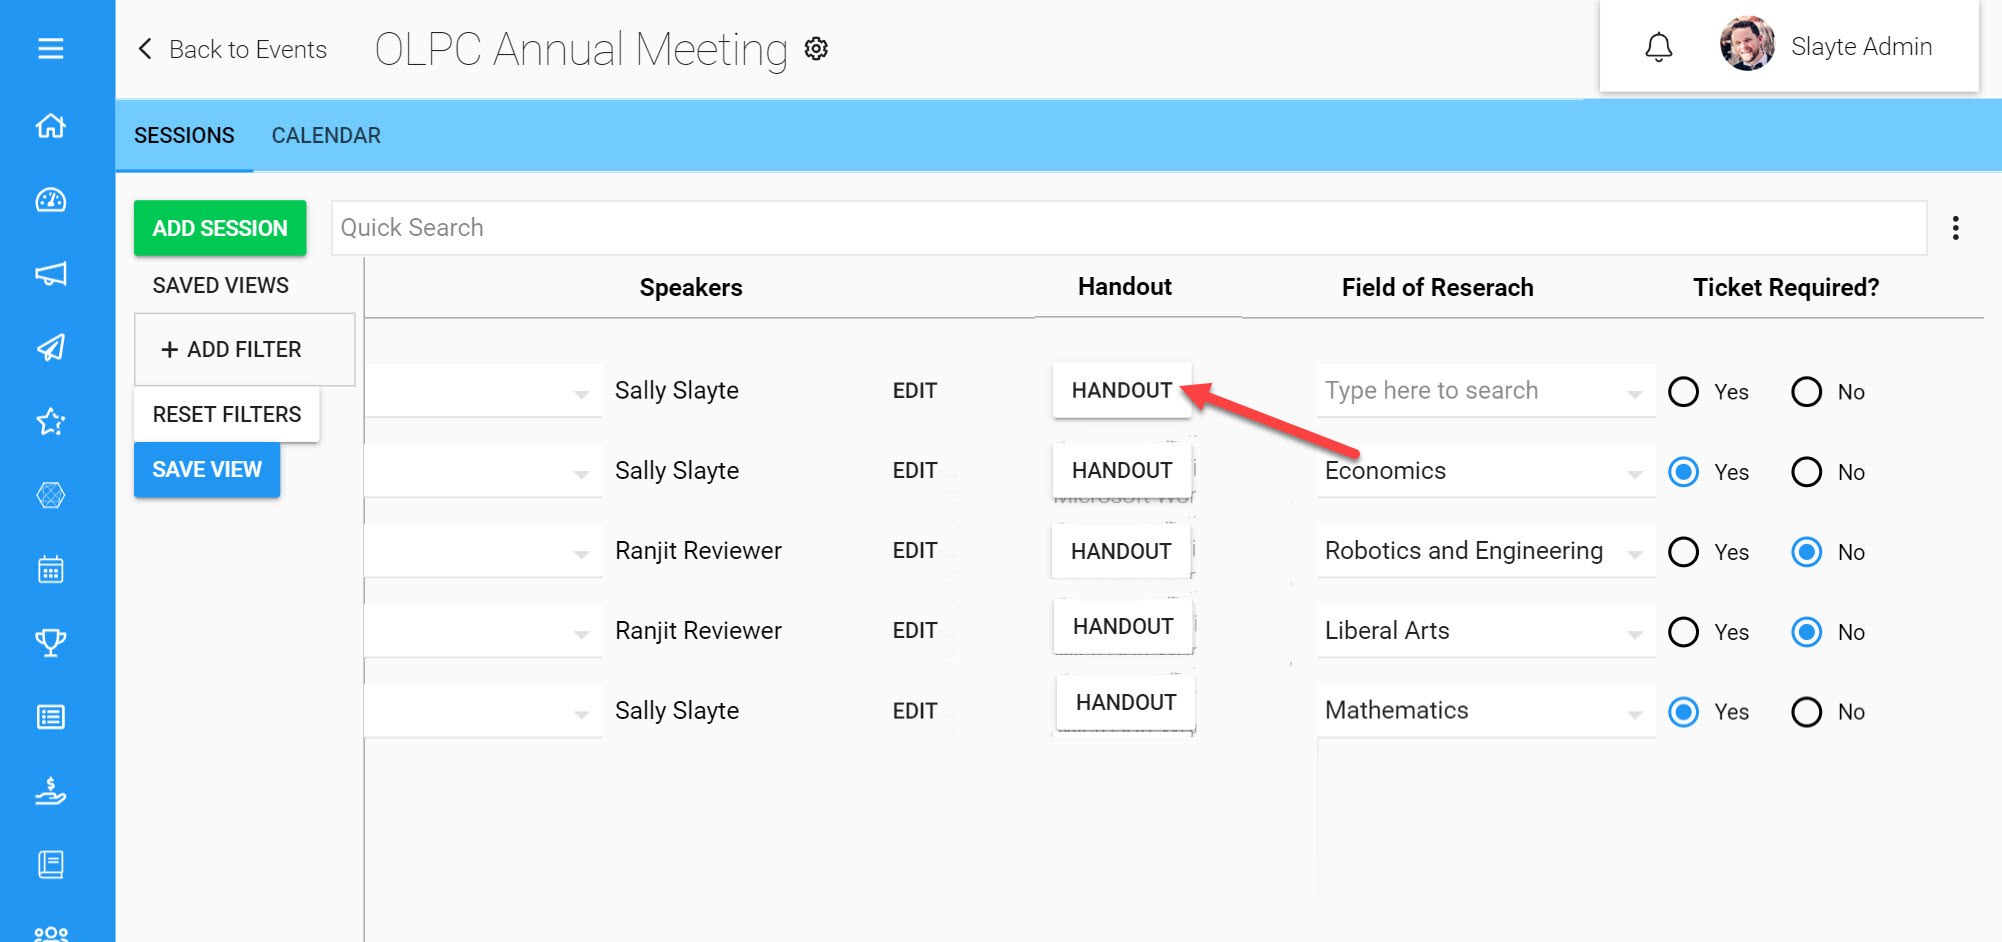
Attachment
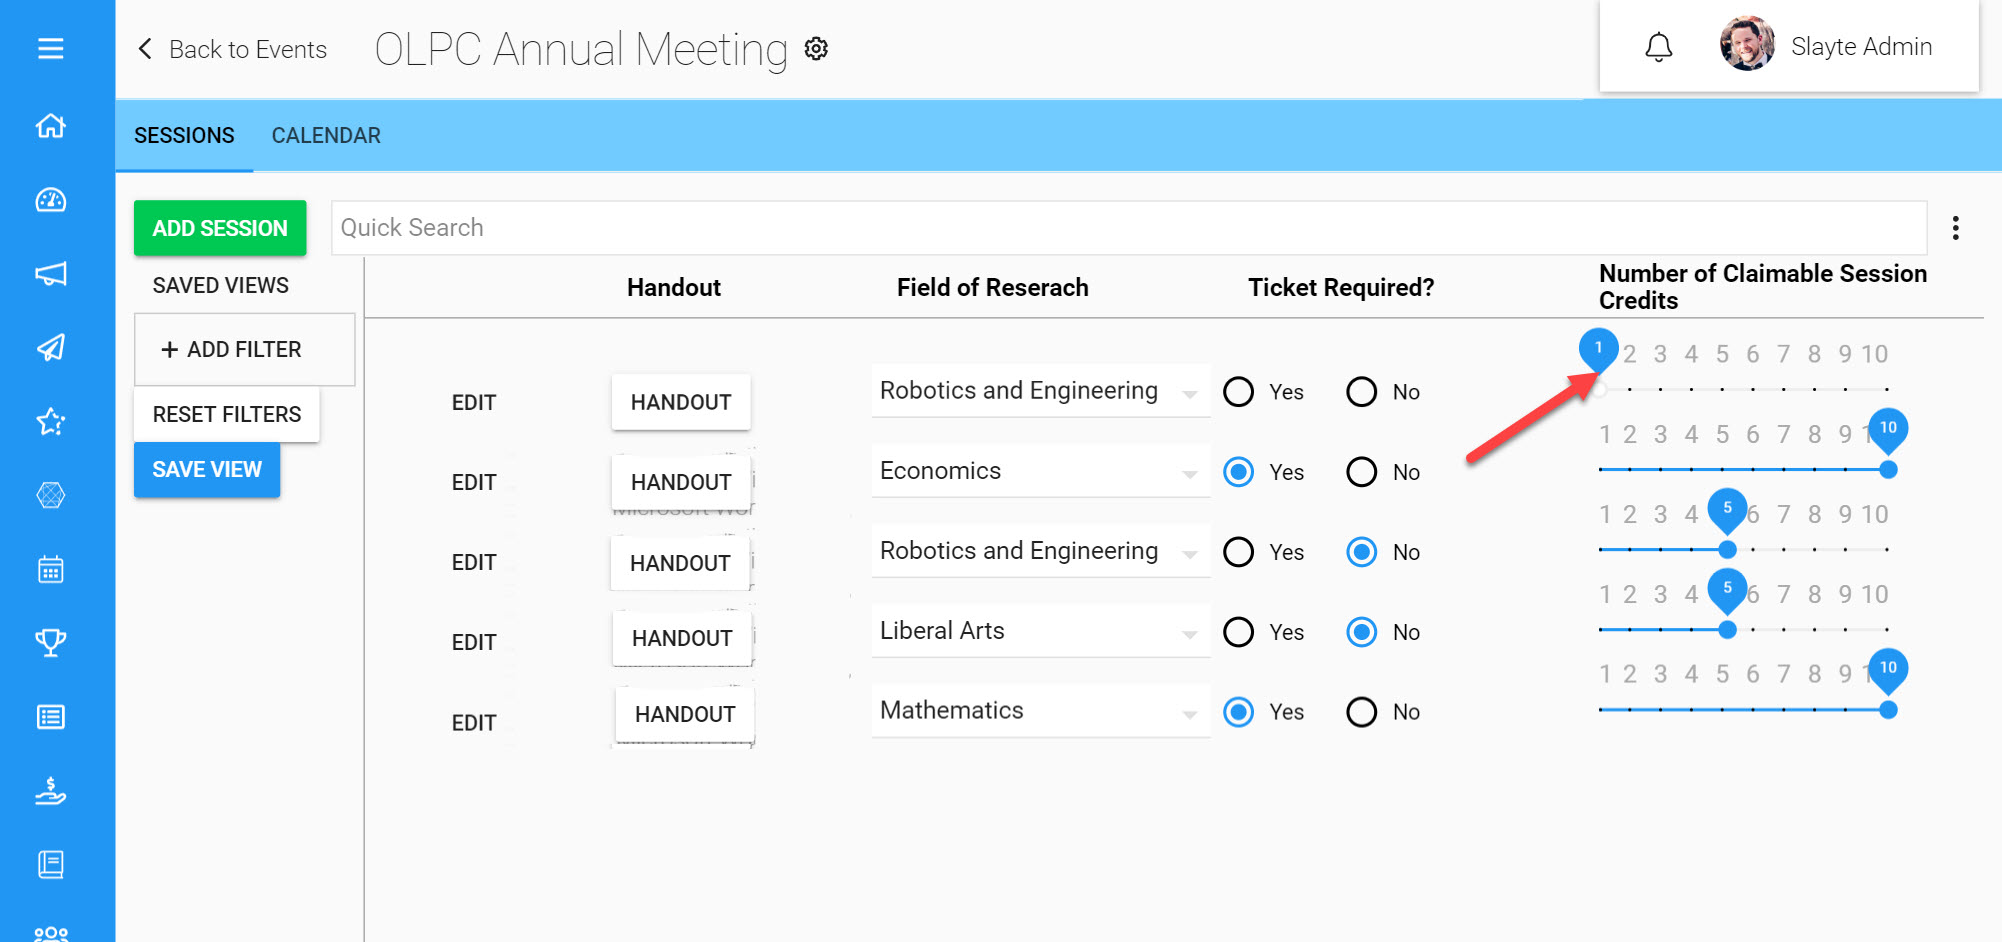
This Field will allow you to attach a document to a planned session which could be used e.g. to add handouts that will be given out in each particular session.
Auto Complete
As you type in text into this Field, suggestions to complete your entry will appear based on a list of predefined entries you have provided. This could save time when typing in entries that have a finite number of options.
Radio Group
This allows you to select a single option from a provided list such as Room 1, Room 2, Room 3 to note where each session will be taking place e.g. Options can be added individually by clicking ‘Add Option,’ or you could add a predefined list of options from a file by clicking ‘Add Options From File.’
Checkboxes
This allows you to select more than one option from a list, with all options being visibly listed above each other. Options can be added individually by clicking ‘Add Option’ or you could add a predefined list of options from a file by clicking ‘Add Options From File.’
Yes/No
This Field is useful if a particular Session Field requires a Yes or No answer, e.g. Ticket Required?
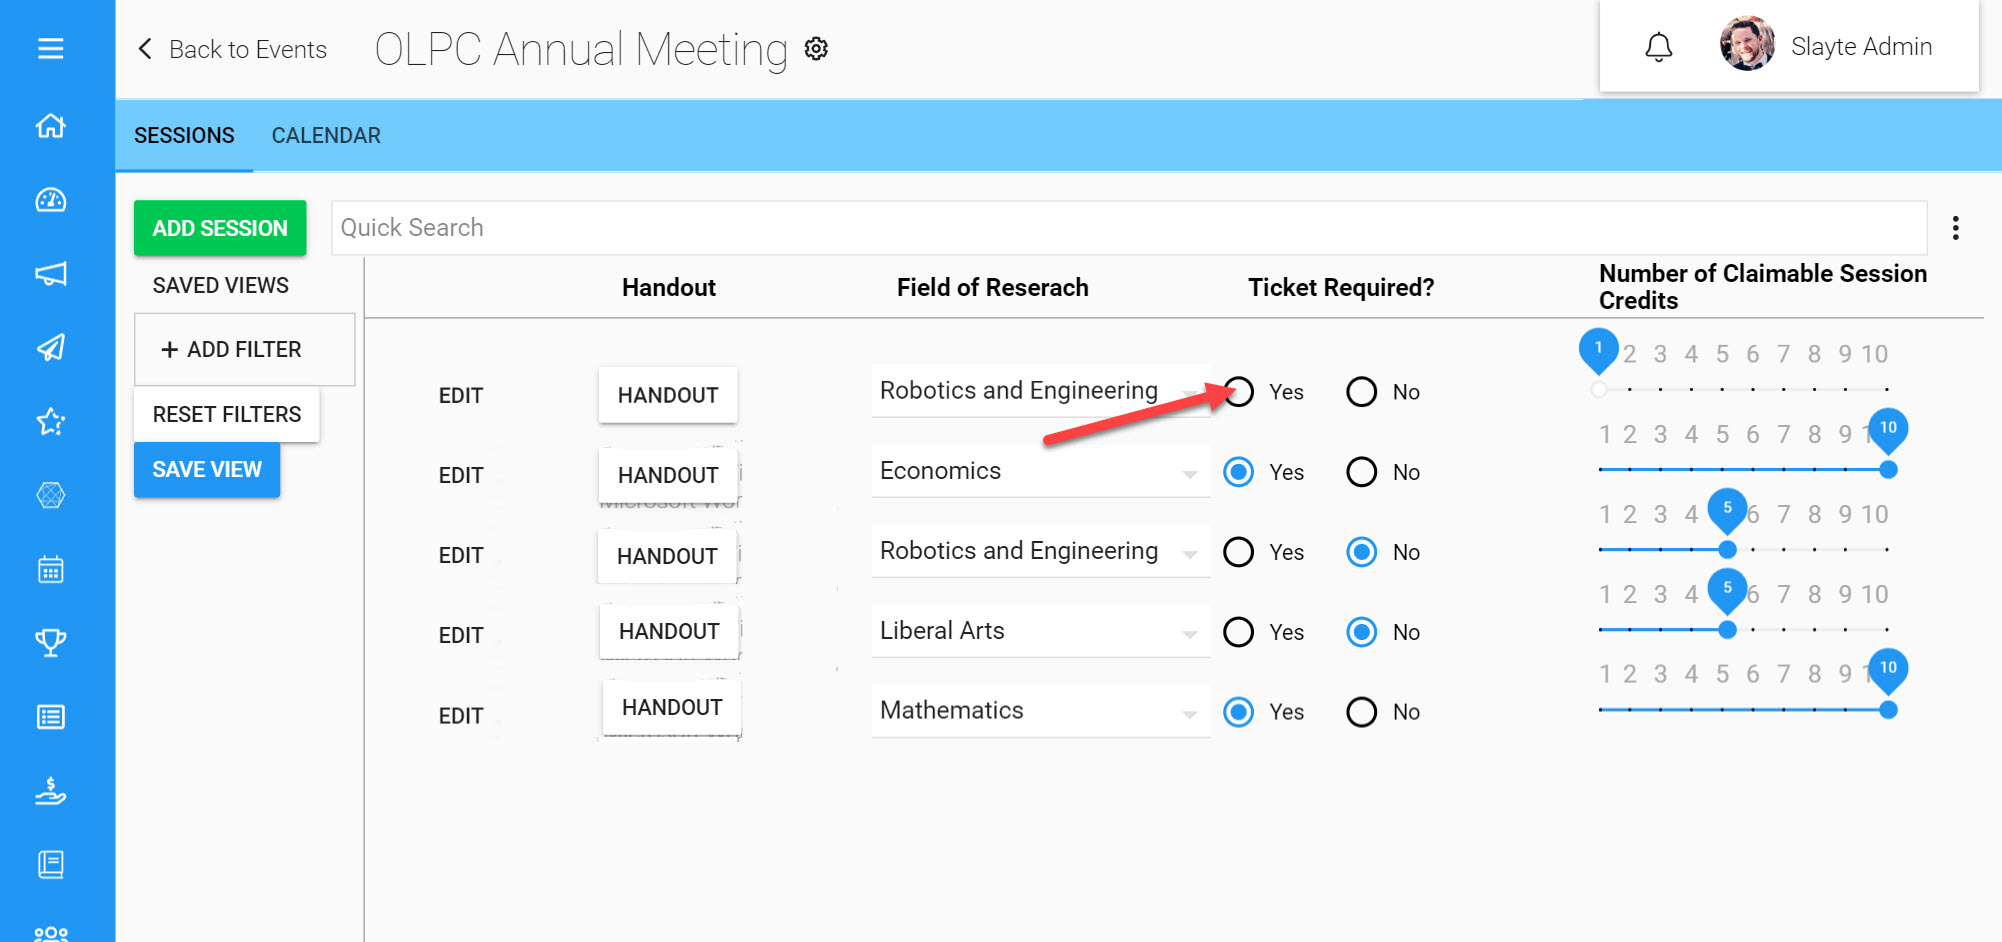
Slider
Use a Slider to set a numeric value between a minimum and maximum you can define. This can e.g. be used to set the number of education credits you could claim in this session.