
A Call is a generic term for an invitation to submit content. You can submit to a Call by filling in a Submission Form created by the Call Administrator. The type of Submission Form you fill in will depend entirely on the Call objective. A few examples of typical Submissions to a Call are:
- A Research Topic Proposal for a Research Conference Call
- Board Member Nomination in a Board Nomination
- Abstract Proposal in a Call for Papers
- Speaker Presentation in a Call for Speakers
In this article we will demonstrate the workflow of submitting to a Call which includes the following steps:
- Fill in the Required Form Fields
- Review your Submission
- Complete your Submission
To begin this process:
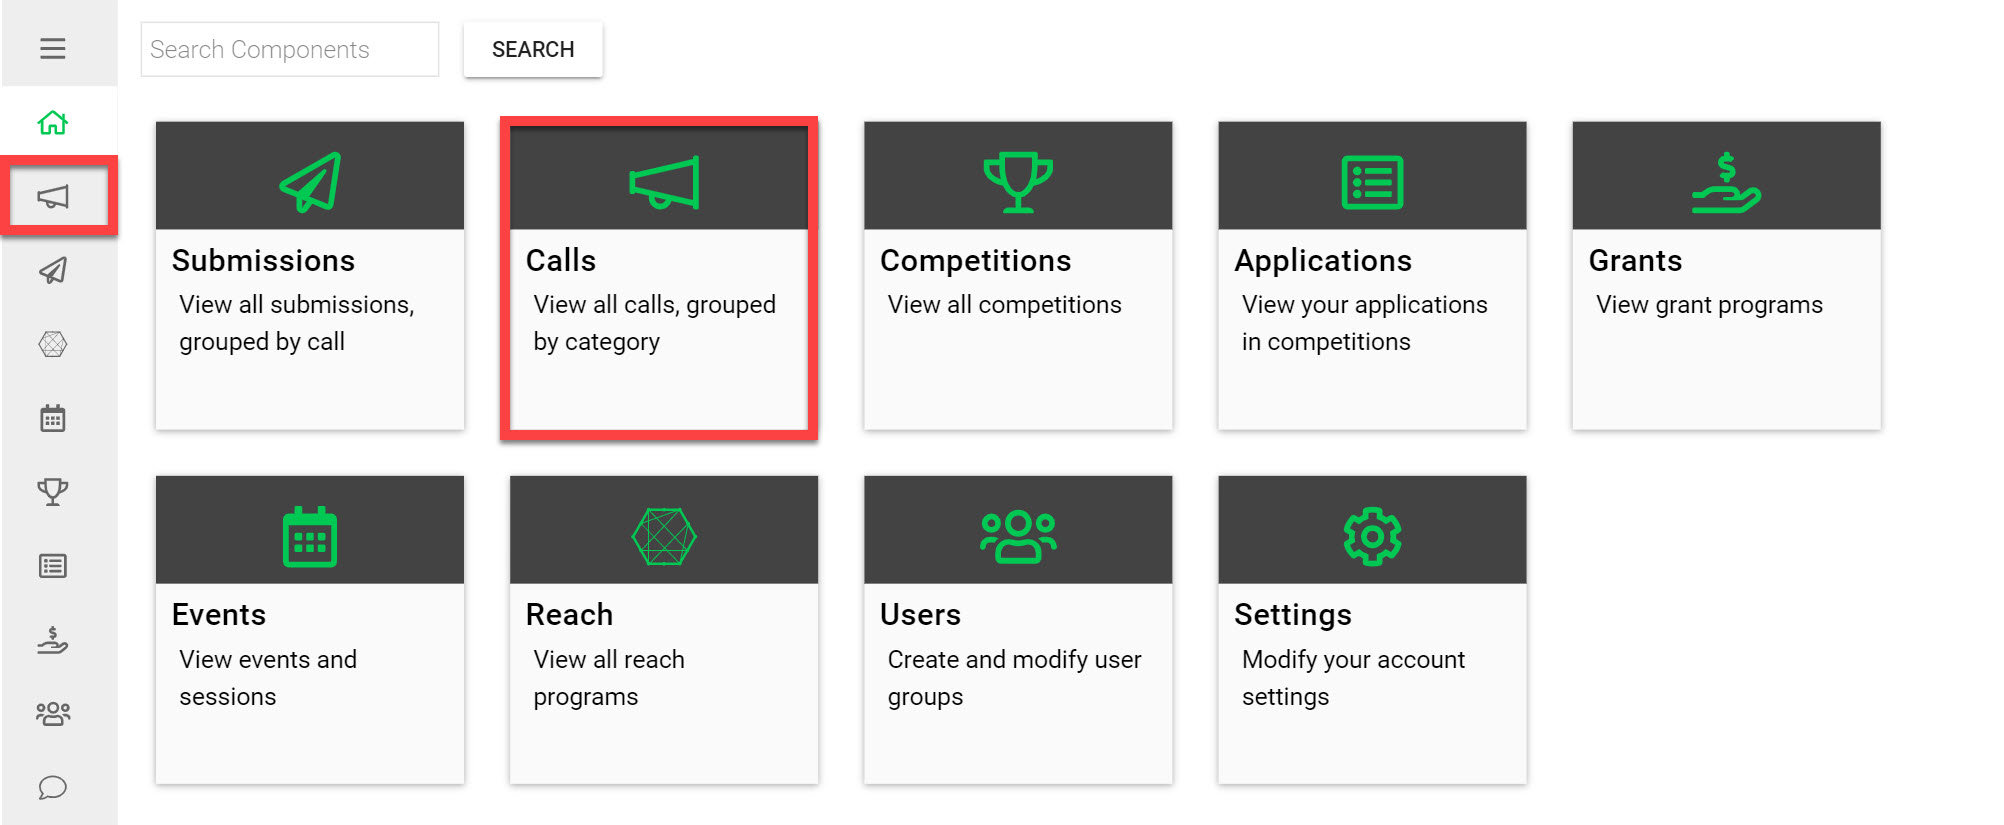
Go to the Homepage and click on the Calls icon
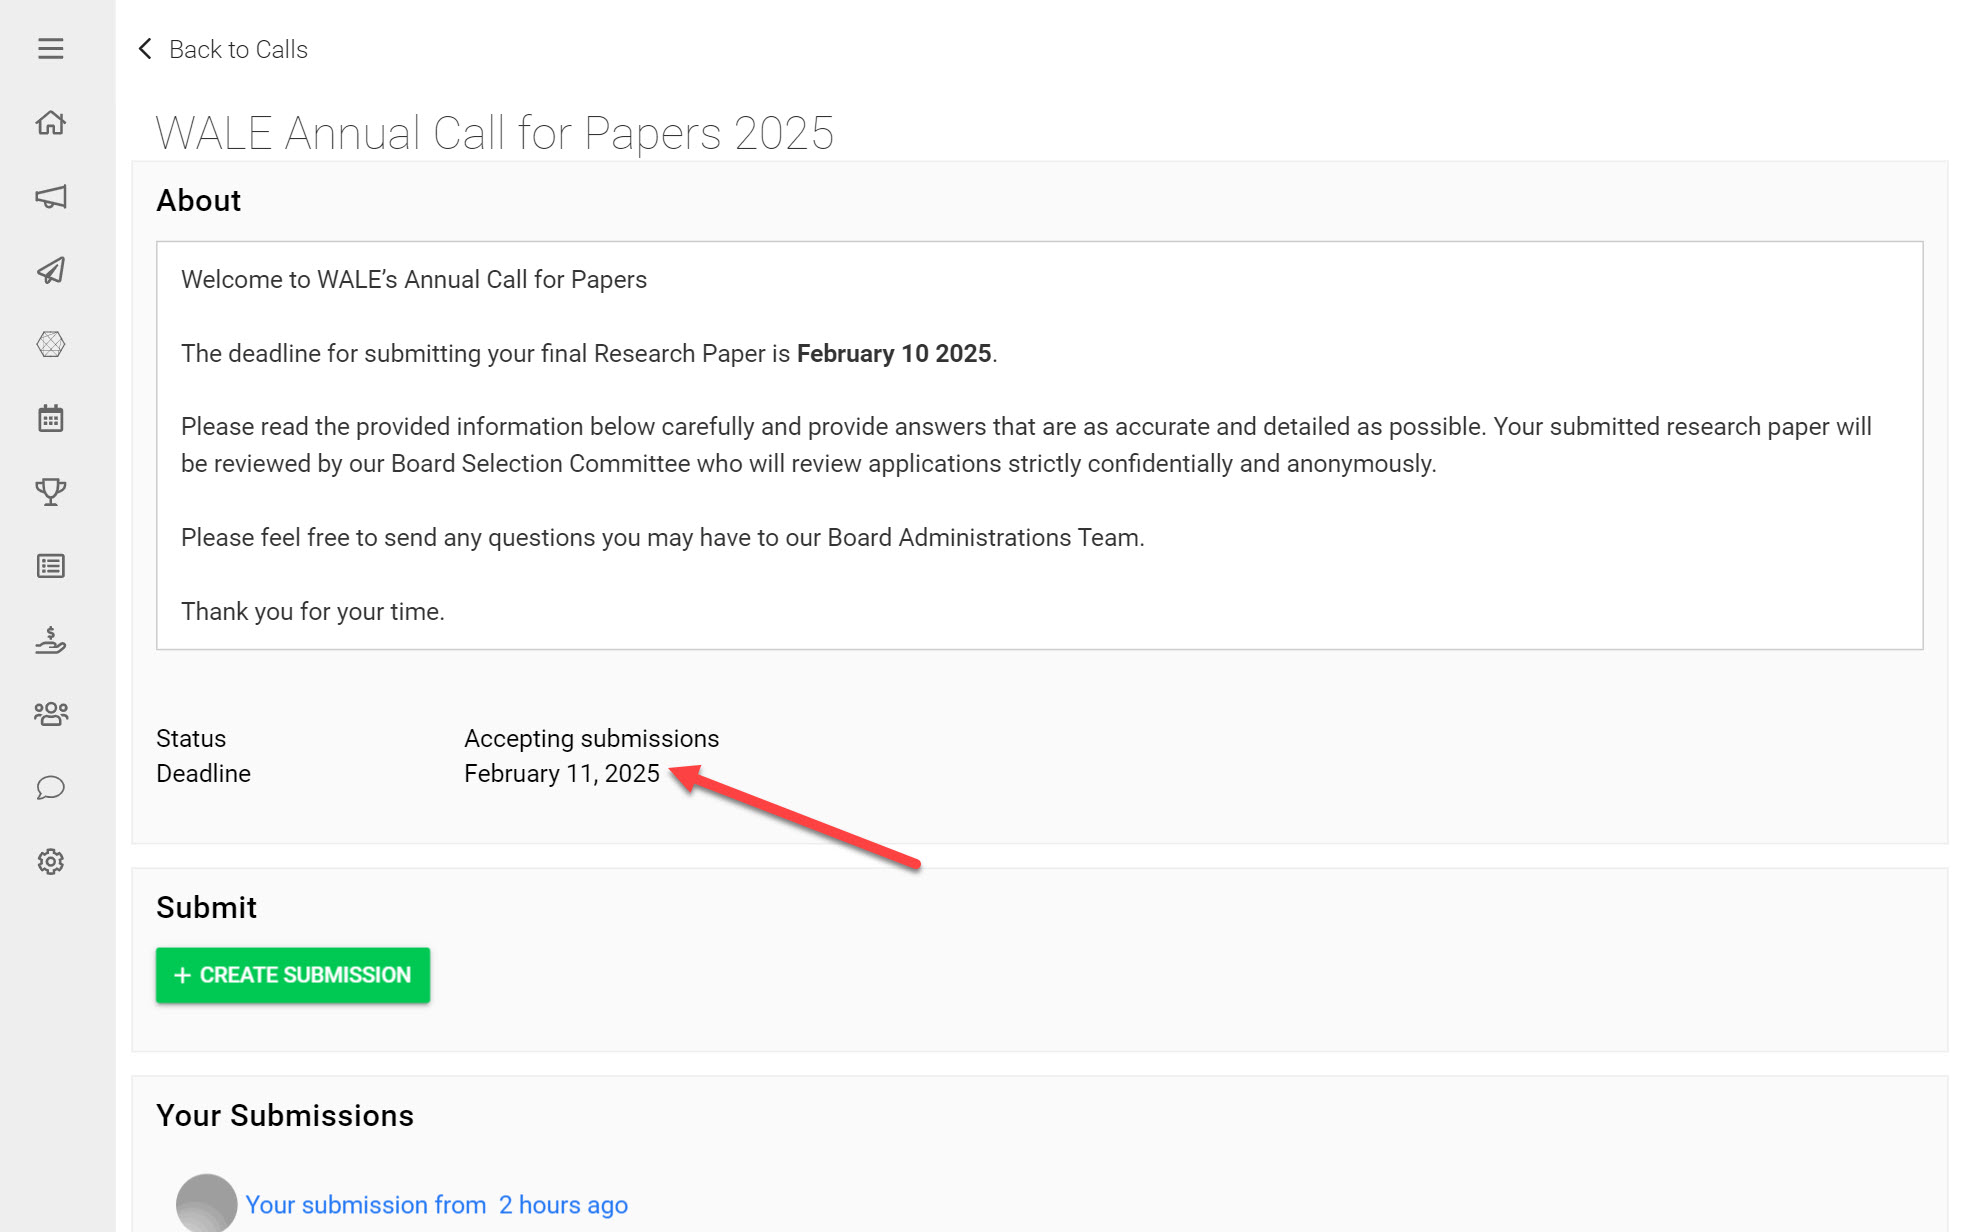
This page will display all the Calls you can currently submit to. On each Call tile you can see information displayed on the Call Status and Deadline.
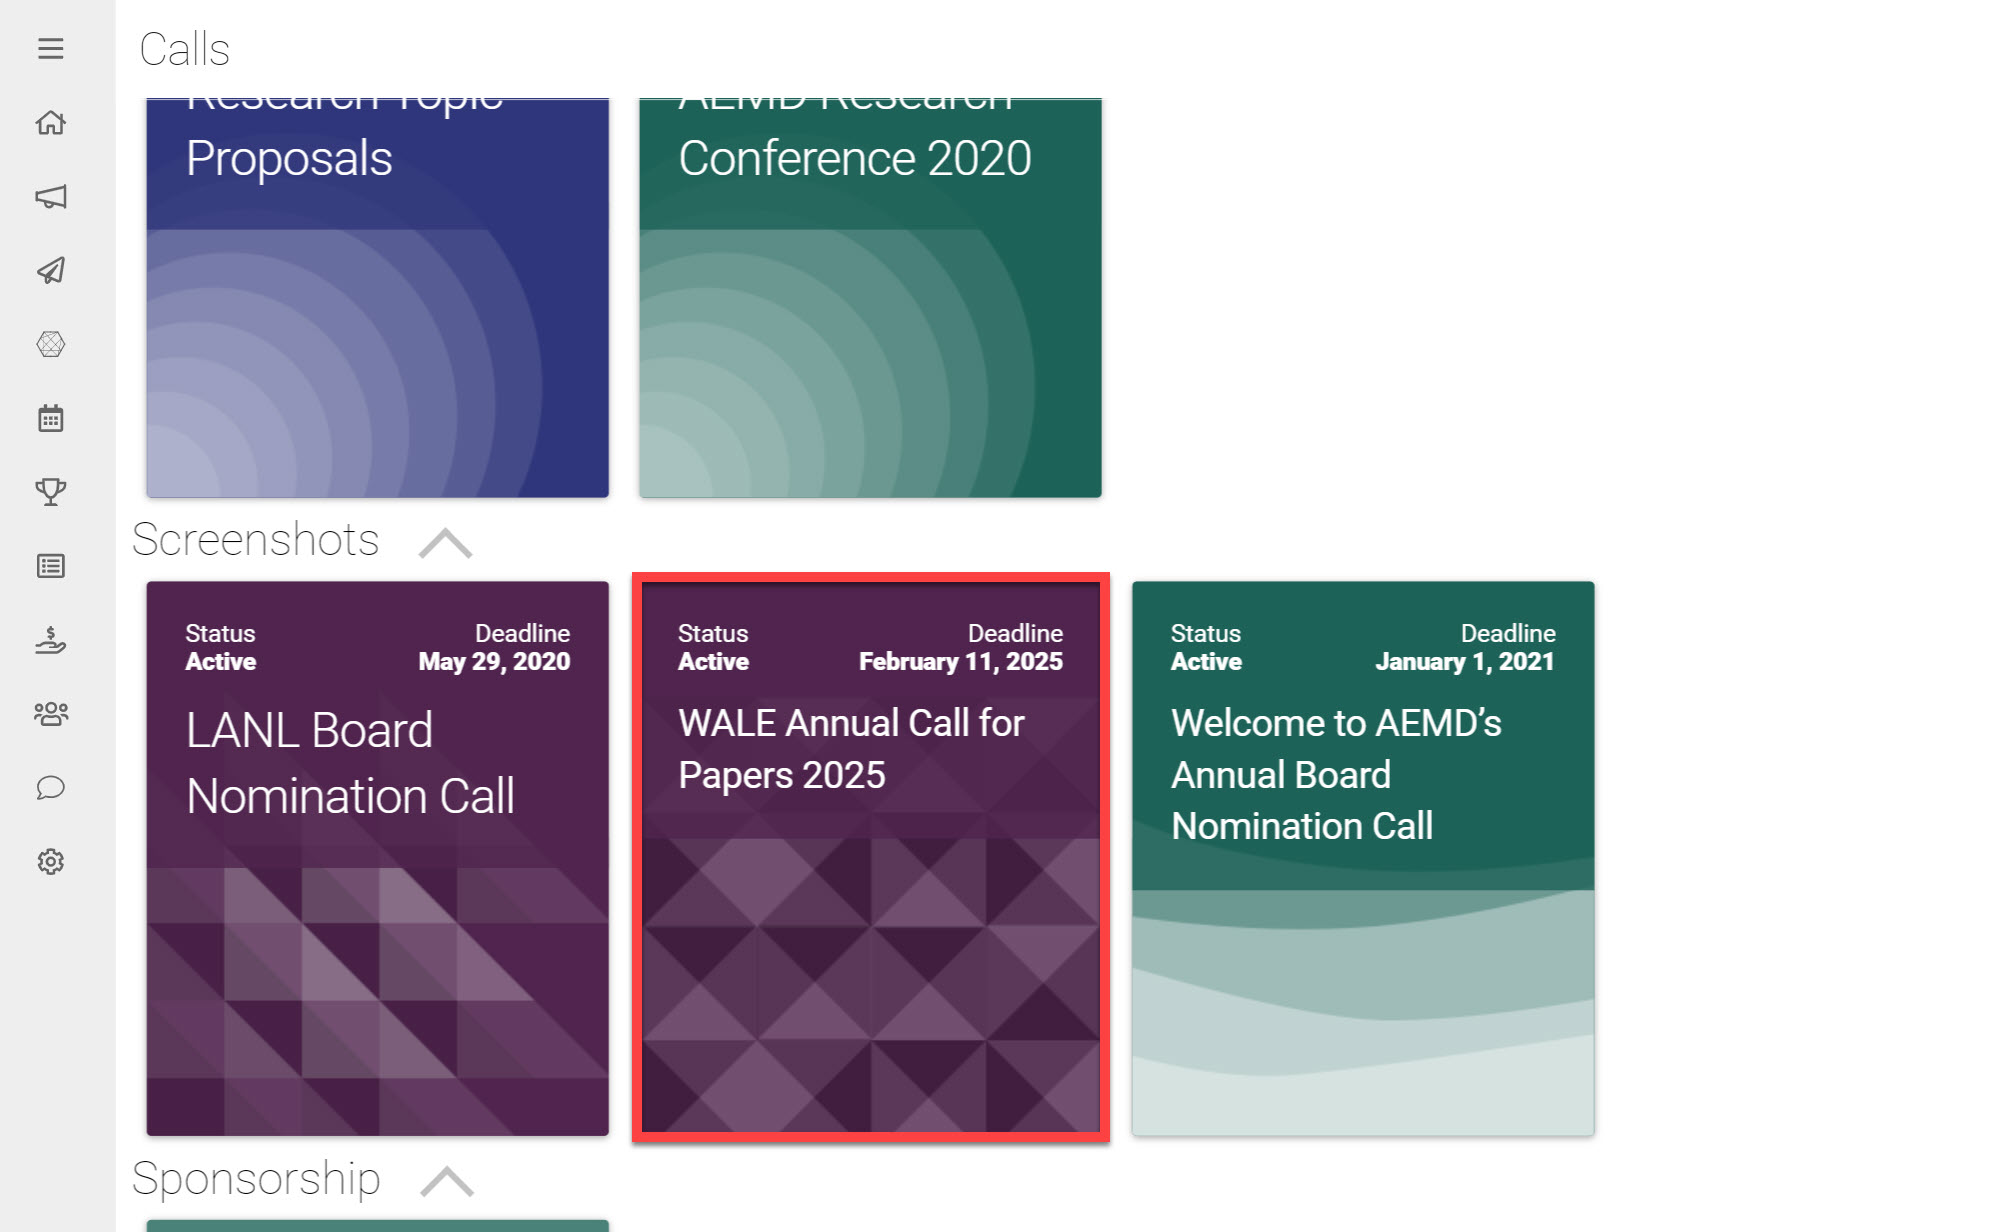
Click on the Call you would like to submit to
Here you can read any additional information provided by your Call information on submitting to this Call.
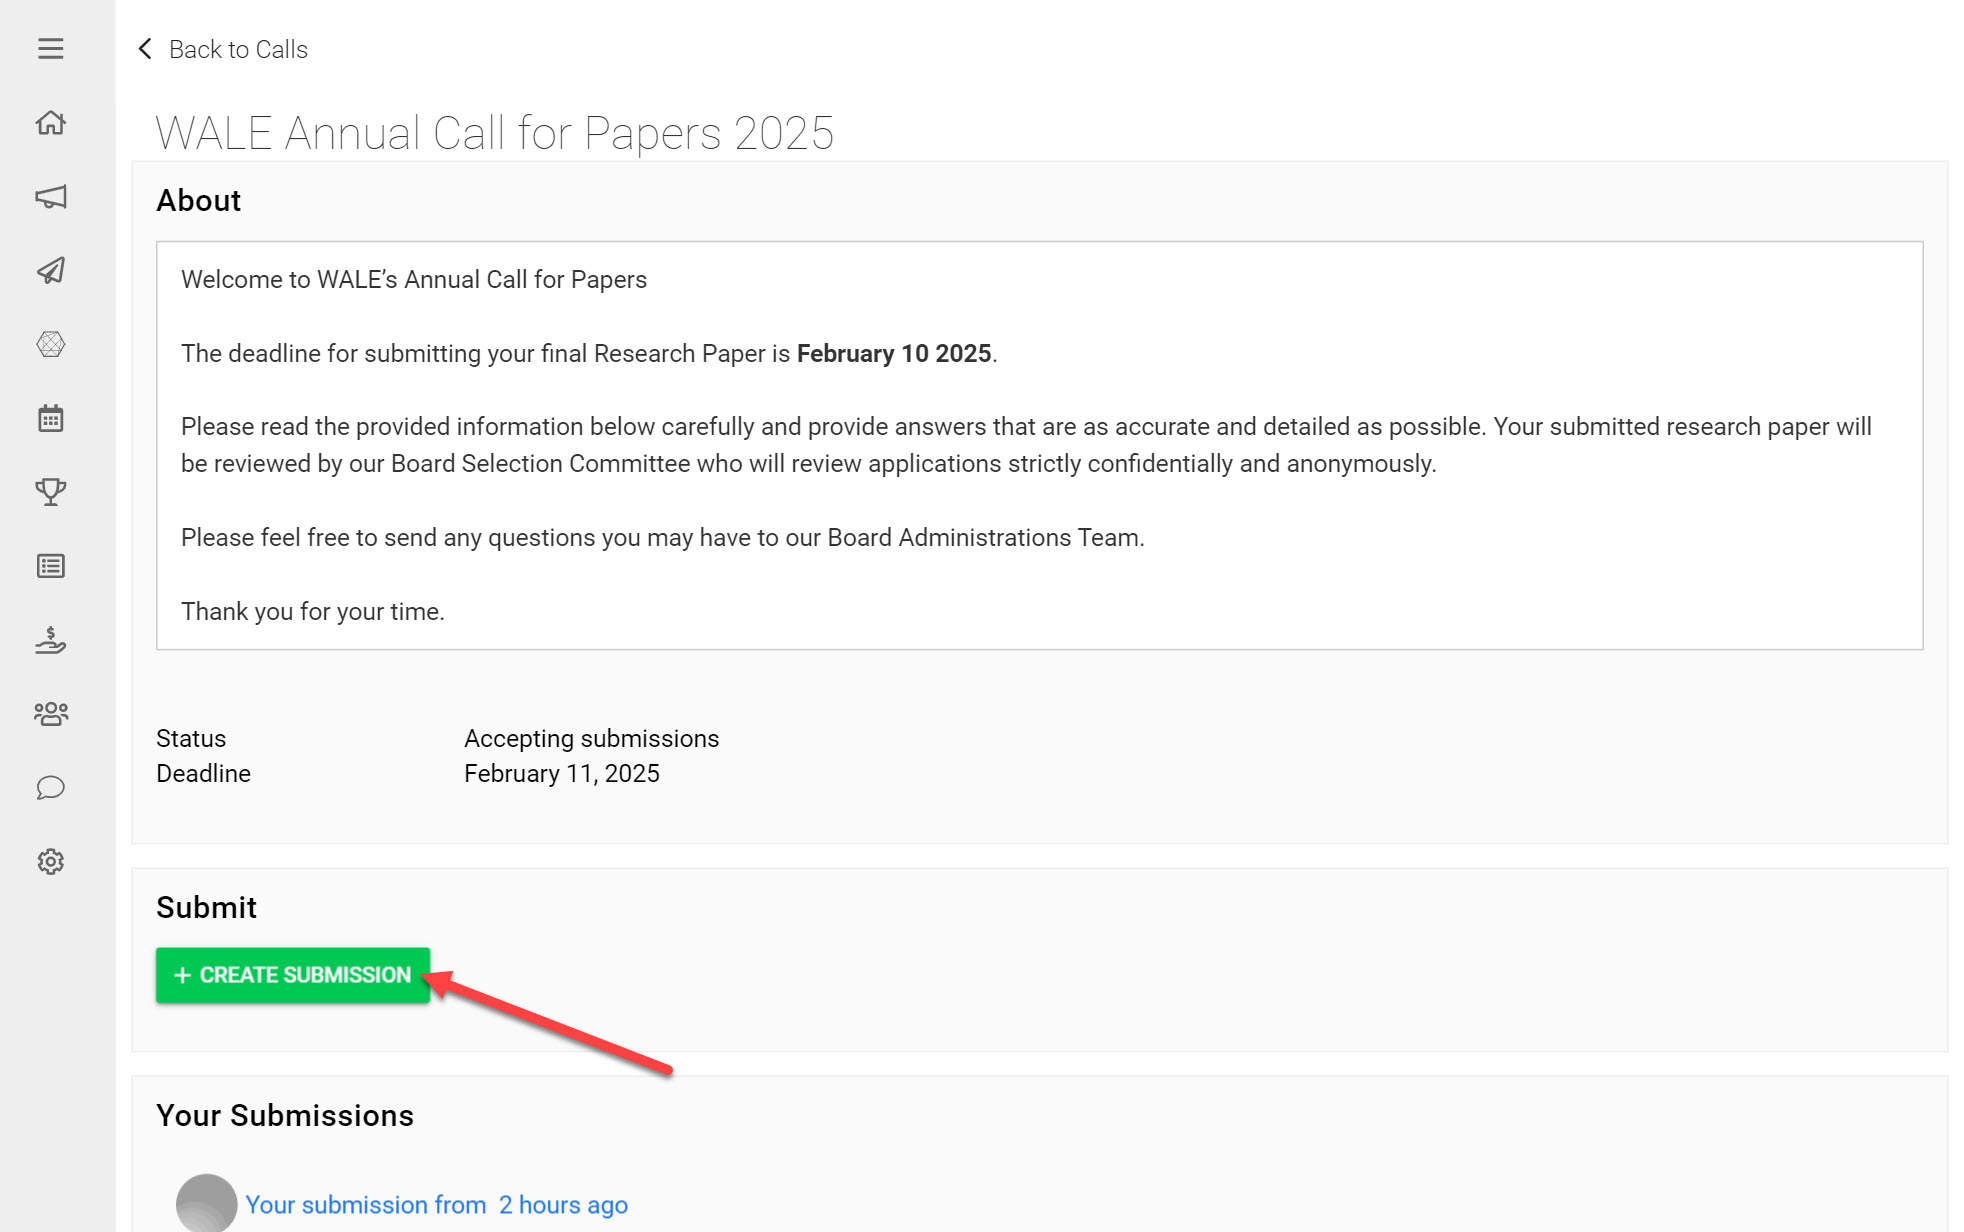
Click Create Submission
You are now on the Submission Form, When submitting to a Call there are a few things you should be aware of:
Progress
The Status Bar displayed at the top of the page shows how much progress has been made on your Submission Form so far, based on the amount of required Fields completed. This is particularly useful when the Submission Form spans several pages. Once you’ve reached 100% you are able to submit.
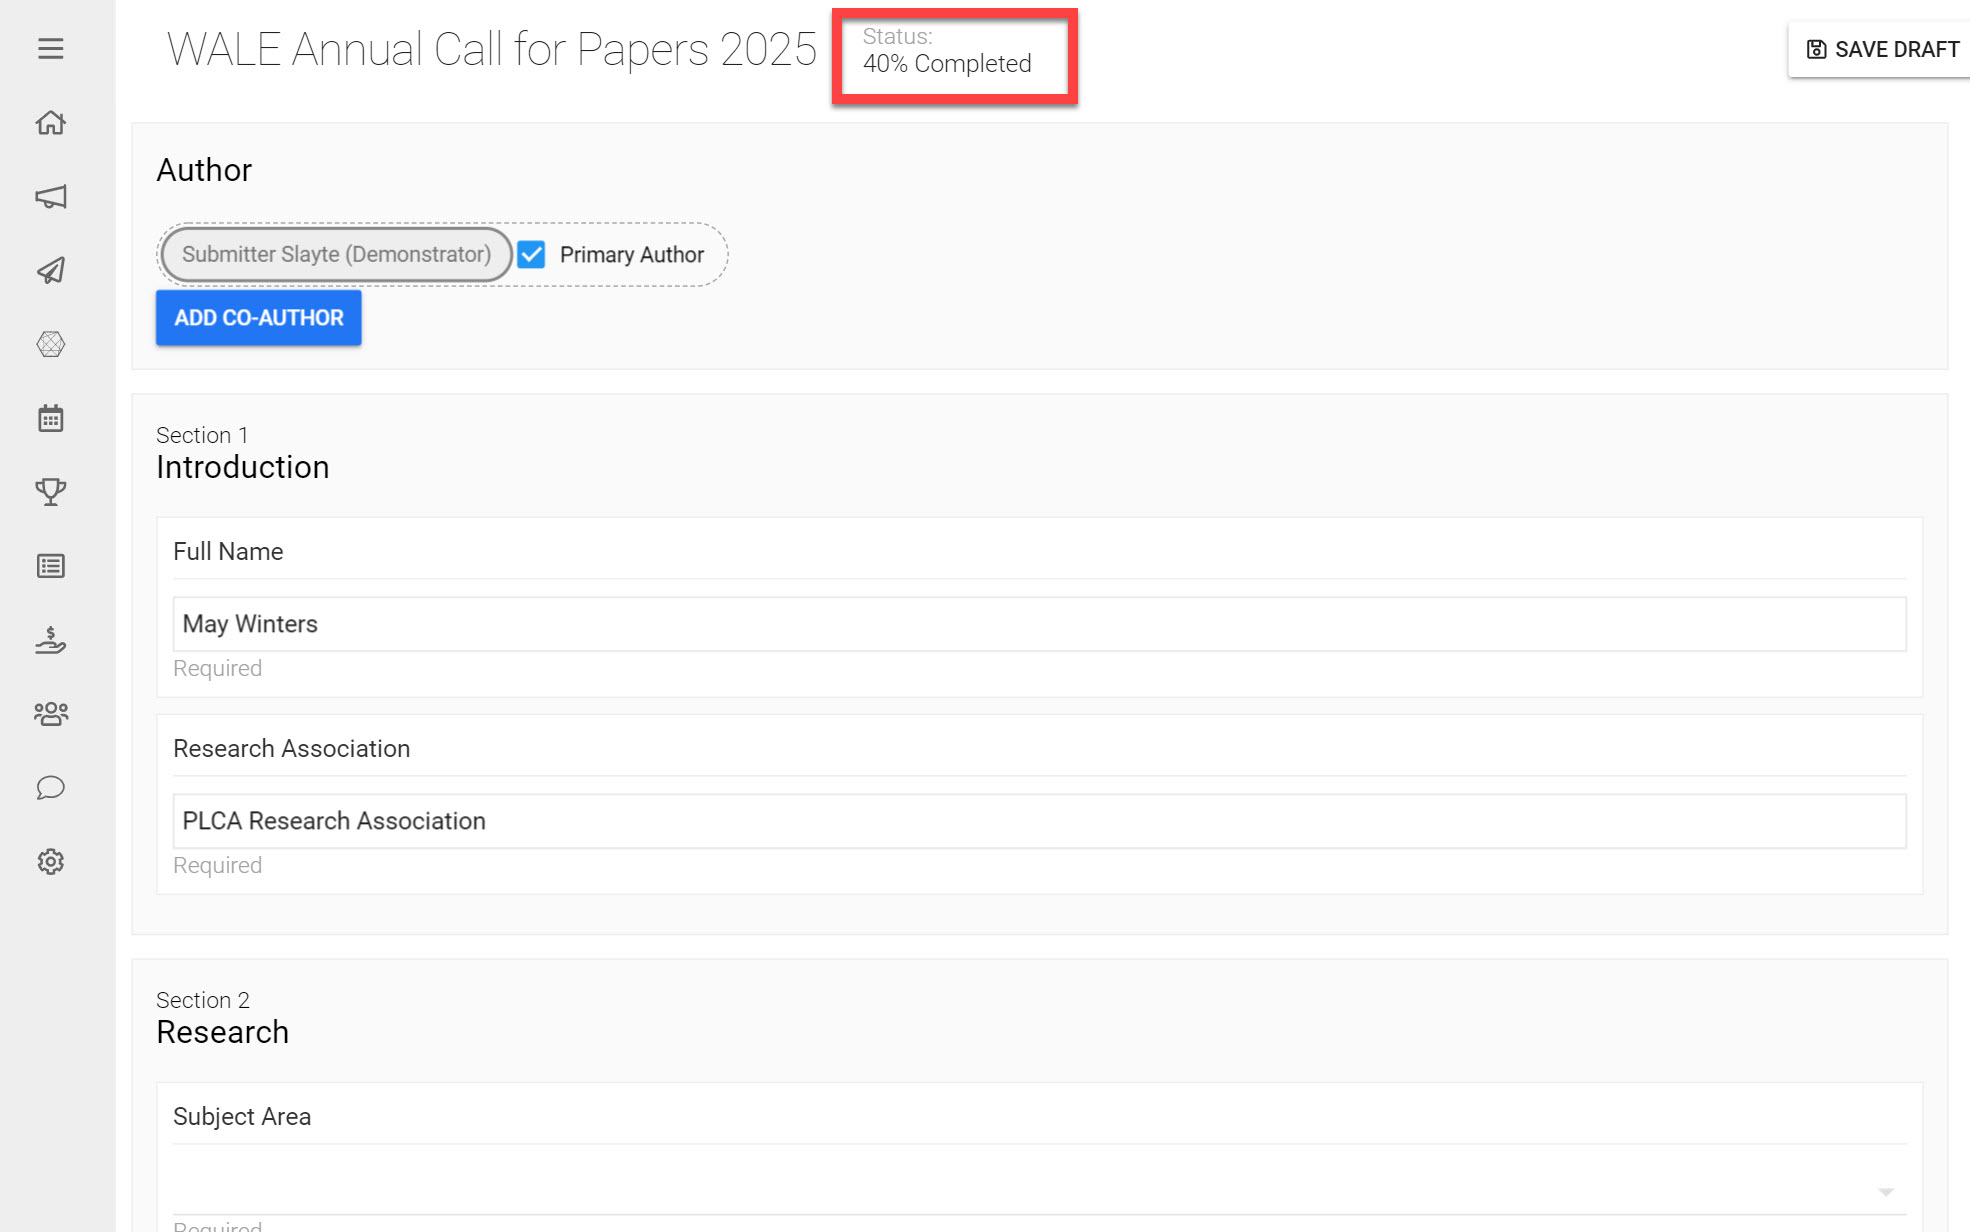
*Note: Optional Fields do not contribute to the progress indication.
Save a Draft
You can save your Submission at any point manually by clicking Save Draft on the top right. This allows you to leave your current Submission workflow and return to it at a later date, picking up from where you left off.

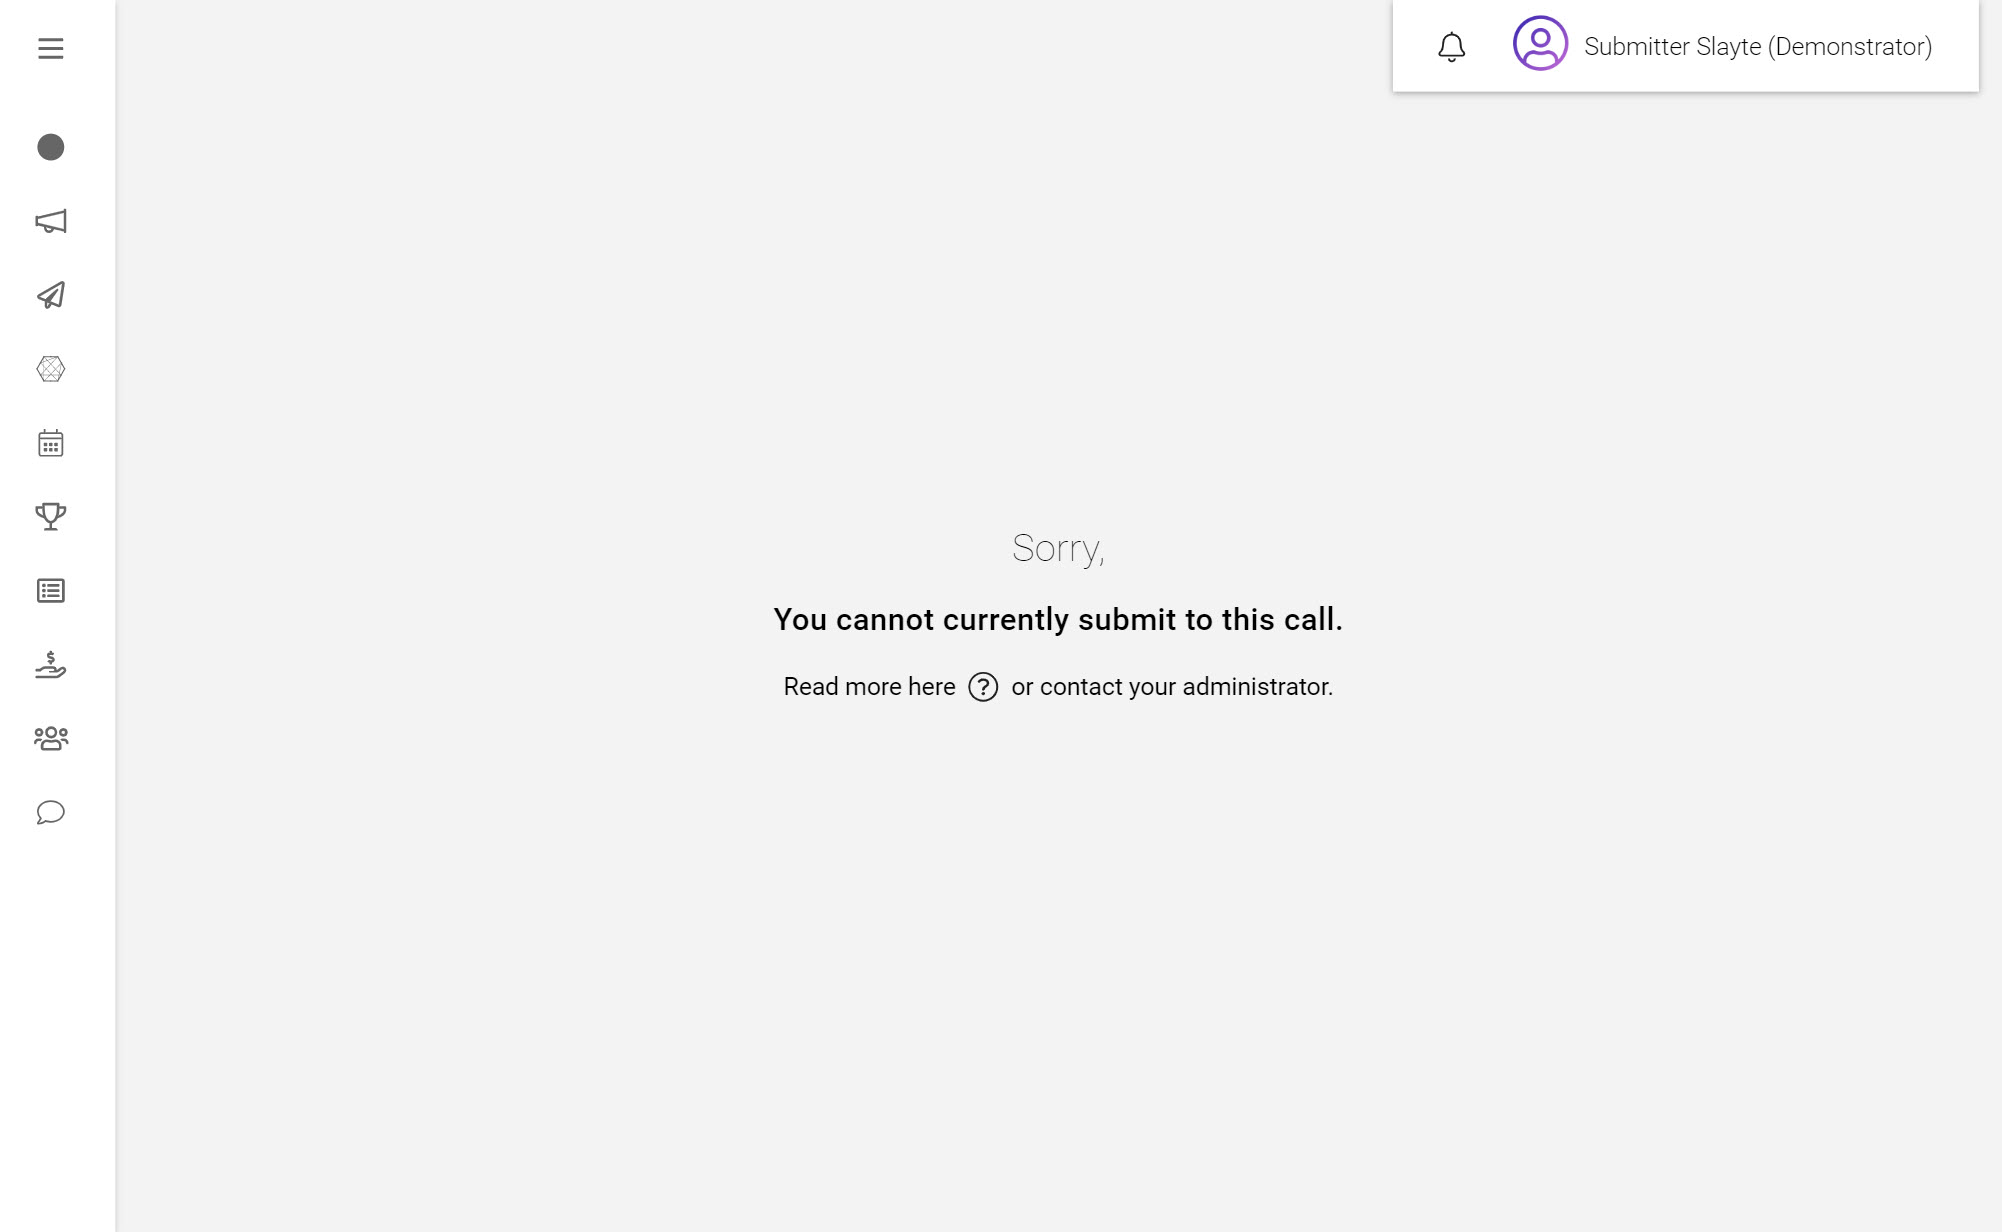
Submission Access Restrictions
In some Calls the Administrator may have added Submission Access Restrictions that permit only particular users to submit to a Call.
In this case you will see an error message like below:
Deadlines
Calls usually have deadlines set by the Administrator that determine when all Submissions, edits, and Drafts must be completed. That deadline is displayed respective to your Timezone on the Call Detail. Once this deadline has been reached, Submissions will no longer be accepted.
Fill in the Required Form Fields
The next step will be to fill in all the required Fields on the Submission Form. The Submission Form you fill in will once again depend entirely on the Call objective. Below we will run you through a few common Form Fields and some important things to note on the Submission Form.
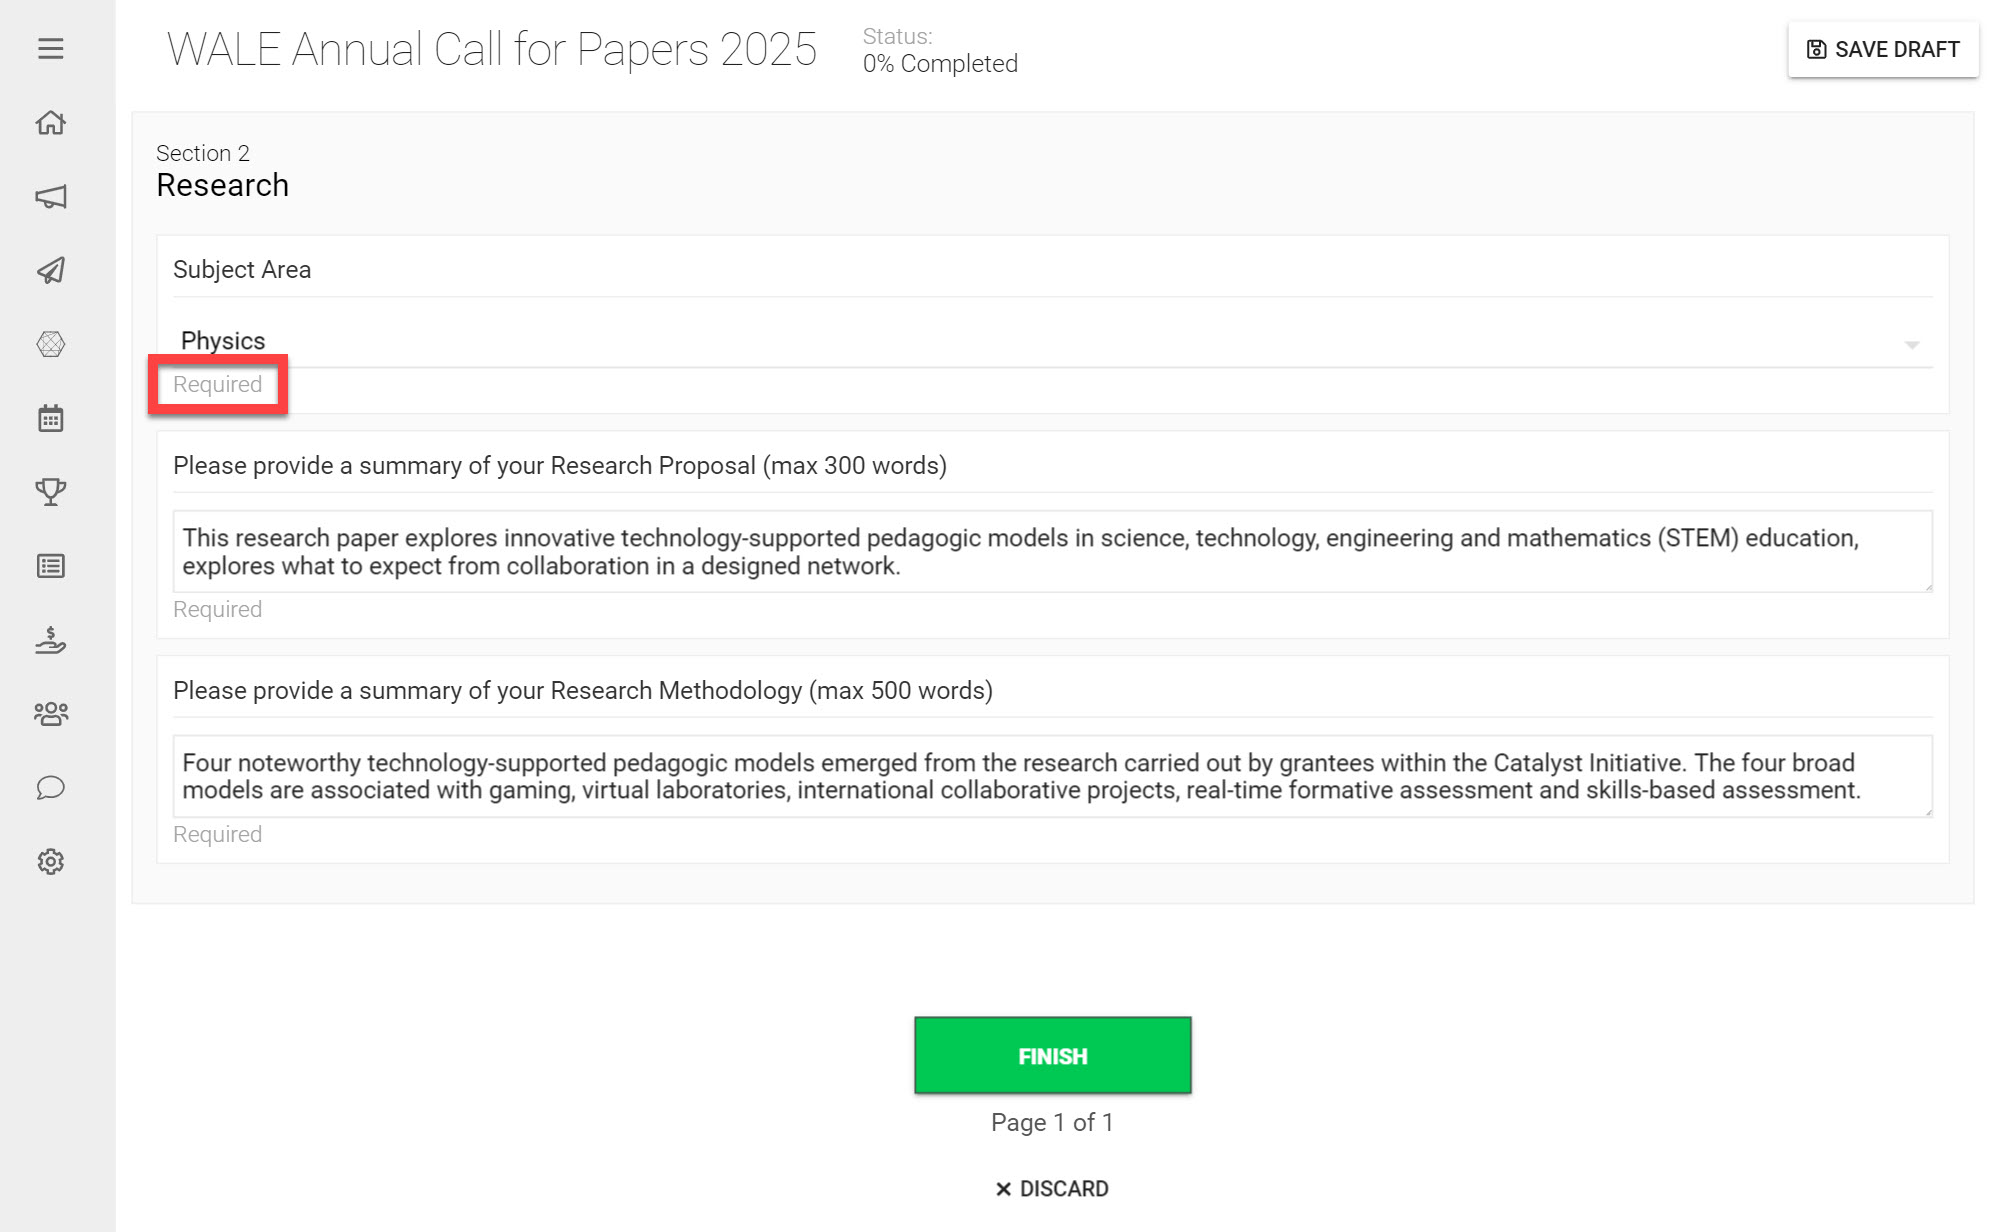
Required Fields
To complete your Submission, you must ensure all Required Fields have been filled in.
These may be Fields requiring your Name and Research Topic proposal for example. You will be able to identify Required Fields as they have the word Required written under them, as shown in the example below. If you accidentally skip past a Required Field, a warning message will also be shown as a reminder to fill in this Field.
Attachment Fields
Attachment Fields will require you to upload a document/ File type specified by your Call Administrator. Take note of the Allowed types: text below the upload button that will inform you on which File types you can upload here.
Min/Max Restrictions
On Fields that require you to fill in text, there may be minimum or maximum amounts of words/characters required. You can see any word/character restrictions on the bottom-right of the text input box, as well as a word/character count of your written text for your reference.
Media Link
This Field allows you to add a link to a previously uploaded media file such as a video presentation. You can see which Media Services (such as YouTube or Vimeo) can be added to this Field on the bottom-left of this link input box as shown below.
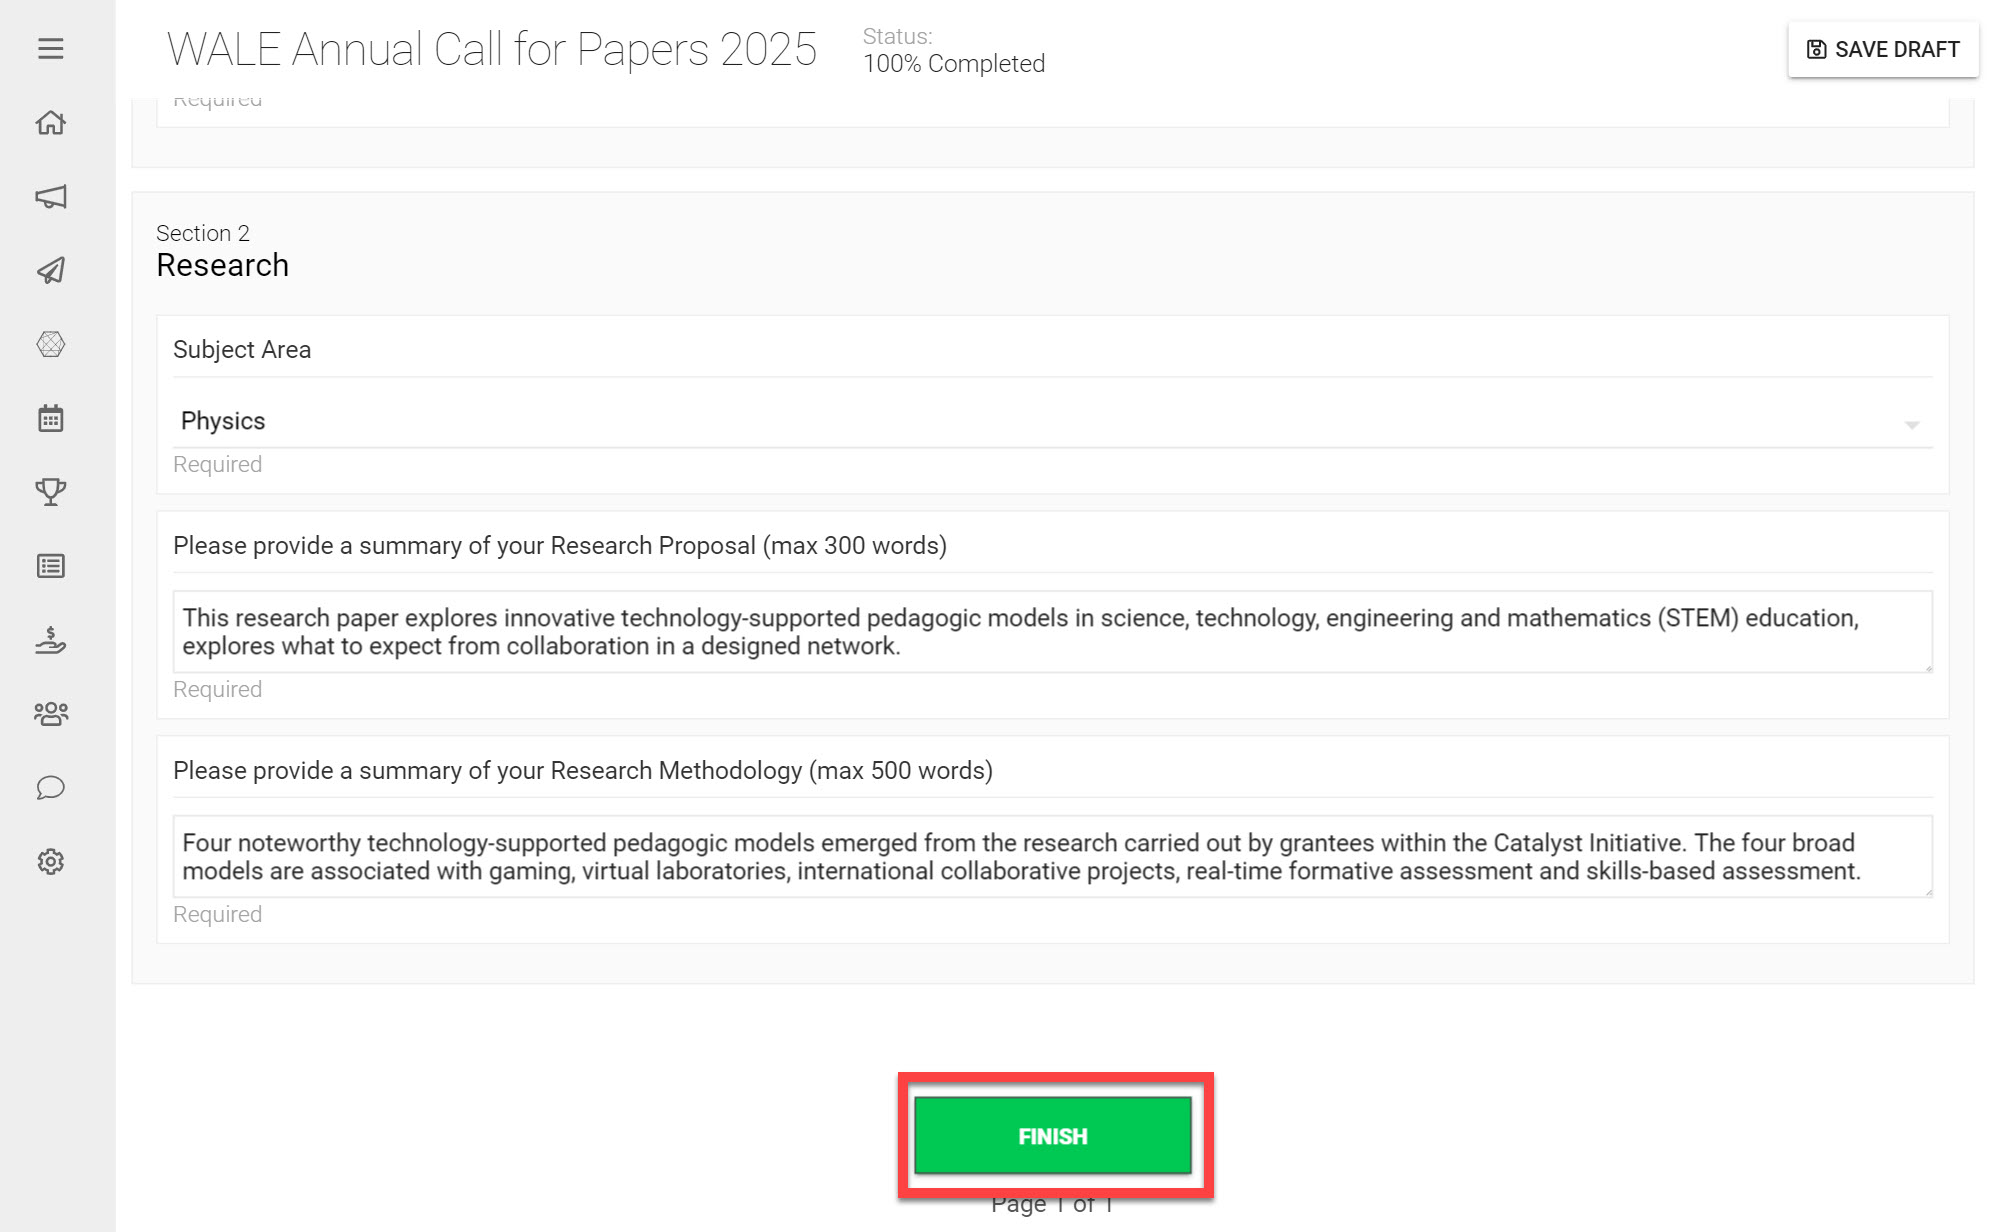
Fill in all the required Form Fields
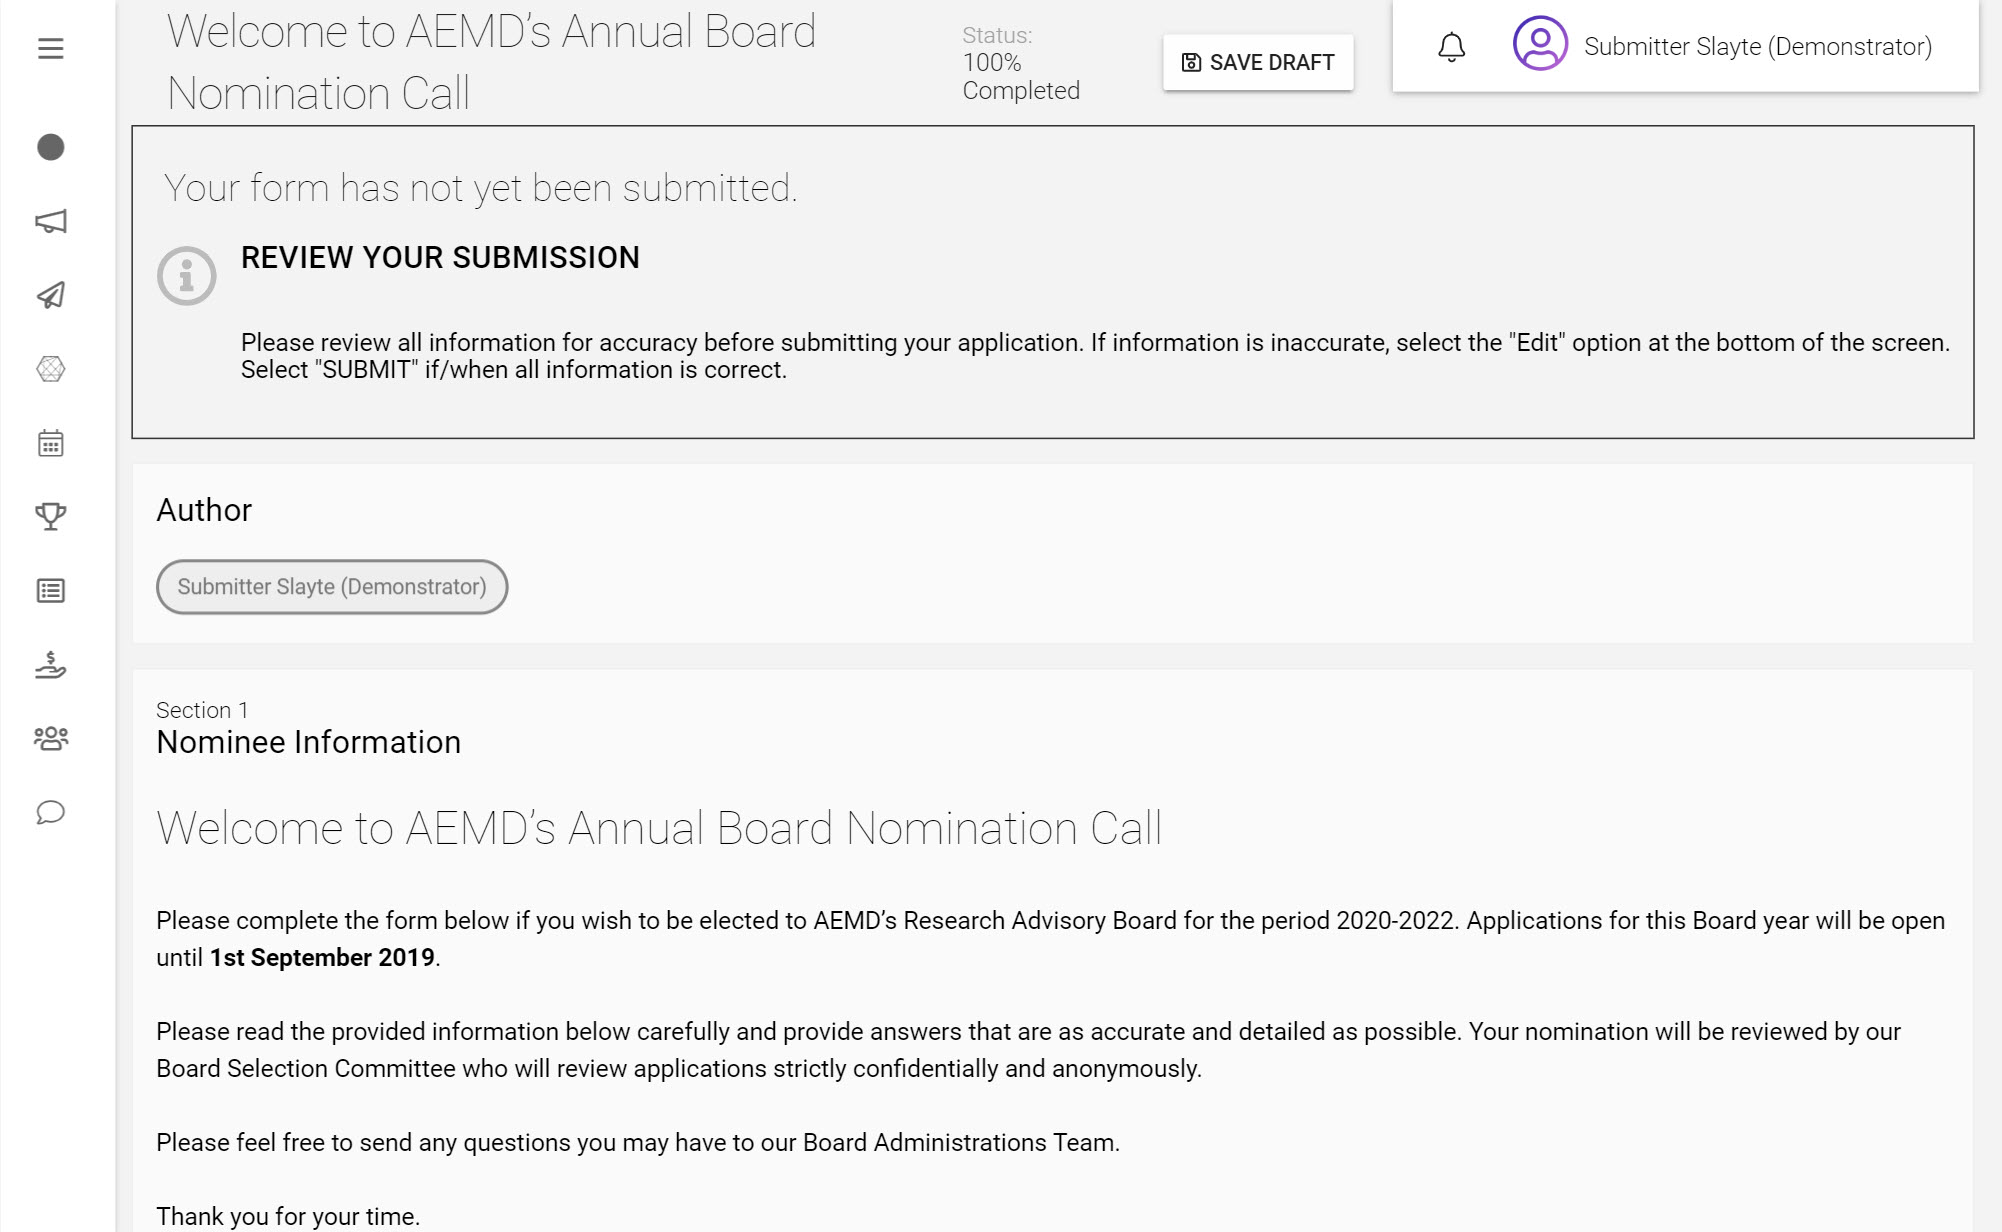
Review your Submission
Once you finish your submission, click Finish. This will take you to a page to review your submission for spelling and formatting.
Review your Submission to ensure you are pleased with the final outcome.
Complete your Submission
You will have a final chance to make any edits to your Submission before officially submitting it by clicking the Edit button.
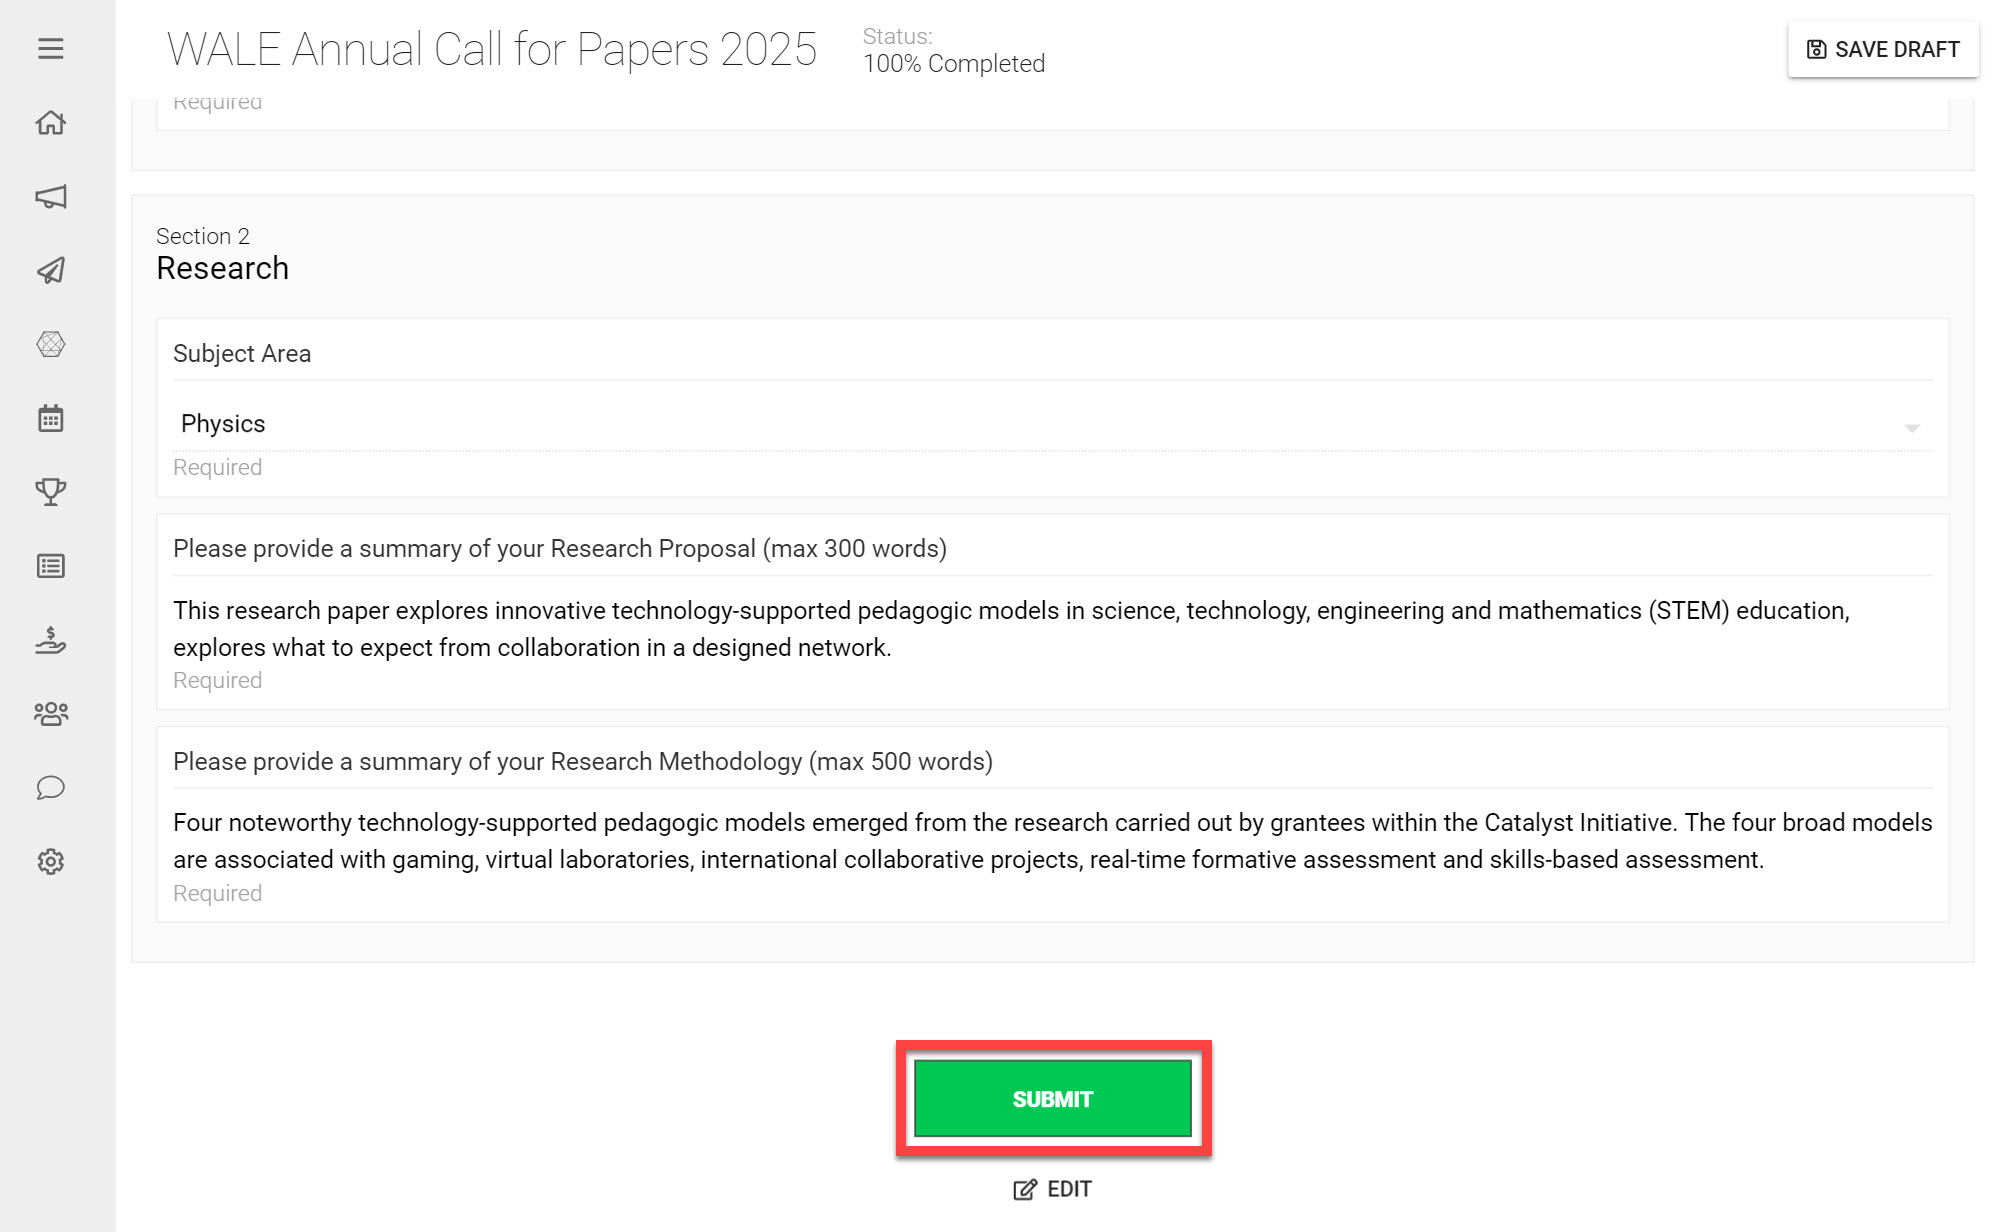
Once you are pleased with your final Submission click Submit
Once your Submission has been successfully submitted, you will see a Success response. You can view your sent Submission by clicking View Submission. You can also view your Submission any time in the future by going to the Call that you submitted to and clicking on the Submission.
Pay & Submit
In case there’s a payment required for you to complete your submission, you’ll see a button Pay & Submit that will take you through a process of completing the payment. Please follow the steps on the screen to complete it. Depending on the type of payment the Administrator has configured, you may see a pop-up open so please ensure to allow this popup if you don’t see it.
Confirmation Email
Usually the Call Administrator has set up that you receive a confirmation email to the email address configured on your account. Should you not receive a confirmation email within 5 minutes of submitting, please check your spam folder first and then reach out to your Call Administrator with any questions.
