
A Call is a generic term for an invitation to submit content. Submissions for your Call will be collected when users fill in a Submission Form designed by you. A few common use-cases for Calls are:
- Research Proposals
- Board Nominations
- Committee Applications
- Standard Form Applications
In this article we will walk you through the workflow of creating a Call from start to finish. This involves 4 main steps:
- Filling in Call Details
- Configuring Call Settings
- Creating a Call Template
- Viewing the Call Overview
Let’s take a look at each step in more detail:
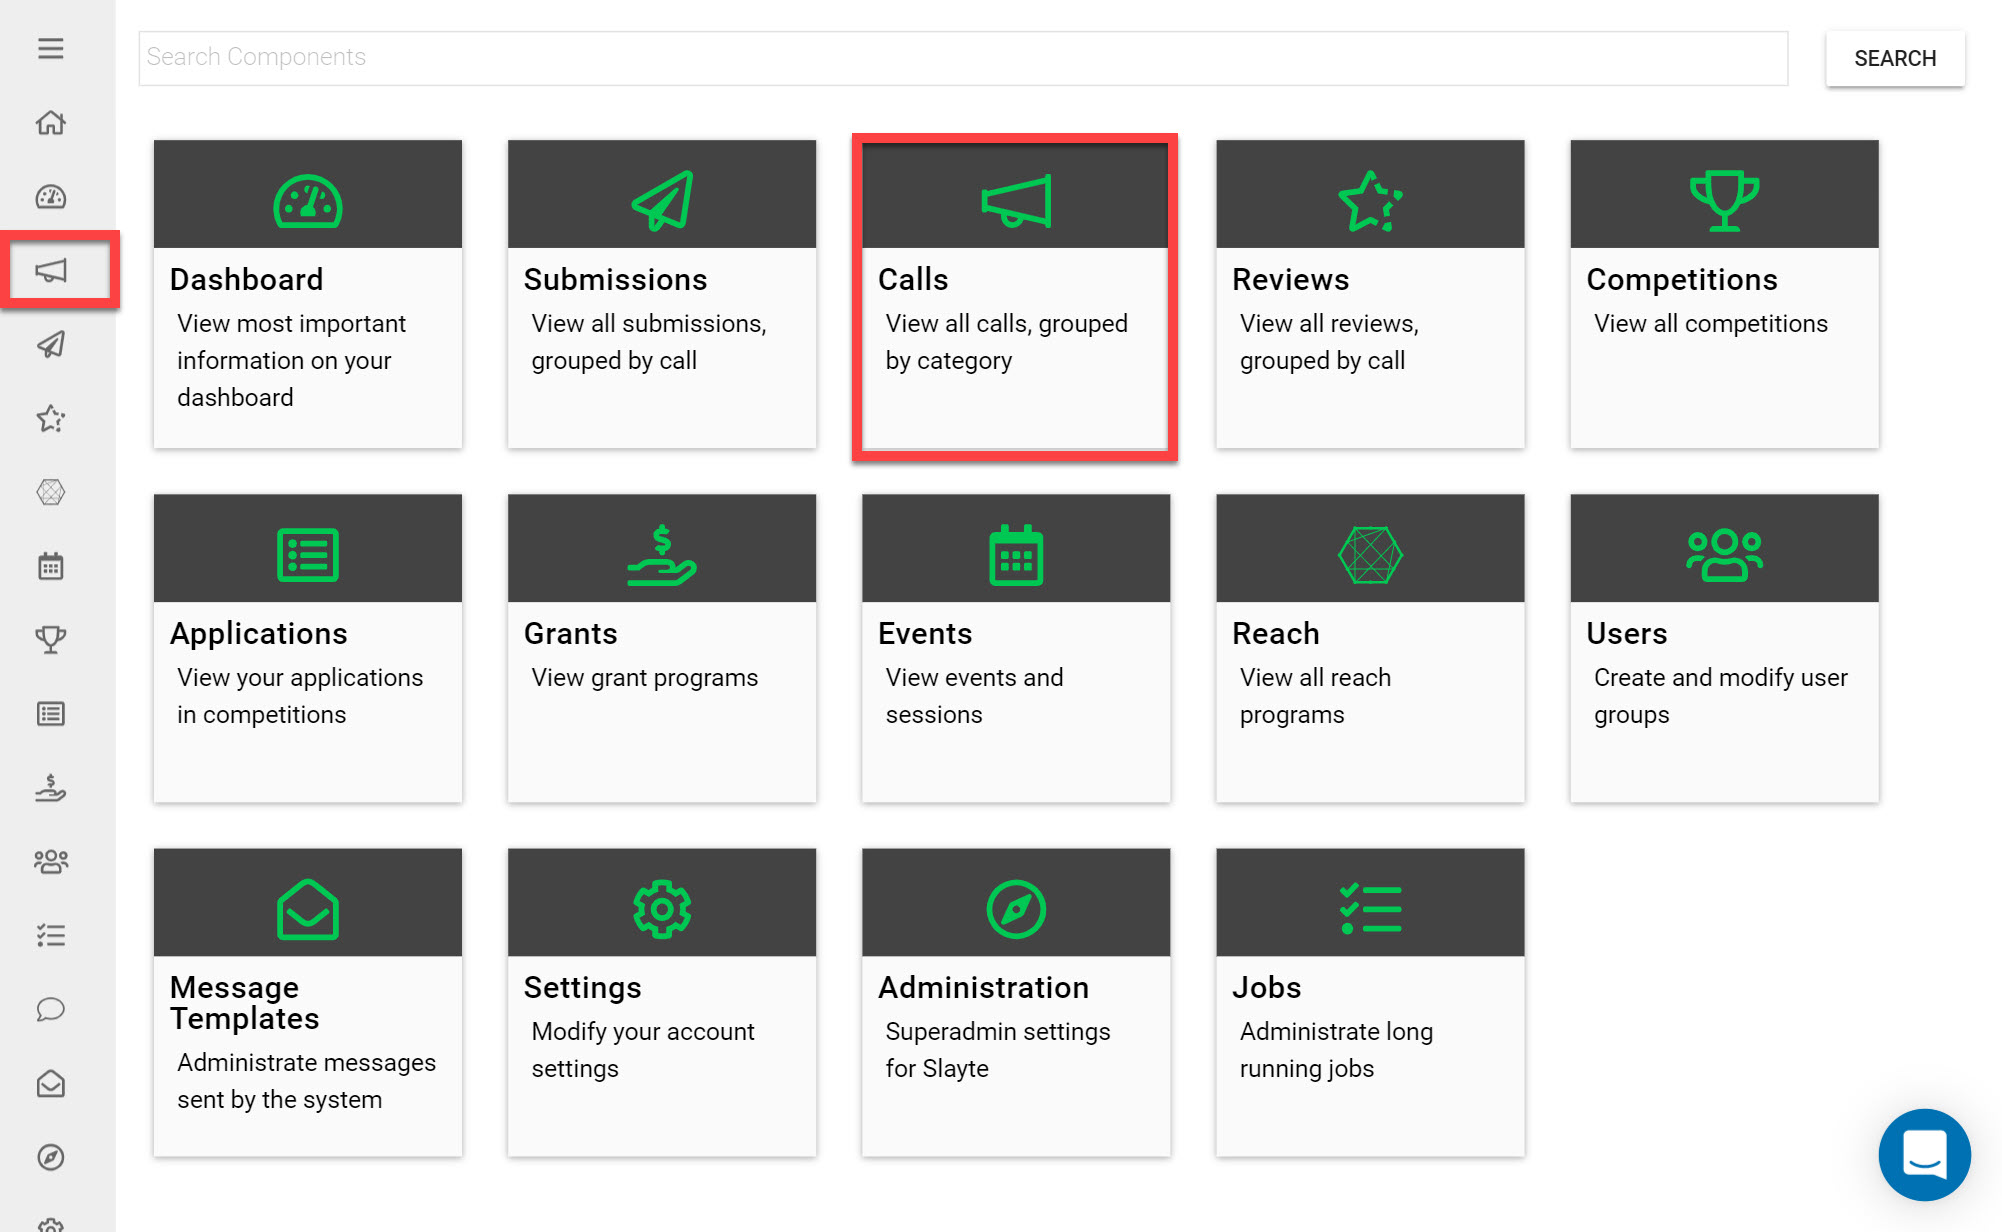
Go to the Homepage and click on the Calls icon
Click Create New Call and then click on Custom Call
Step 1: Fill in a Call Name, Category and Description
This is the first step of the Call Creation Wizard that allows you to fill in the general Call information.
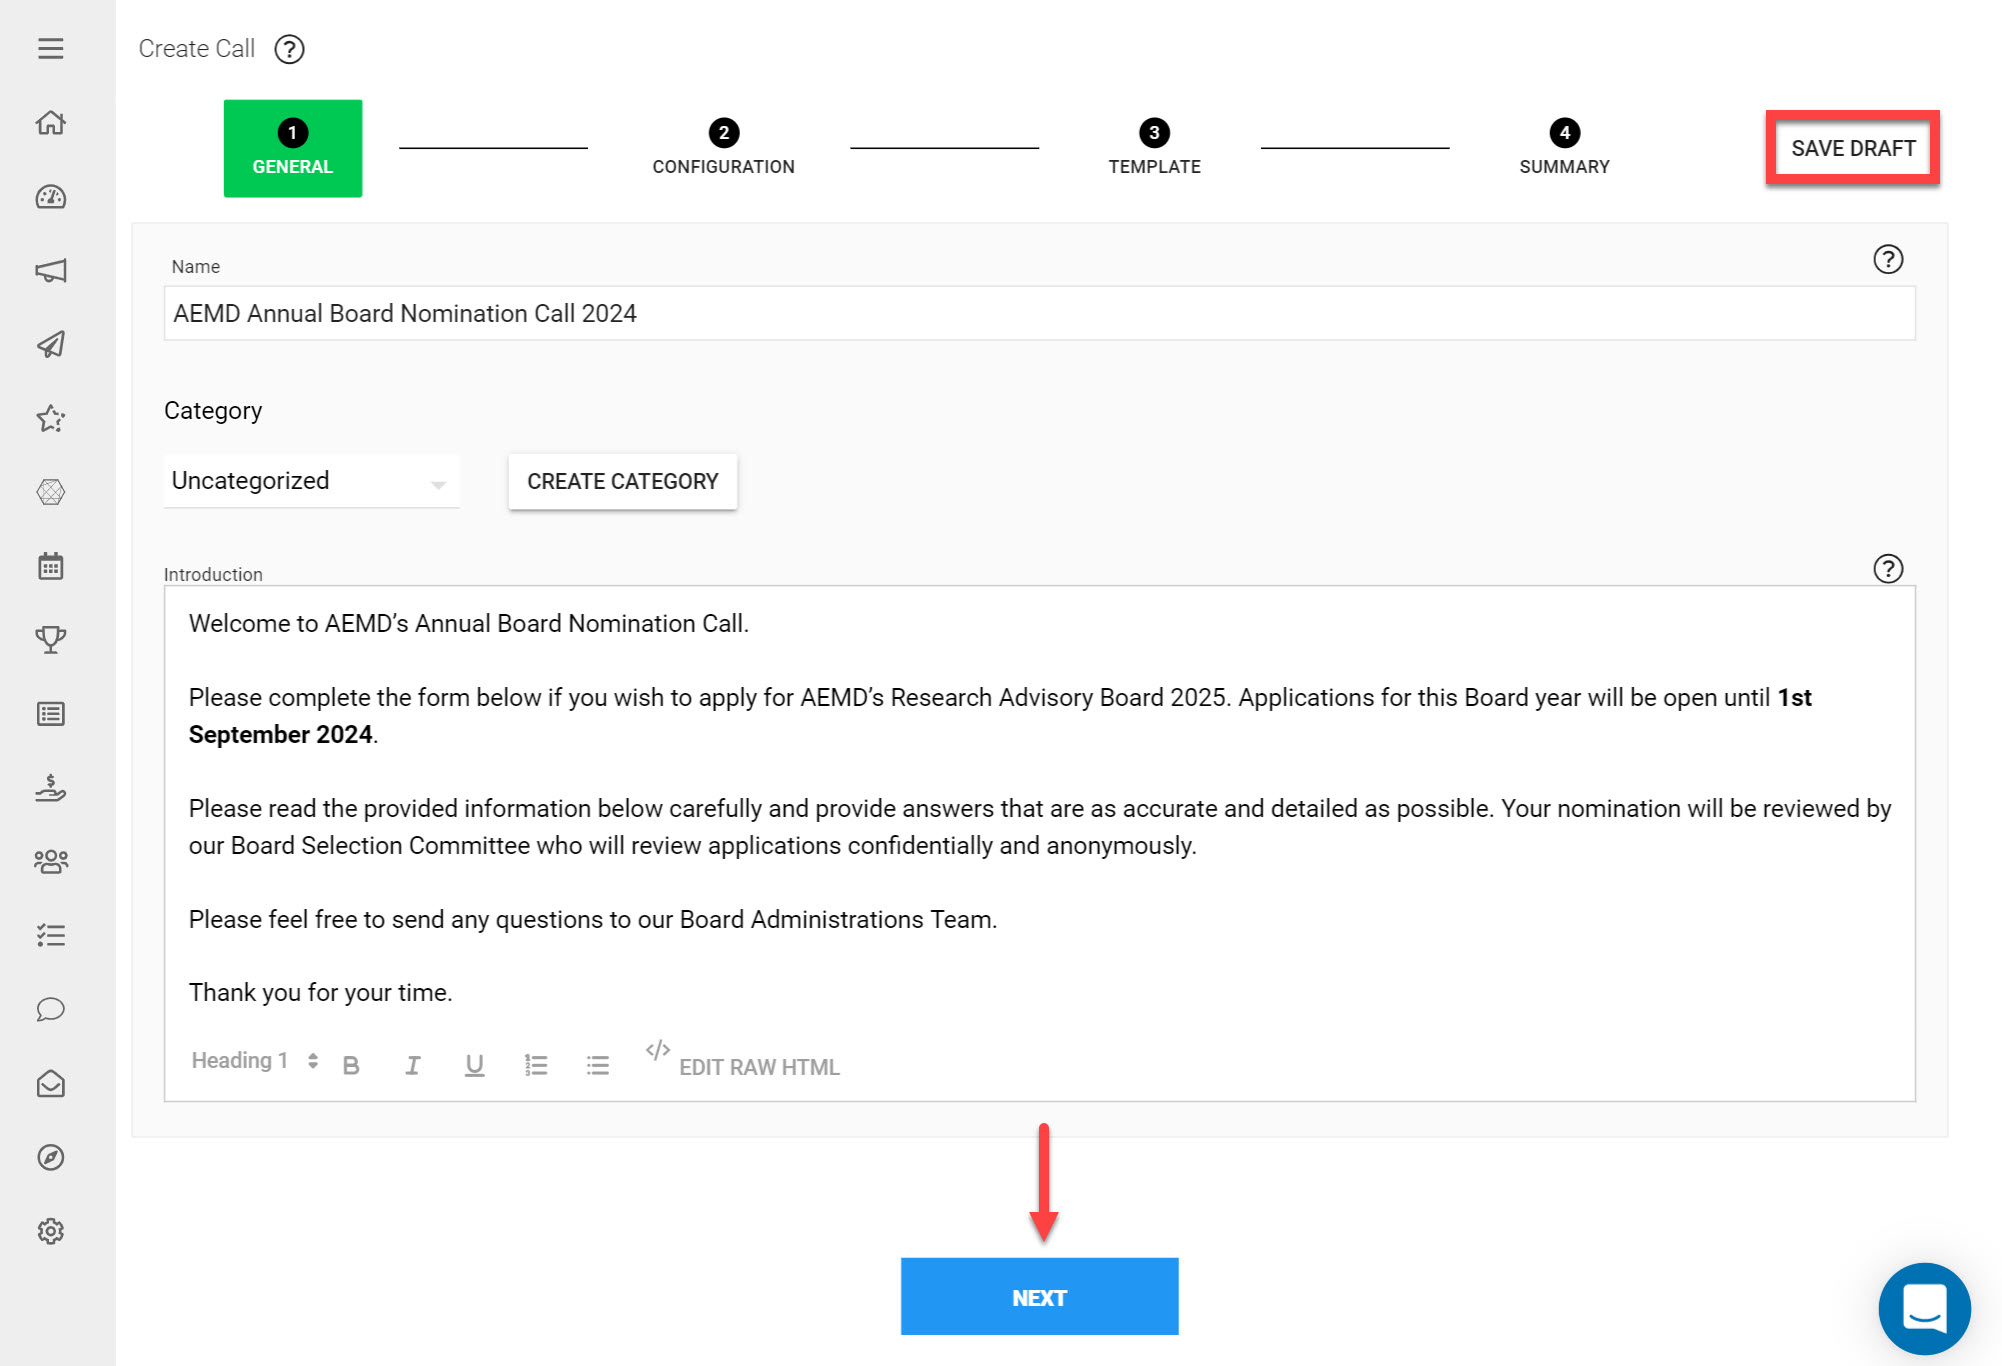
Input a Name for your Call that will help users identify it
Choose a Category that will be used to group Calls together on the Calls page. New categories can be created if needed.
Add an Introduction to address all prospective Submitters and include information about the Call, guidelines, and submission instructions.
Click Next
*Tip: You can save the progress of your Call at anytime by clicking Save Draft on the top-right side of the page.
Step 2: Adjust your Call Settings
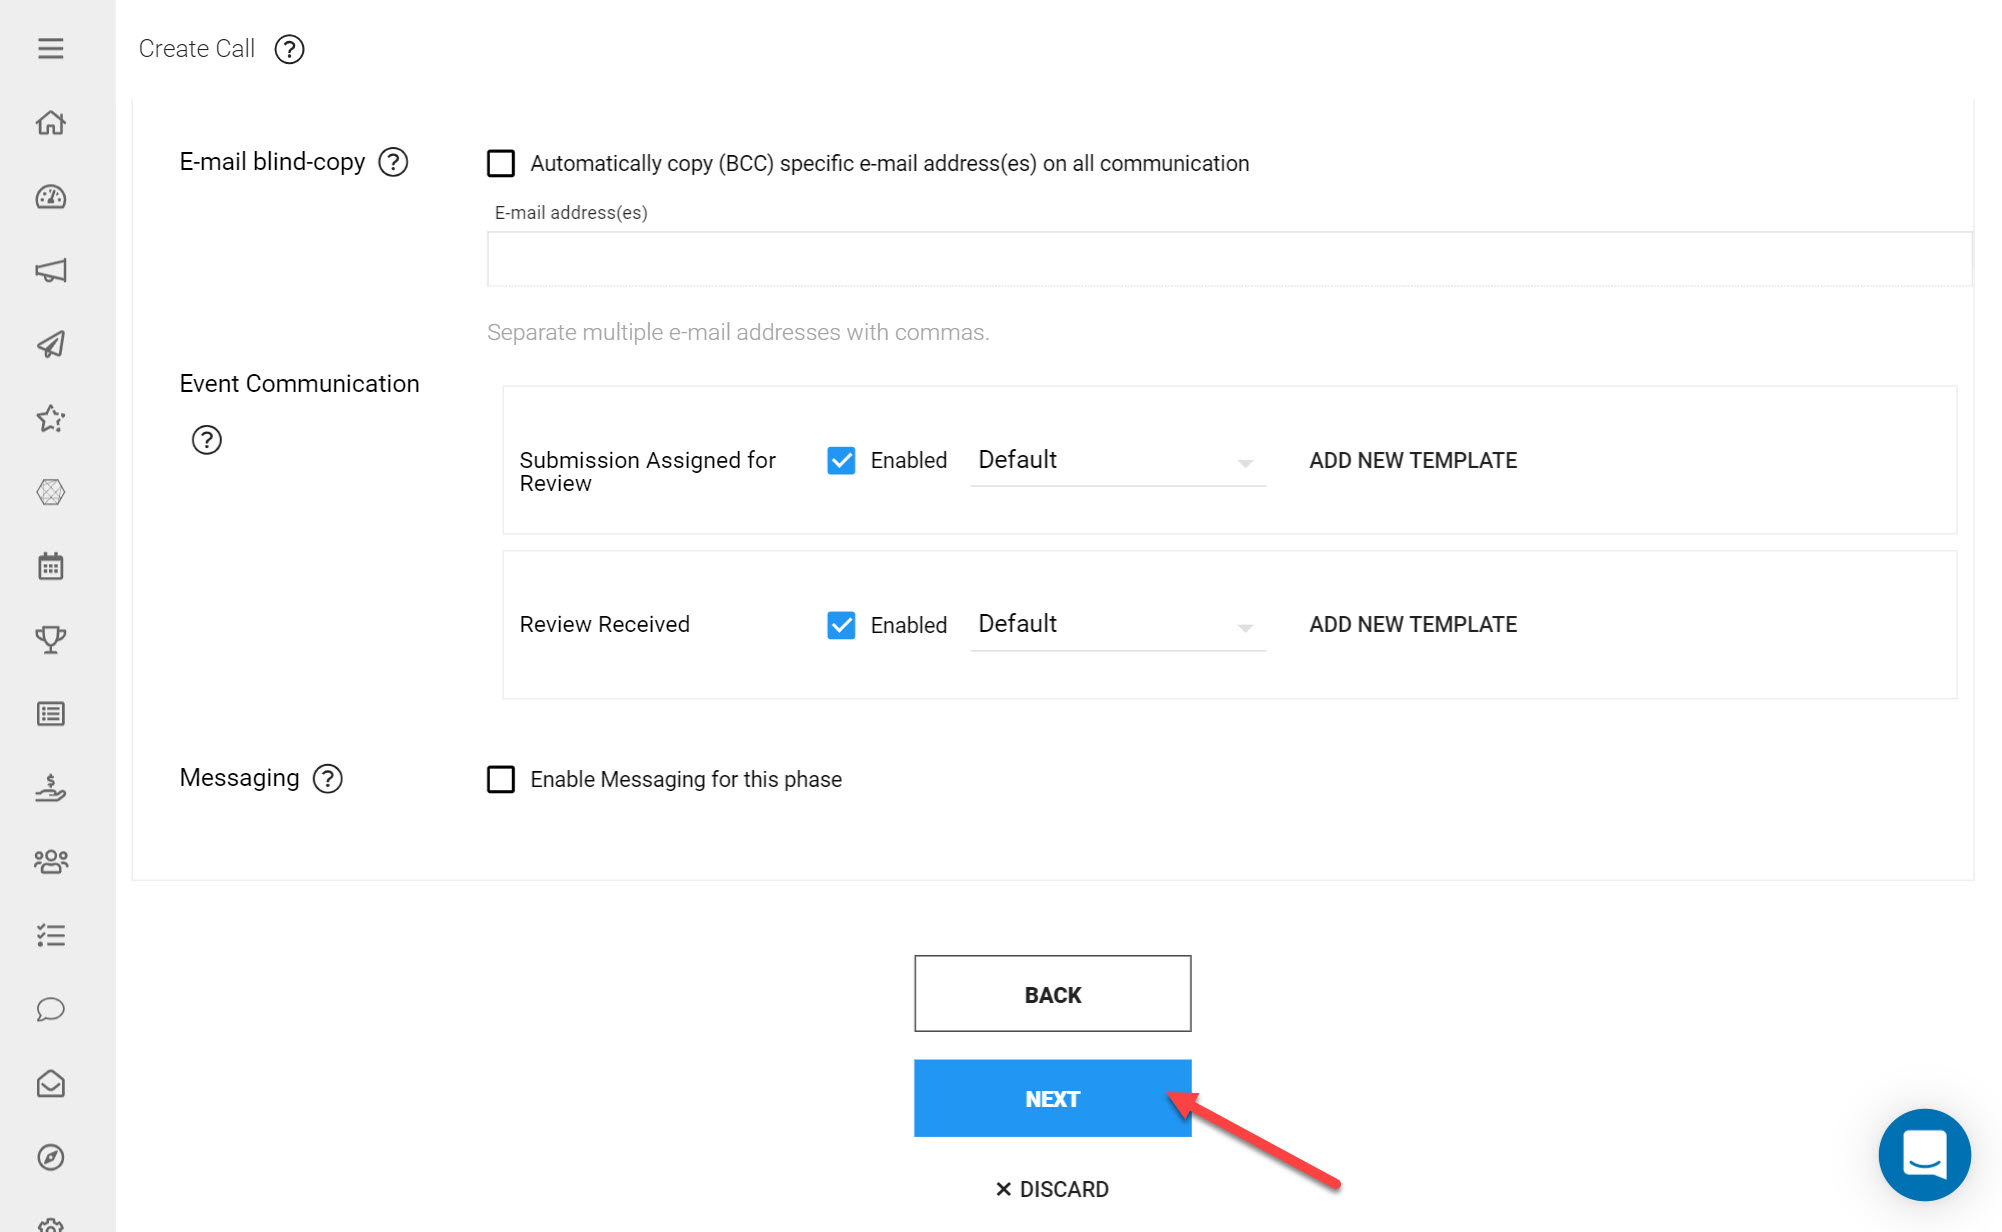
You may want to add custom branding to your Call to match your brand identity, or set up automated Call notifications to be sent out when users complete certain actions in Slayte. The Call Settings control Branding, Communication, Review and Timezone settings.
Call Settings can be modified at a later date on the Call Detail. For now we will continue this Call setup with default Settings.
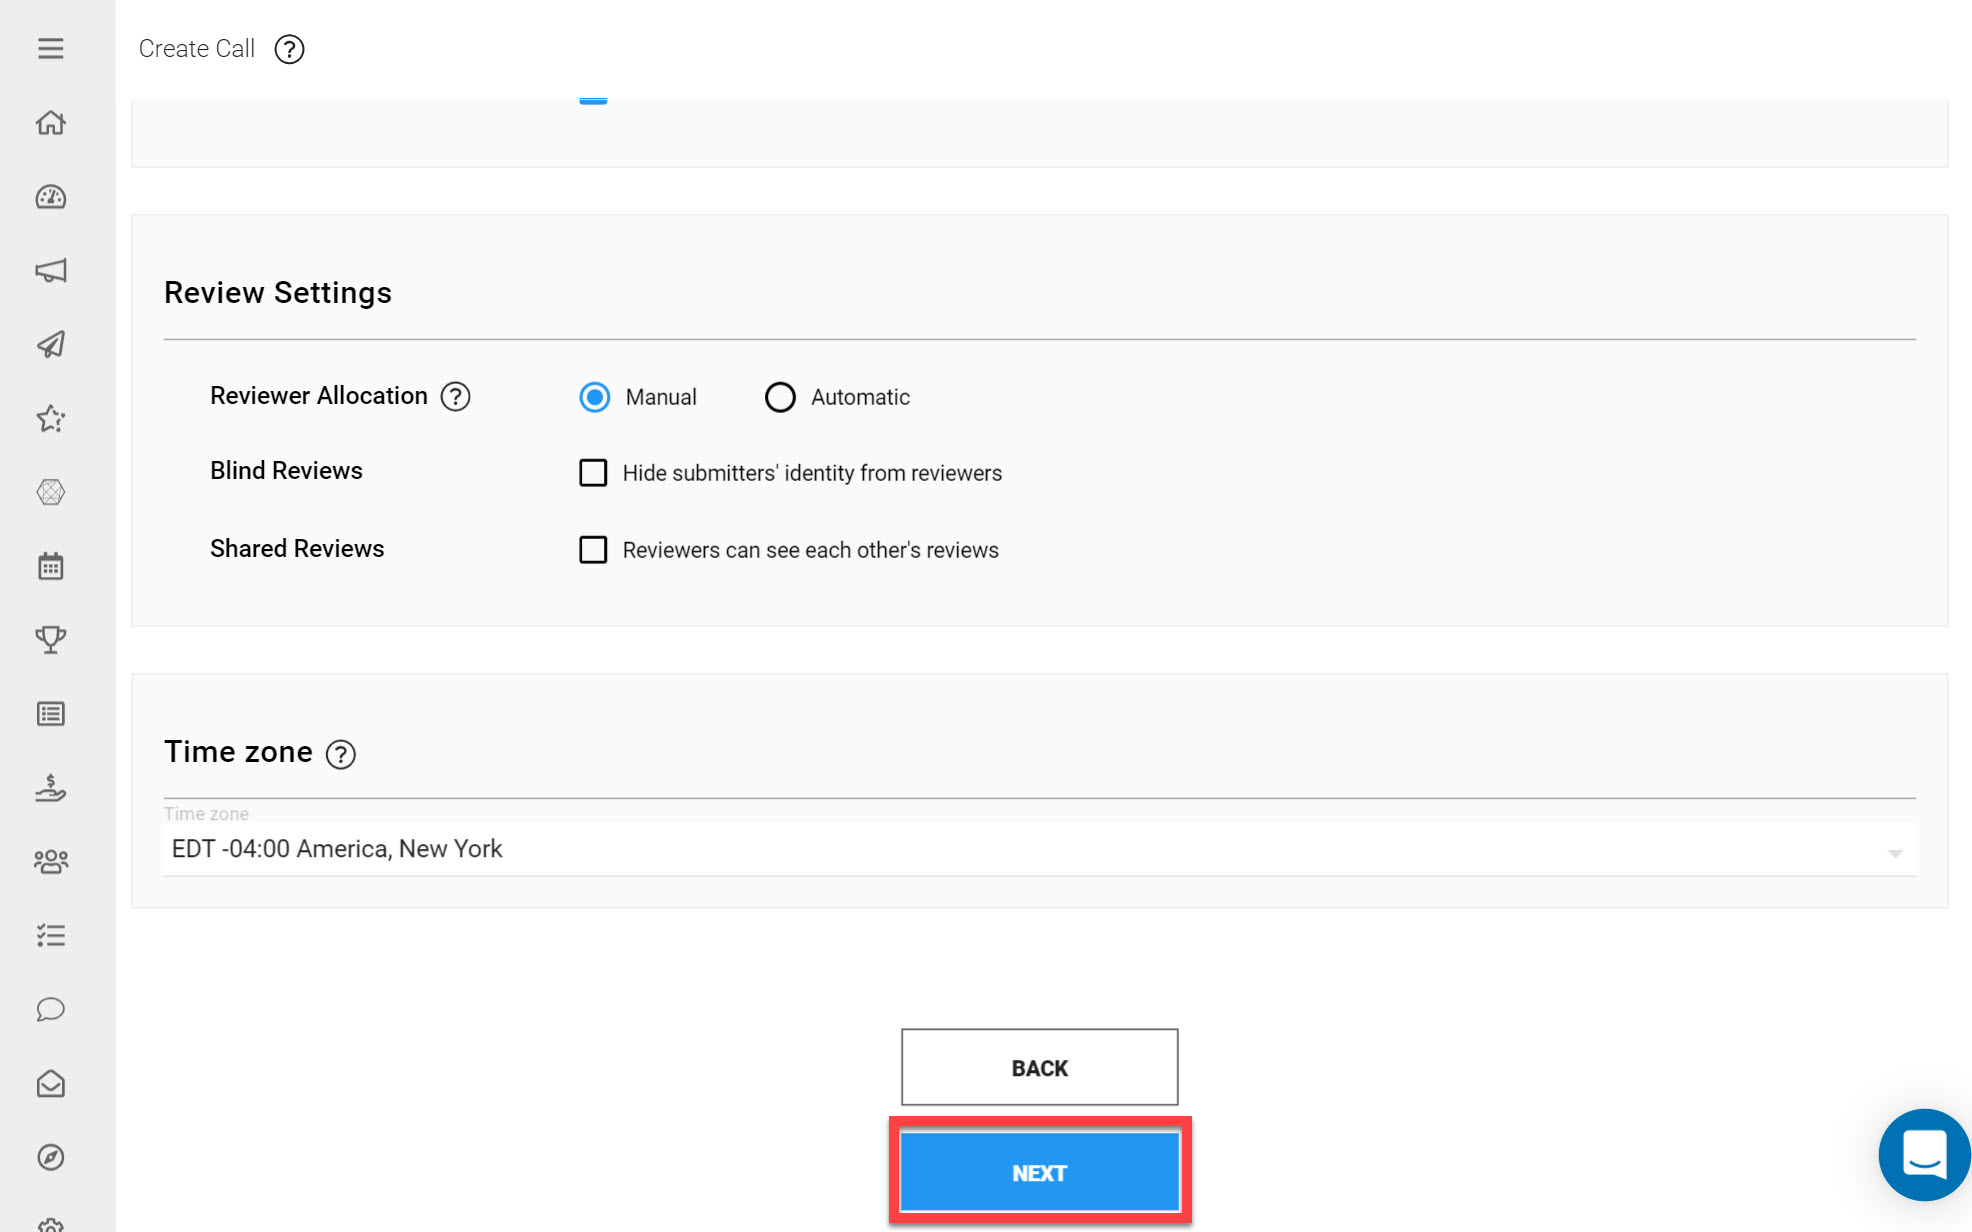
Scroll to the bottom of the Configuration page and click Next.
Step 3: Configure your Call Template
Think of the Call Template as a list of all Submission and Review Phases in your Call, along with their Forms, Phase Dates, Settings and any dependencies between them. You can add as many Call Phases as preferred, but at least one Submission Phase needs to be added to create the Call.
*Note: The below is only a short outline of the configuration options around the Call Template. Read more about Template & Phases, Submission Phases and Review Phases.
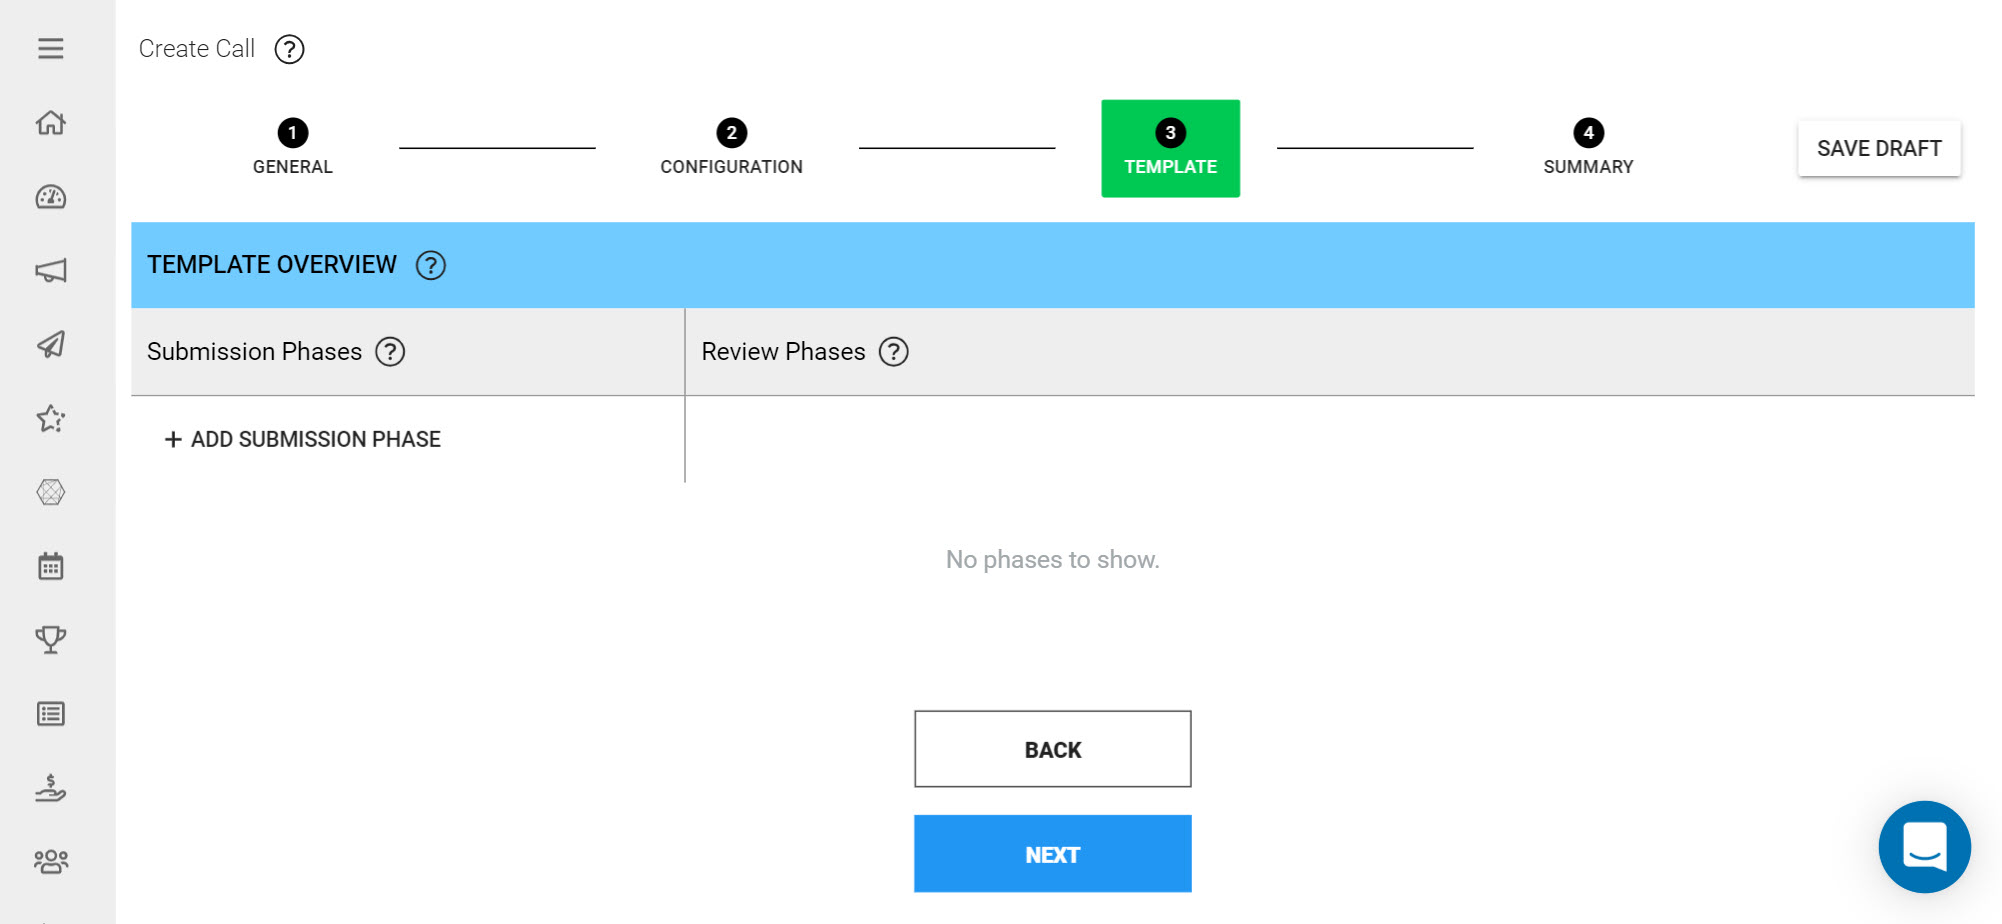
Add a Submission Phase
The Submission Phase covers the period where Submissions can be submitted to your Call.
*Note: If you have more than one Submission Phase it is important that the dates from each Submission Phase do not overlap- otherwise Submitters will run into an error message when Submitting.
To add a Submission Phase:

Under Submission Phase click Add Submission Phase
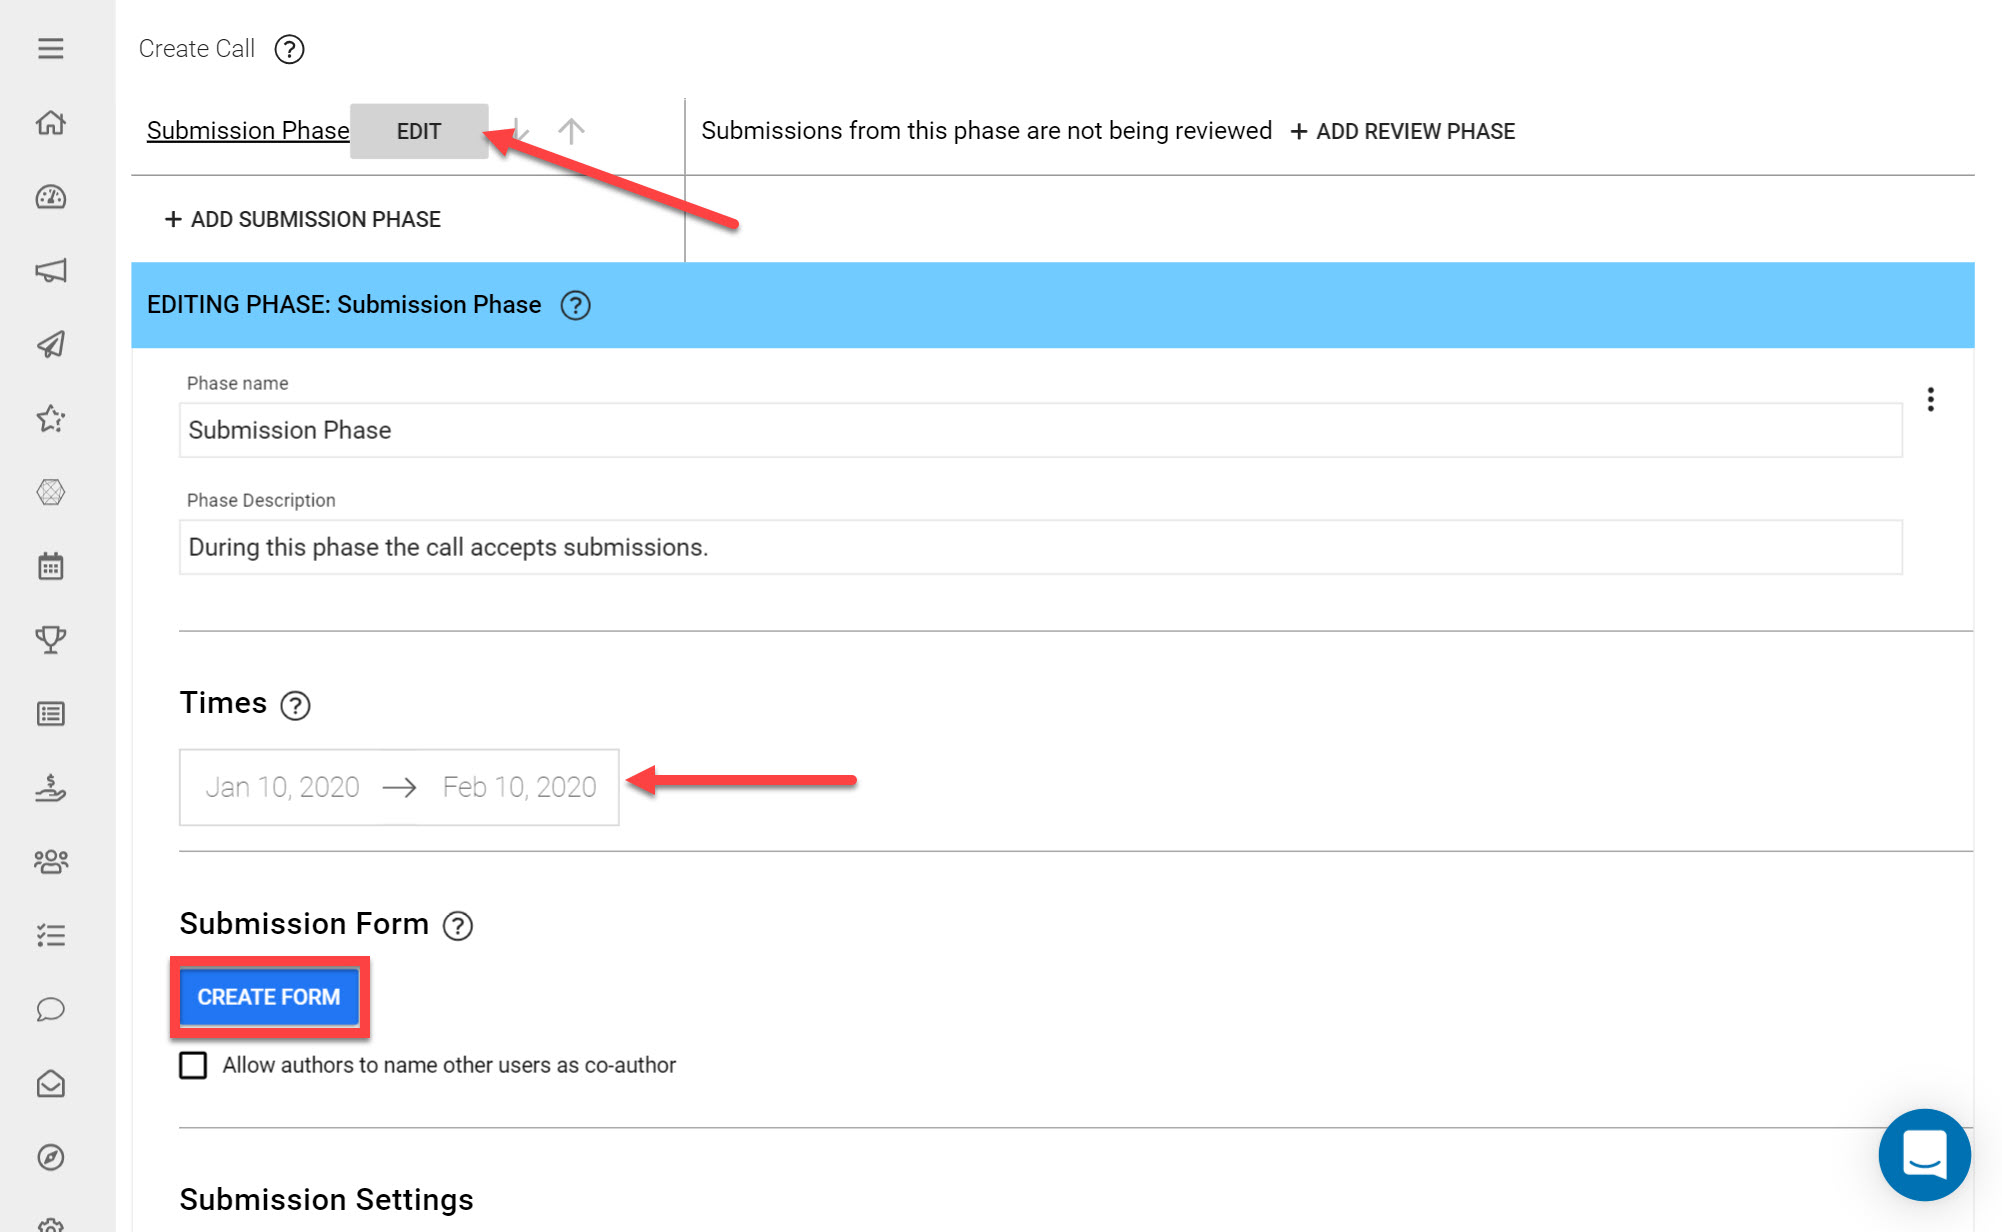
Click Edit next to the Phase you created
Set Begin and End time of the call phase using the Times button. On the left-side select a beginning date to start accepting Submissions and on the right-side choose a deadline for collecting Submissions.
Click Choose/Create Submission Form
You are now entering the Form Editor. This controls the Form that your Submitters will fill in. You can add Sections and Fields to customize the exact content Submitters will fill in.
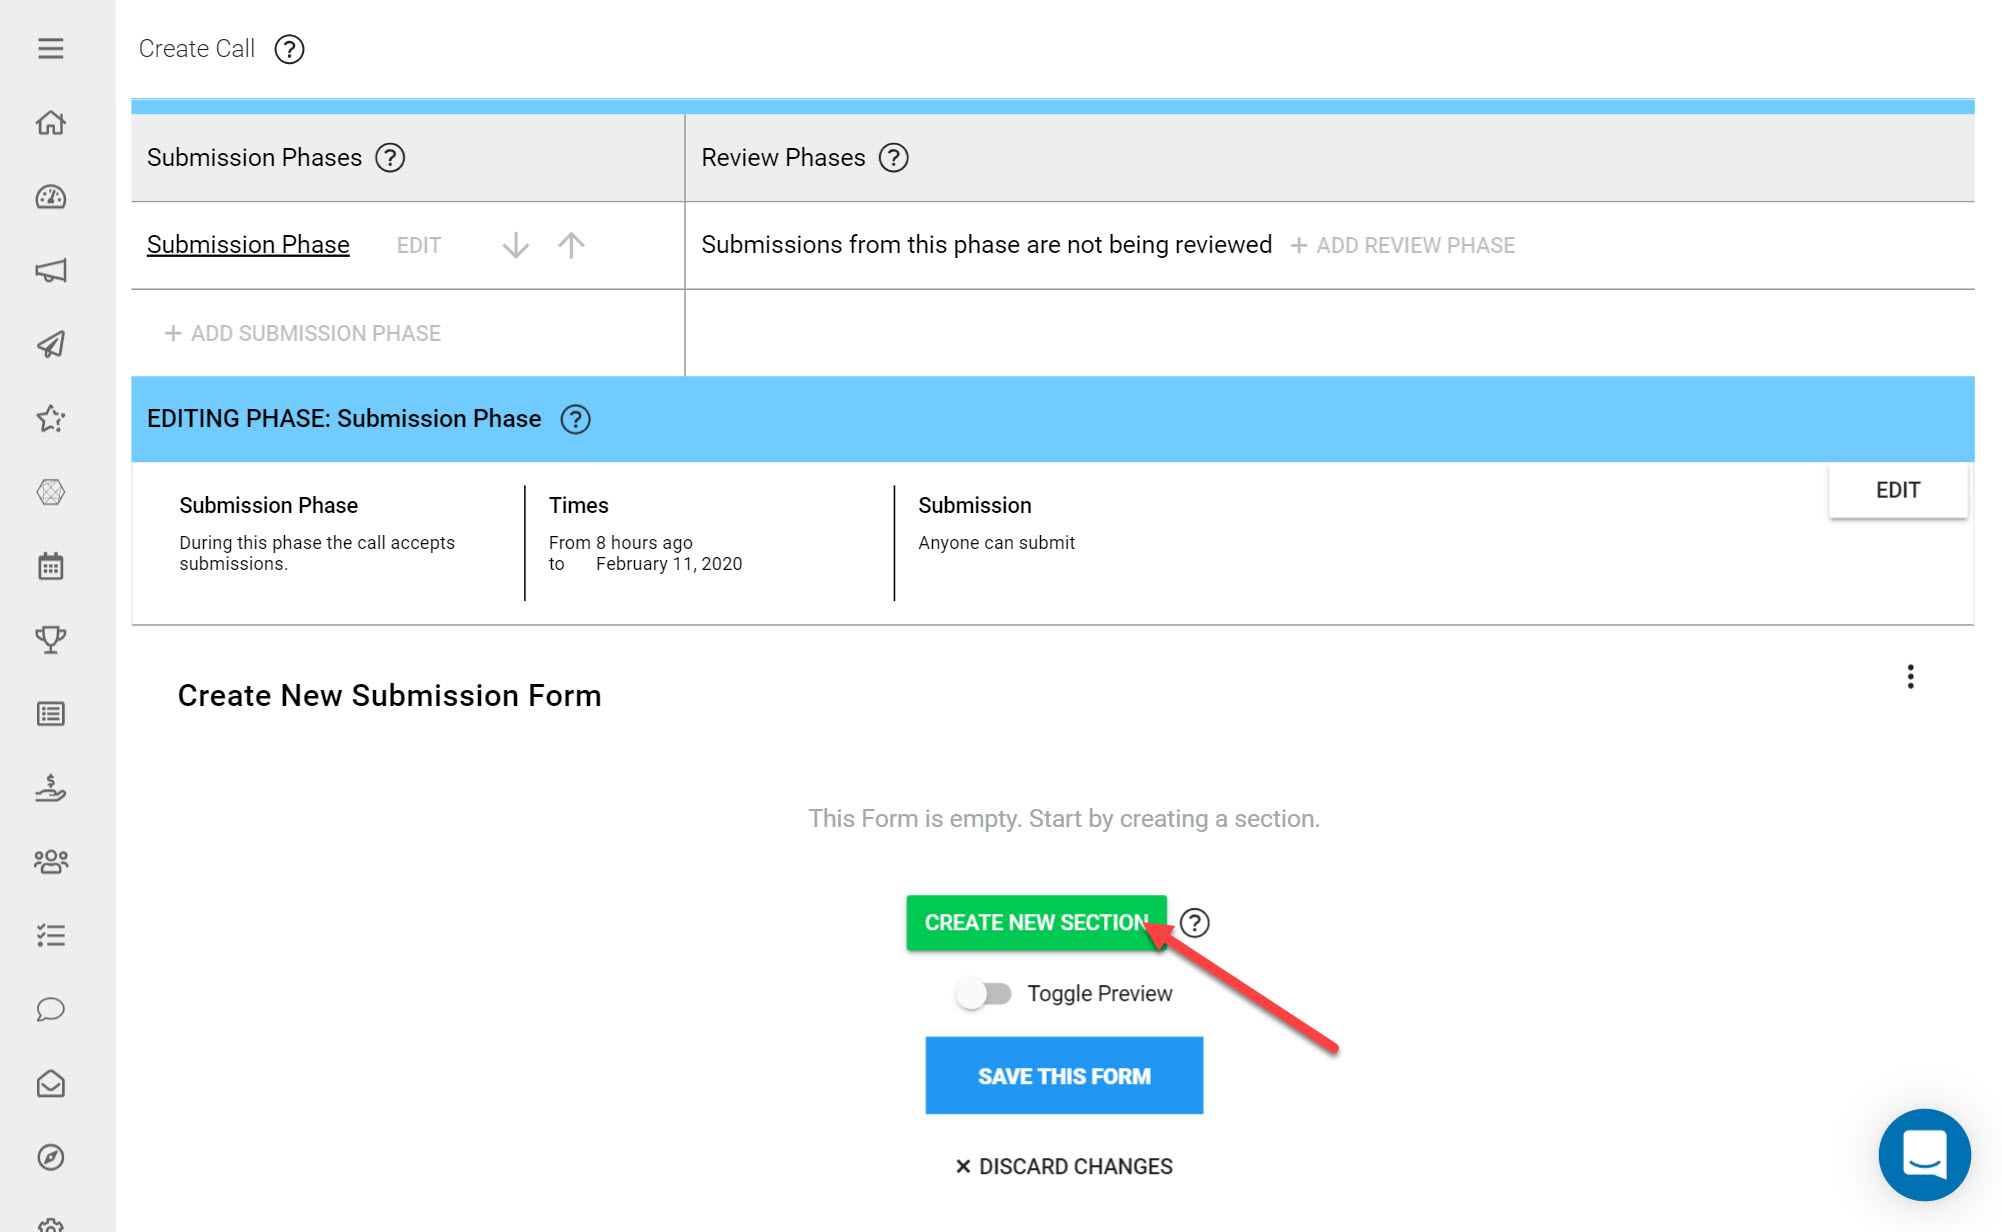
Click Create New Section
You can control the information that will be collected from Submitters, by choosing the relevant Submission Fields and labeling them with the questions you would like Submitters to answer.
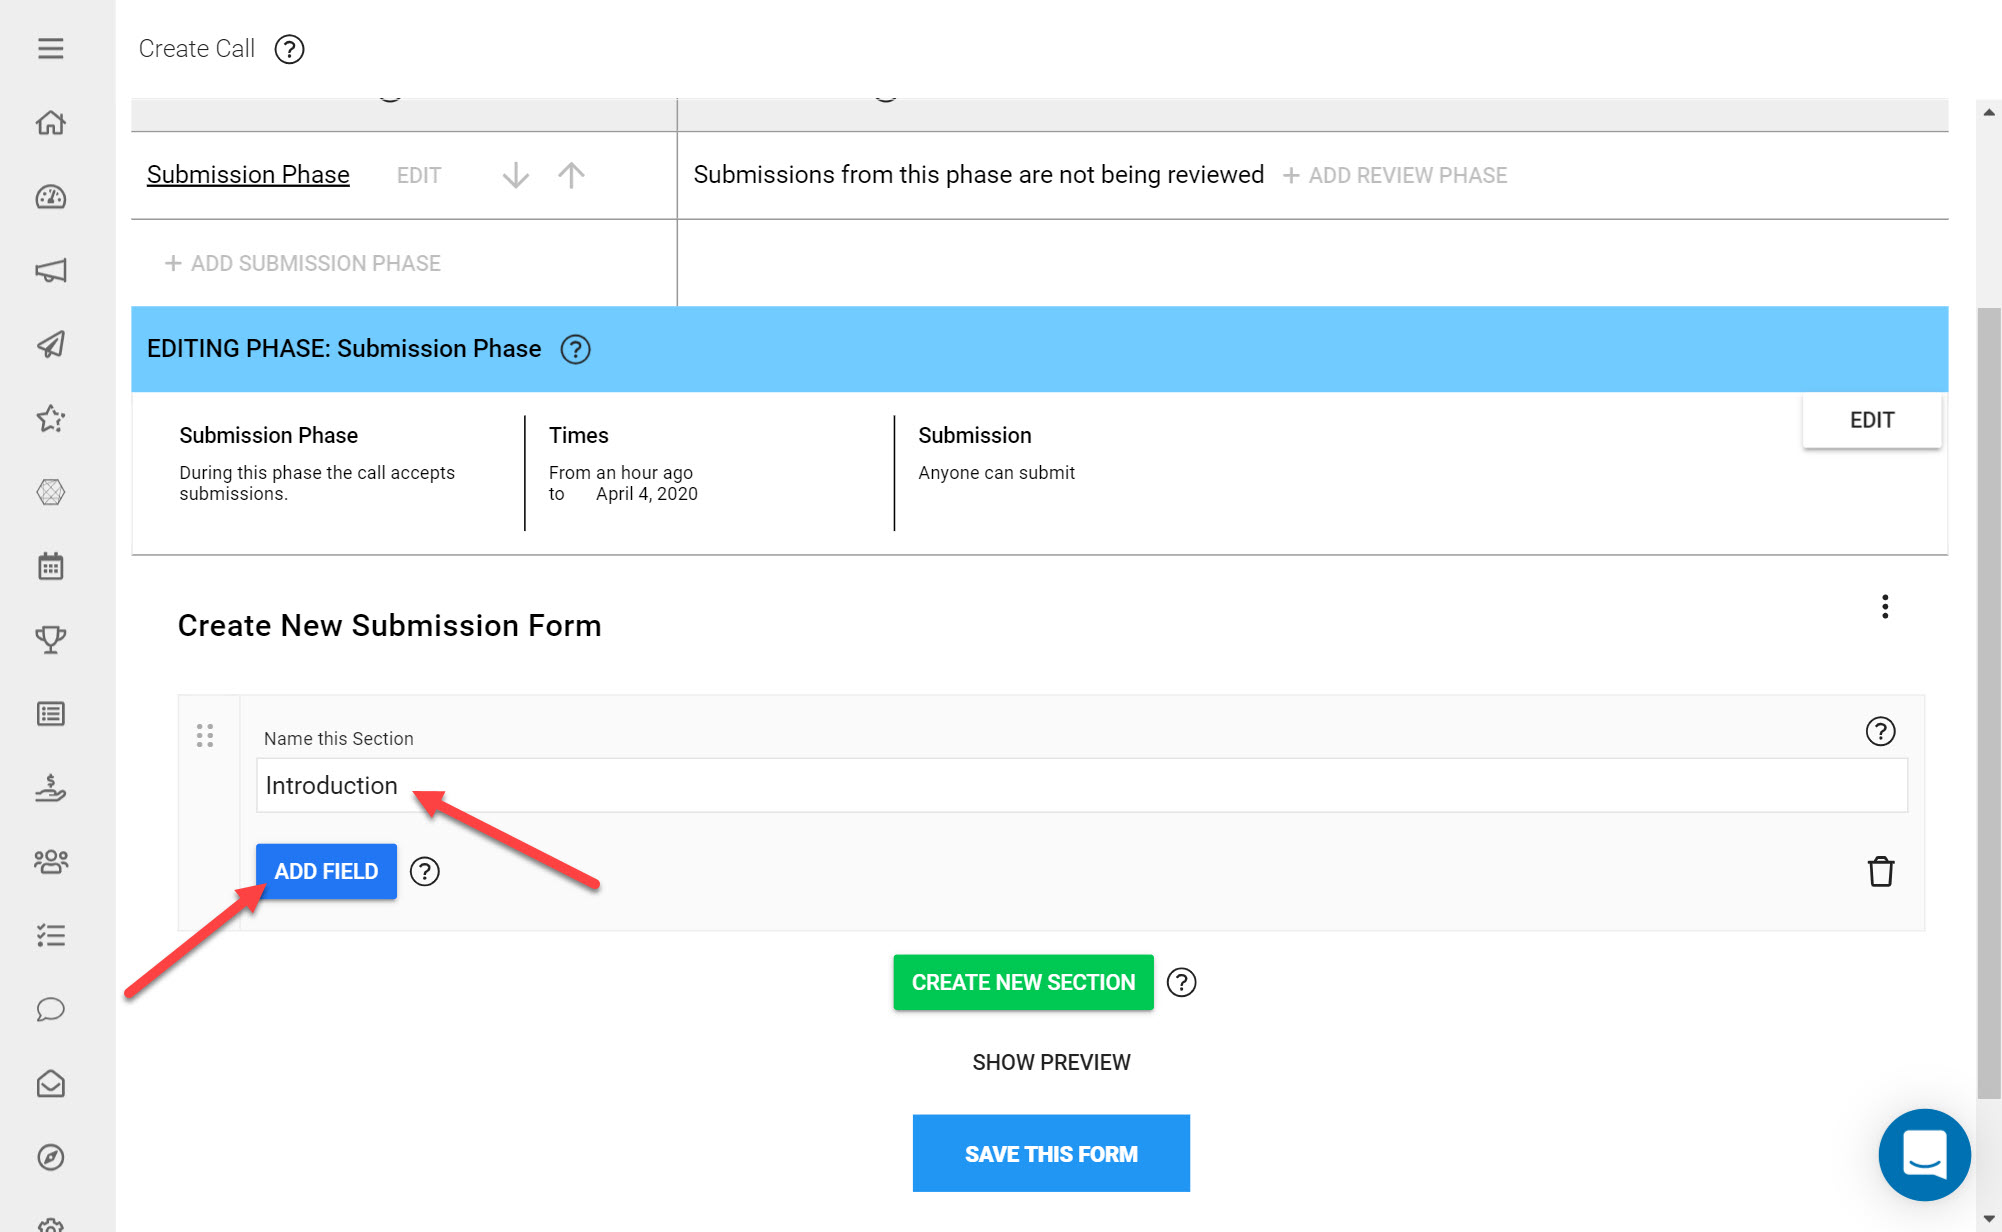
Input a Name for the section you have just added
Click Add Field
You can add as many Fields as needed on your Submission Form. This article on Submission Form Fields provides more information on which are available to use.
For this example we will add a simple Text Field:
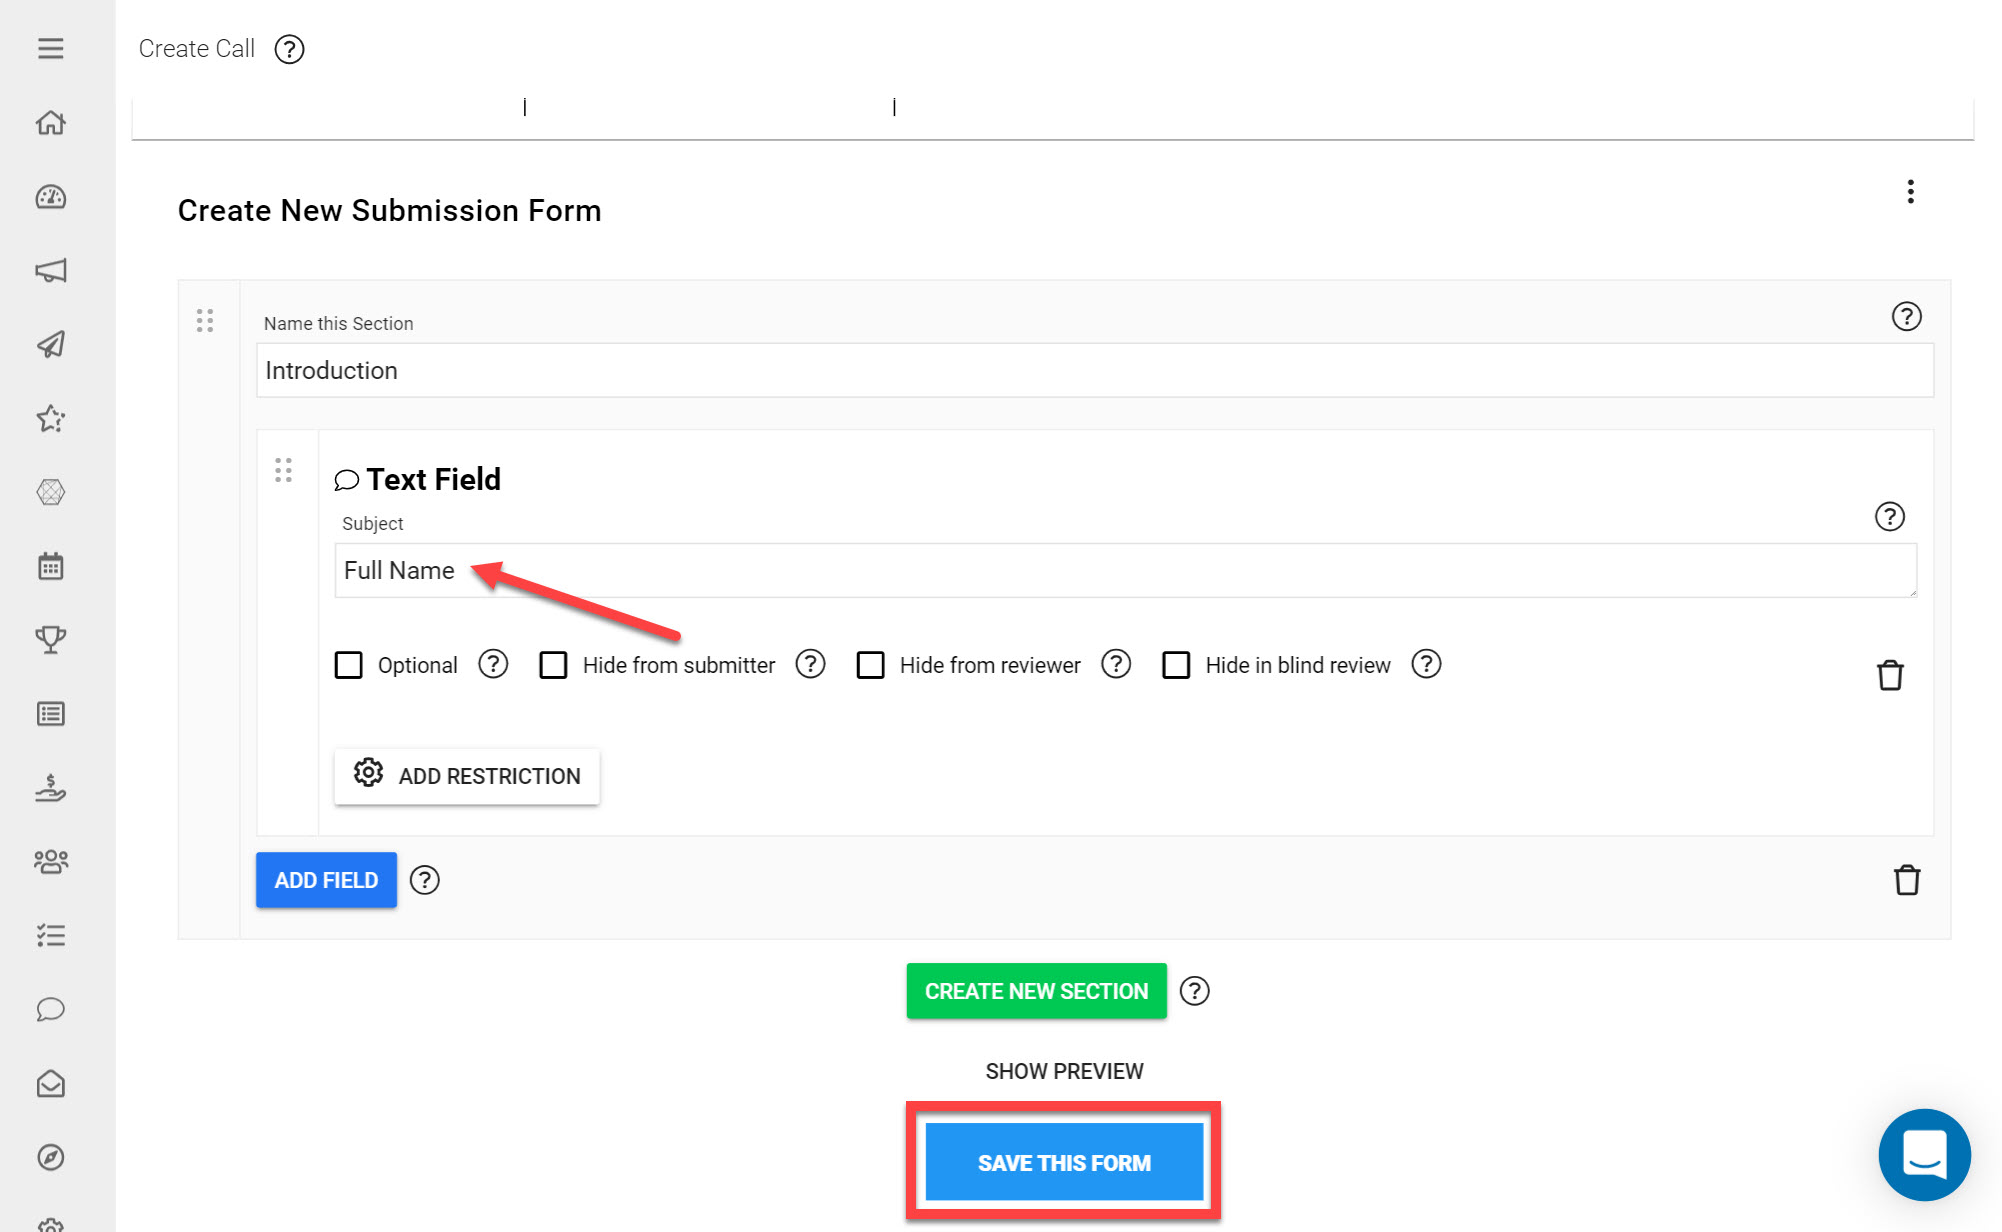
From the list of available Form Fields click Text Field
For the Subject fill in Full Name
Click Save this Form at the bottom and input a Name for your Form.
You have now successfully added a Submission Phase to your Call Template. On this page you are able to configure the Submission Phase and Communication Settings that can always be modified at a later date on the Call Detail.
For this example we will keep the settings as they are (default) and will continue by adding an optional Review Phase.
Add a Review Phase (Optional)
Review Phases cover the period in which Submissions will be reviewed, by Reviewers. Review Criteria help build a Review Form that will be filled in by Reviewers, to provide their Reviews on Submissions. You can decide how Submissions should be reviewed by choosing the appropriate Review Criteria. If your Call will not require Submissions to be reviewed, you can skip to Step 26.
To add a Review Phase:
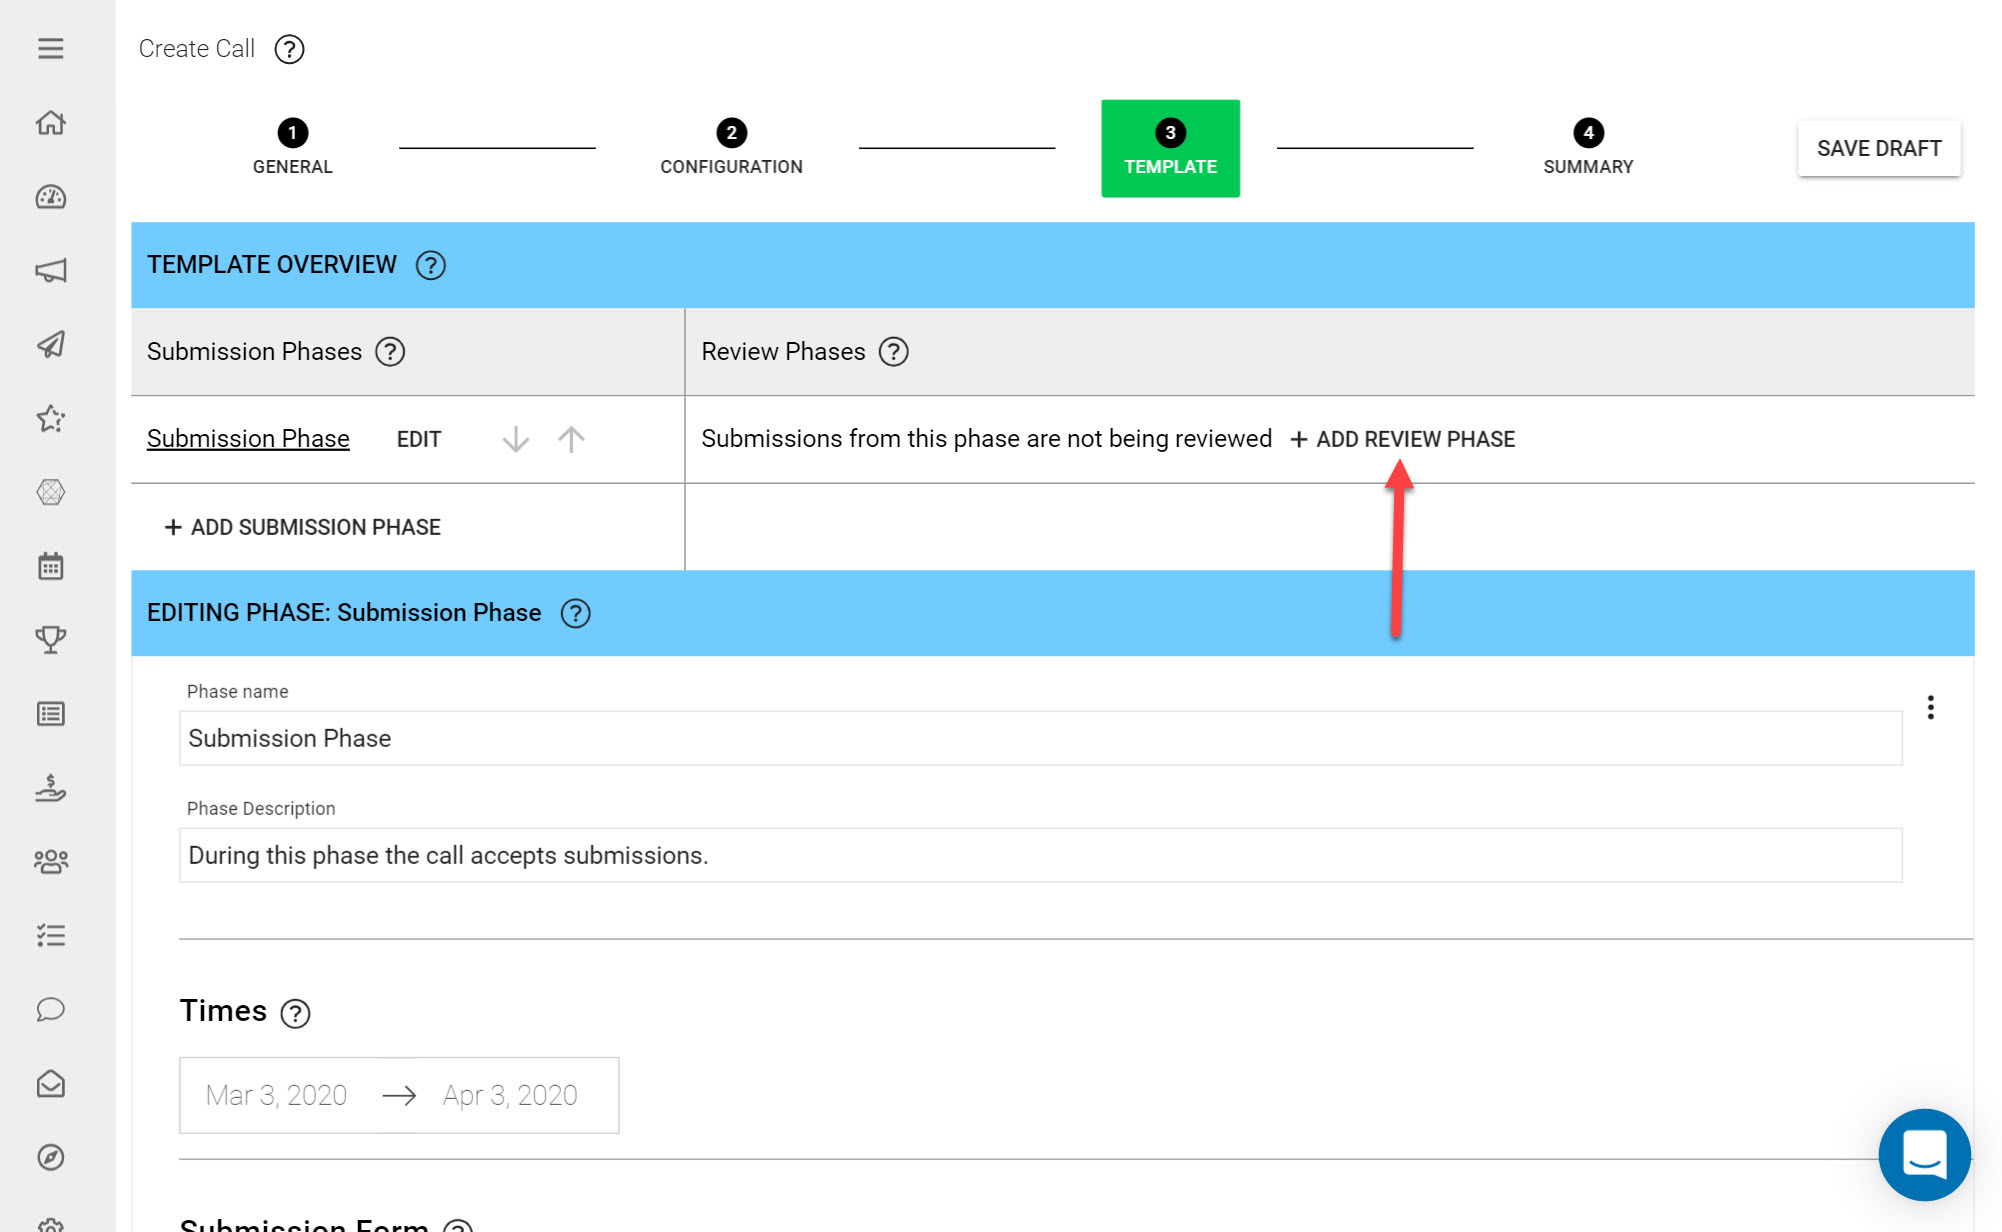
Under Review Phase click Add Review Phase
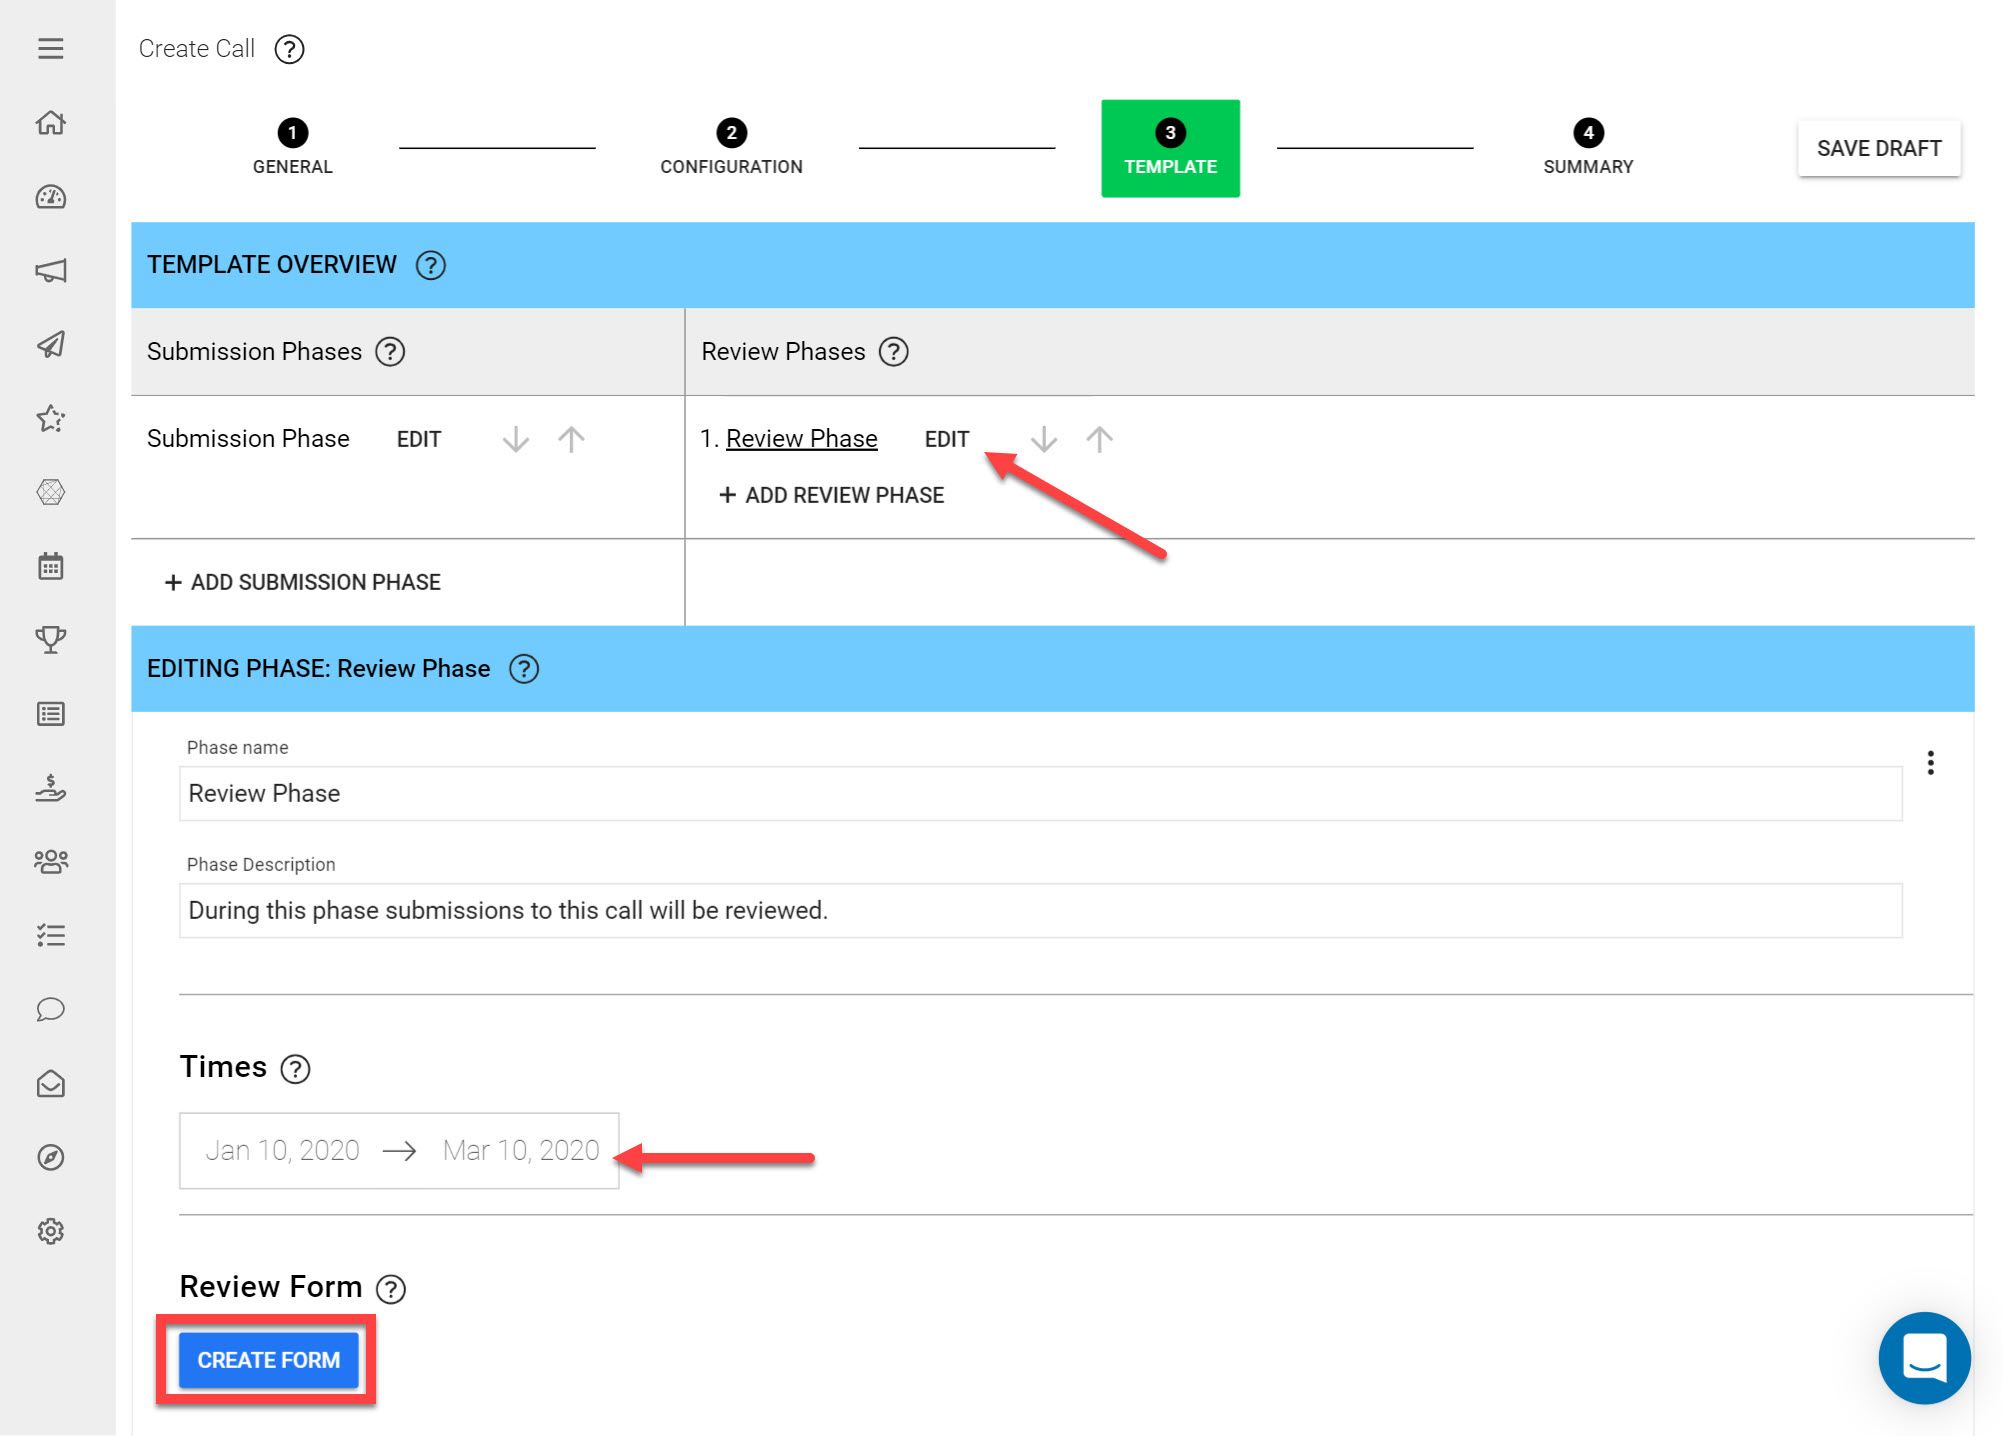
Next to your newly added Review Phase click Edit
Click the Times button and select beginning and end dates for the reviewing phase.
Click Choose/ Create Review Form
Edit the Review Form
You are now entering the Review Form Editor. This controls the Form that your Reviewers fill in to leave their Reviews on Submissions. You can add Review Criteria either to a specific Submission Field, a Section or to the Submission Form as a whole (hence the three Add Review Criterium buttons). This allows you to capture very specific and detailed comments/ratings from your Reviewers, exactly where Submitters fill in their responses.
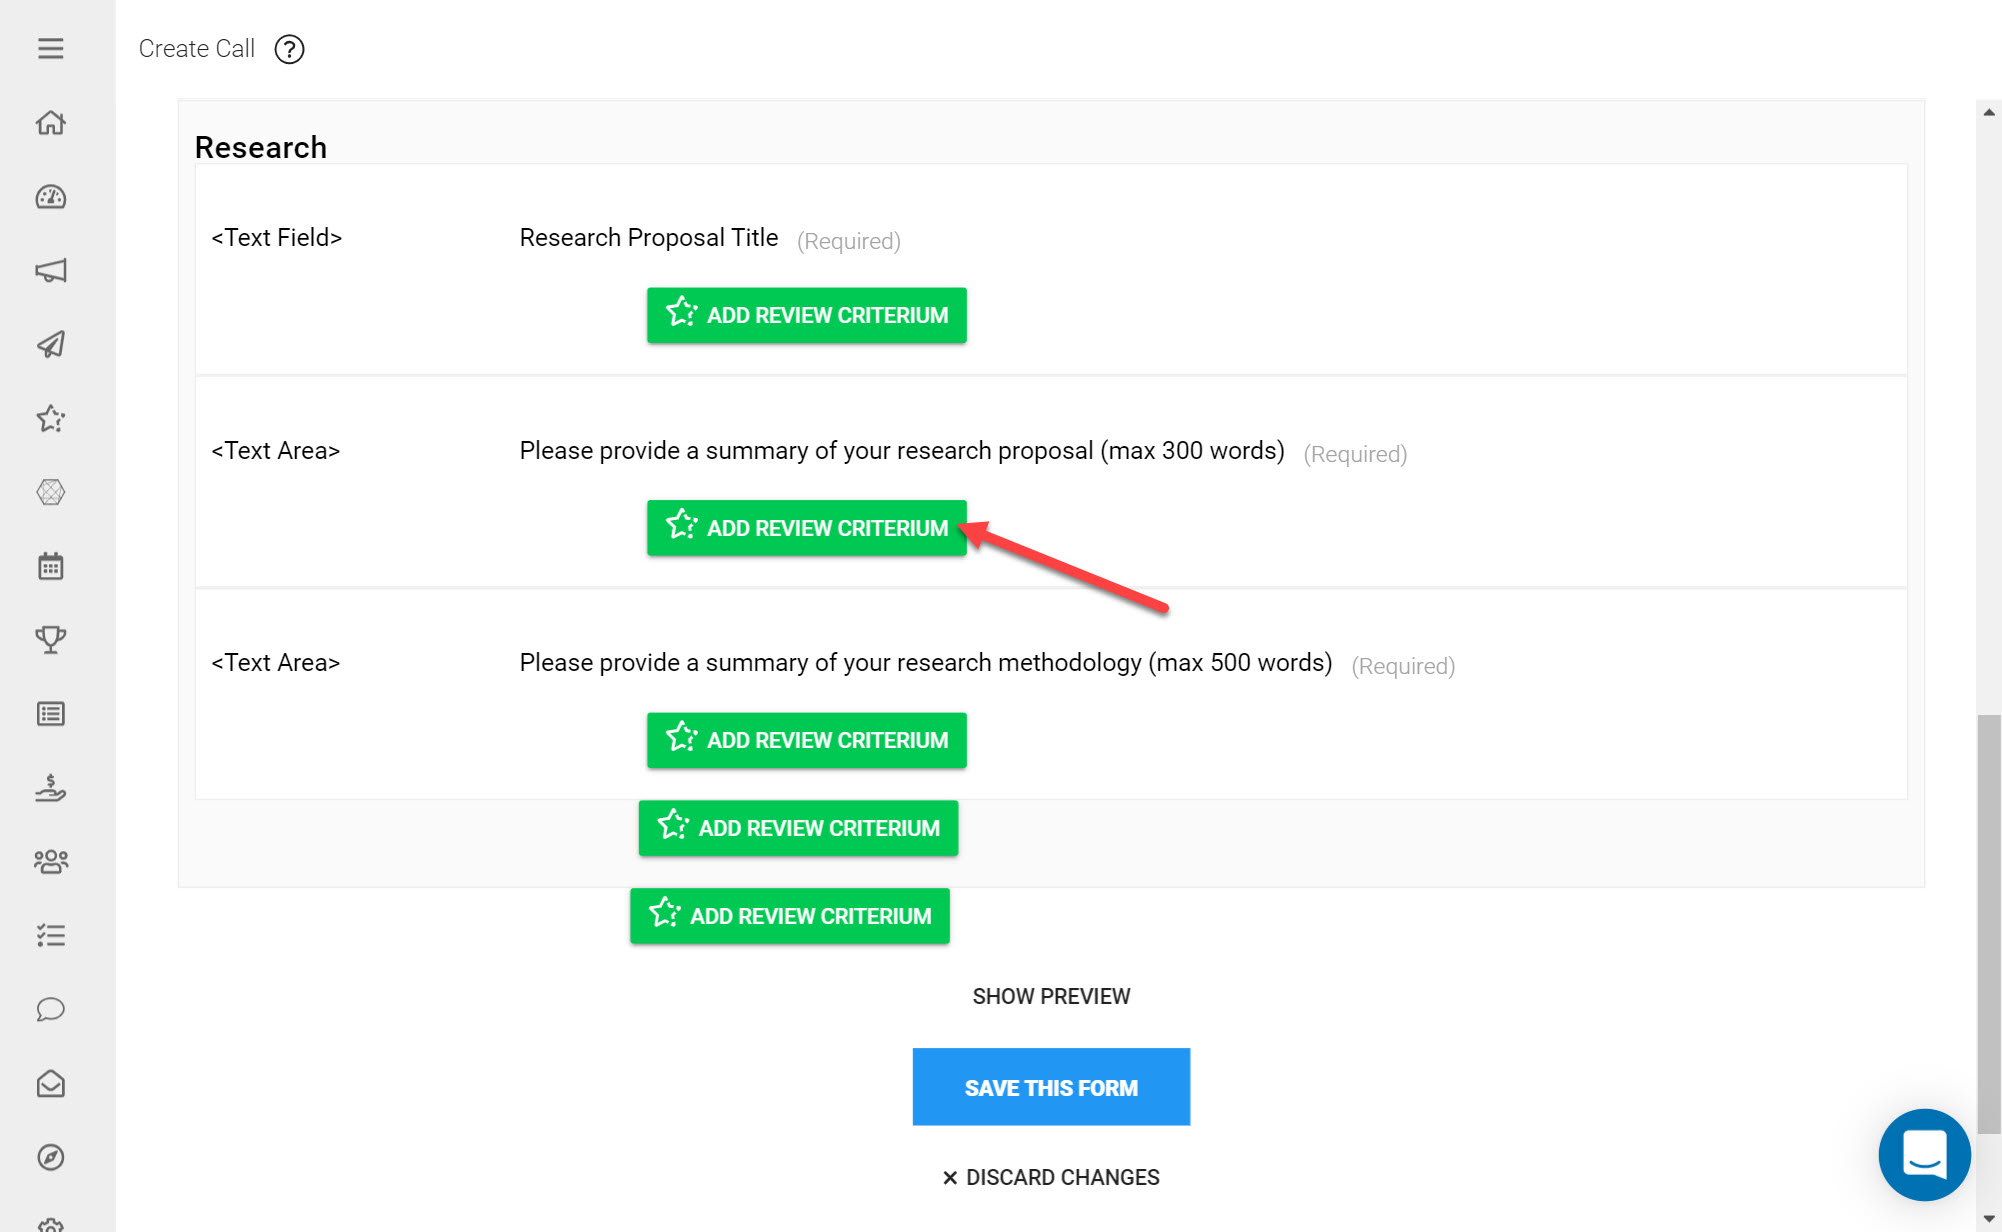
Click Add Review Criterium
You can add as many Review Criteria as required to your Review Form. Find out more about Review Phases and the Review Form in these respective Guides.
For this example we will add a Slider Review Criterium:
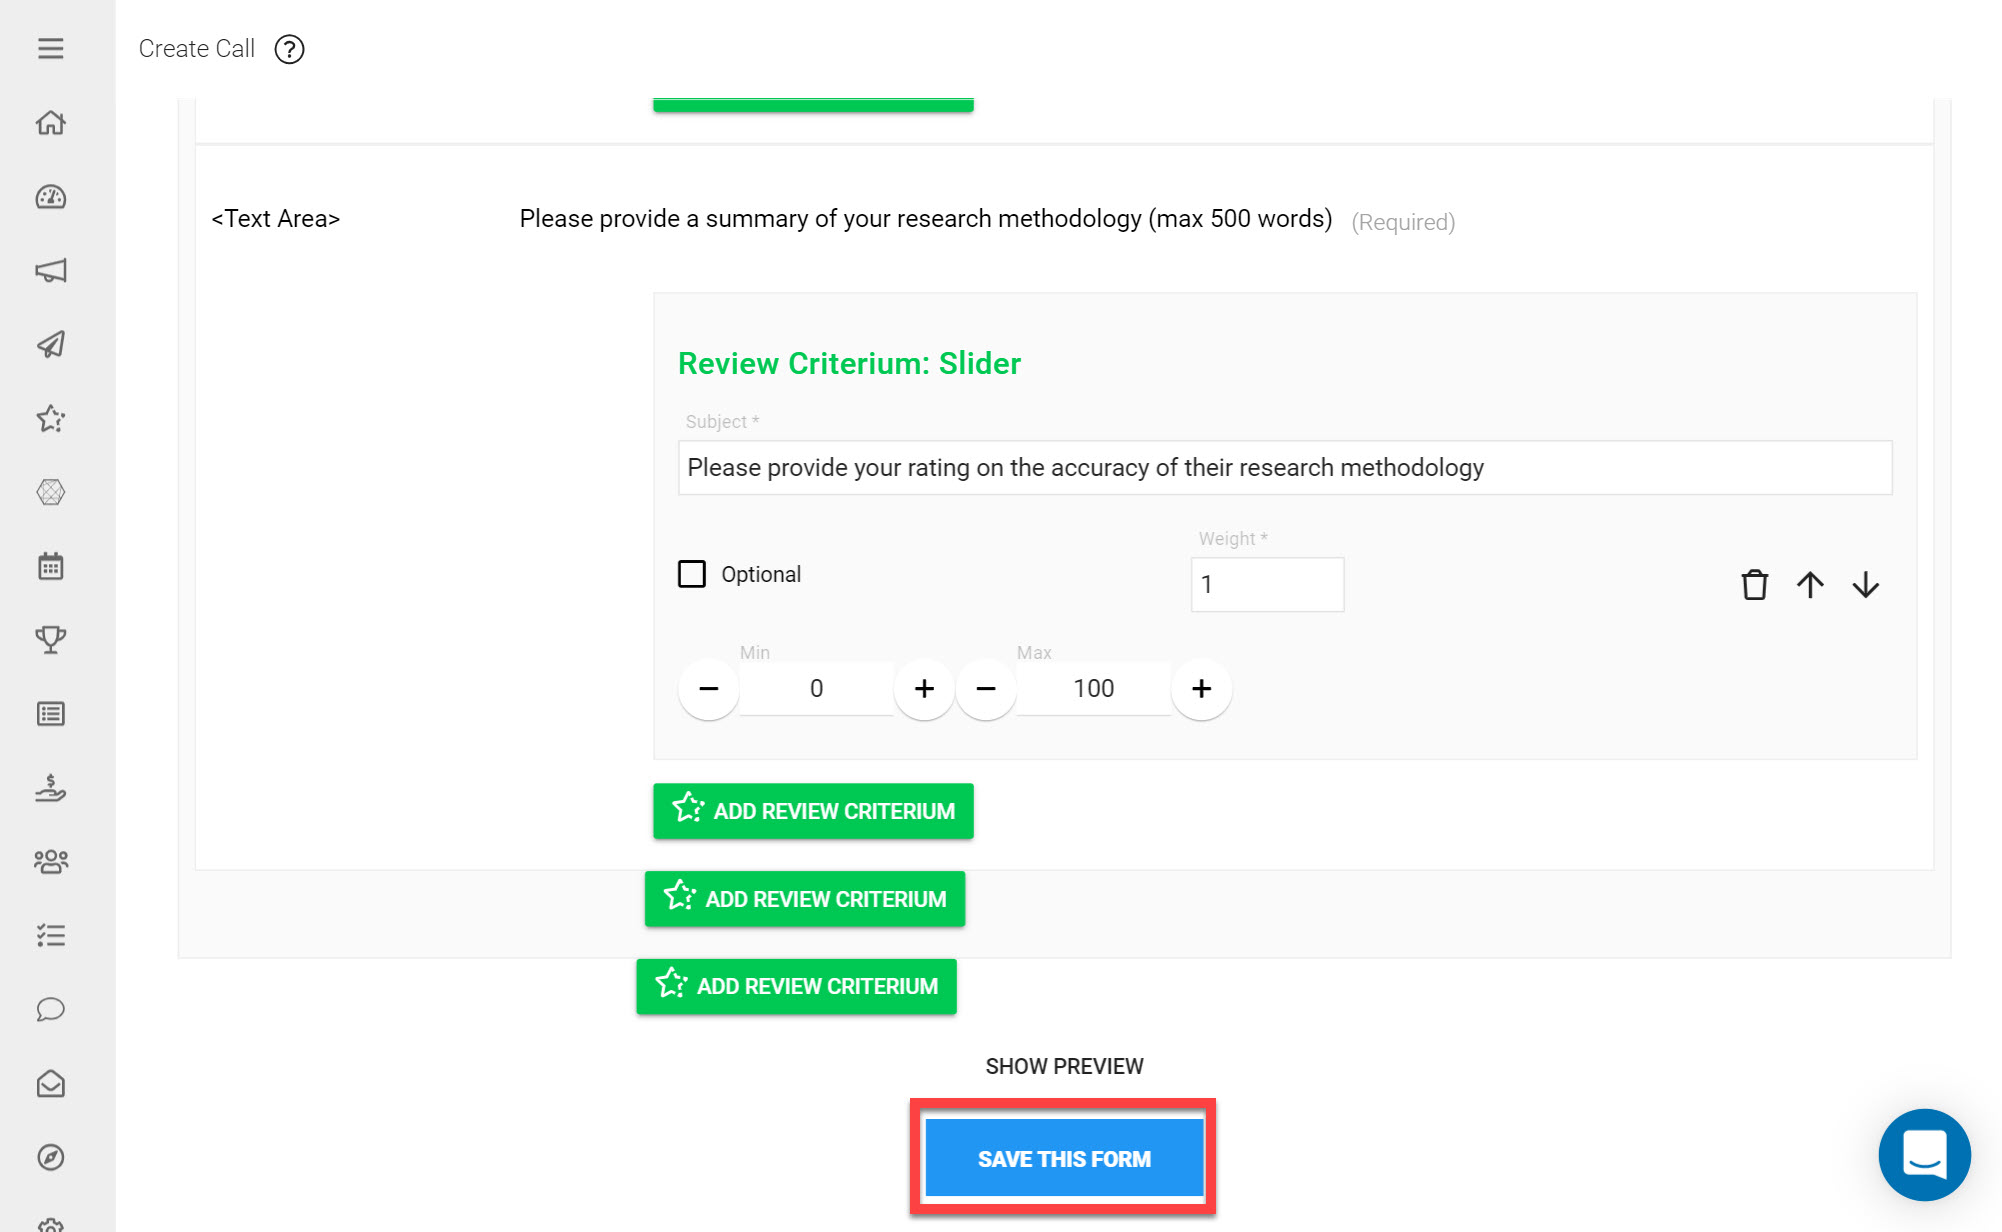
From the list of available Review Criteria click Slider
Input a Subject for your Slider which will be the question asked to Reviewers
Click Save This Form at the bottom of the page.
You are now on the Review Phase Editor. On this page you are able to configure the Review Phase and Communication Settings that can always be modified at a later date on the Call Detail. For this example we will keep the settings as they are (default).
Scroll to the bottom of the page and click Next.
You have now successfully added a Review Phase to your Call.
Step 4: View Call Summary
On the summary page you see an overview of the settings you have configured so far. All settings can be modified at a later date on the Call Detail.
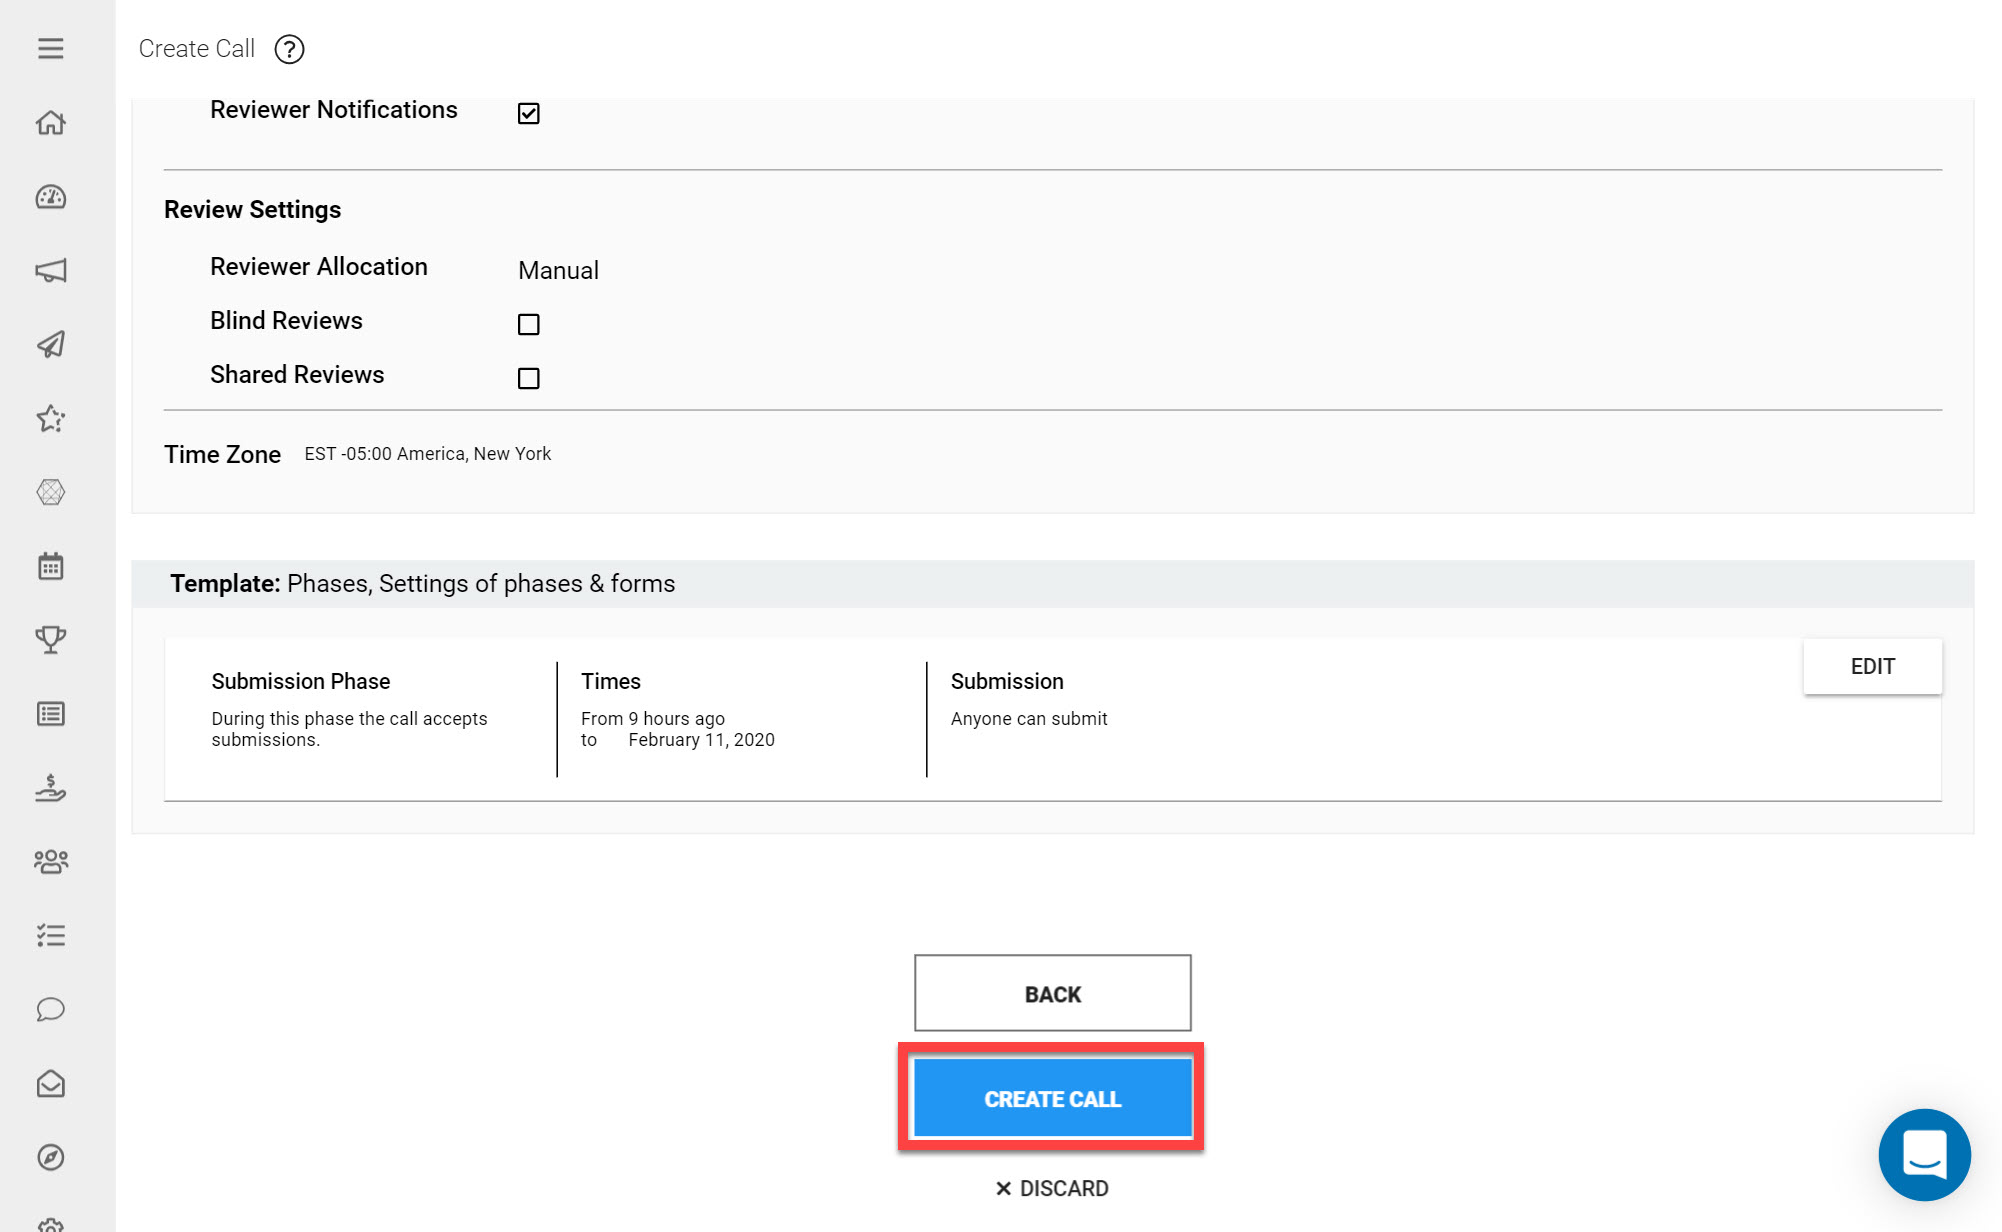
Finish by clicking Create Call
You have now successfully created your Call.
Activating your new Call
Once you have finished creating your Call, you will need to activate it to make it accessible to Submitters and Reviewers.
Released will make the Call visible to any users registered in your Slayte environment. Public will enable unregistered users to view the Call and Call Description.
To activate your Call:
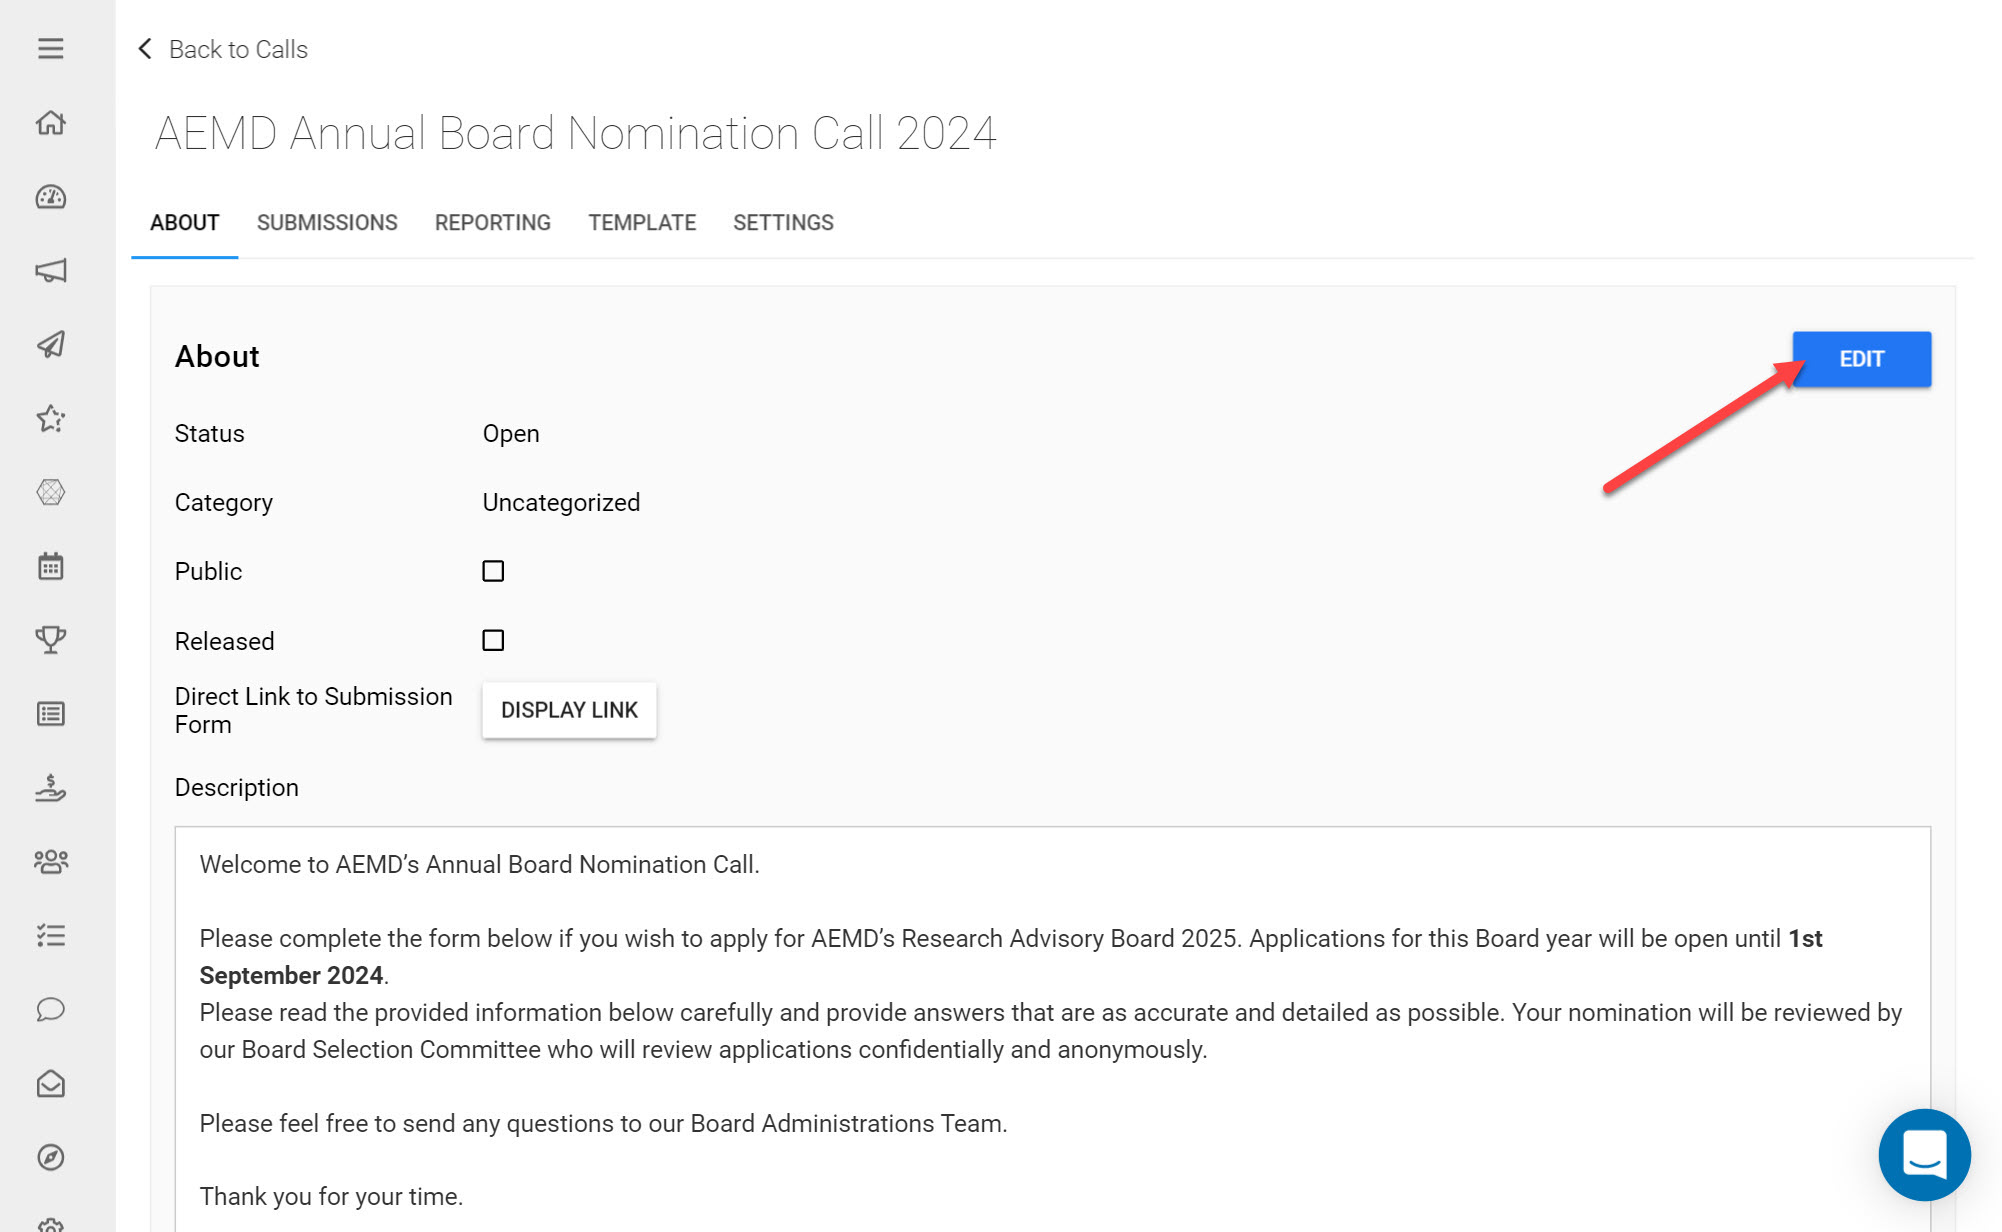
Click Edit on the top-right side of the About page
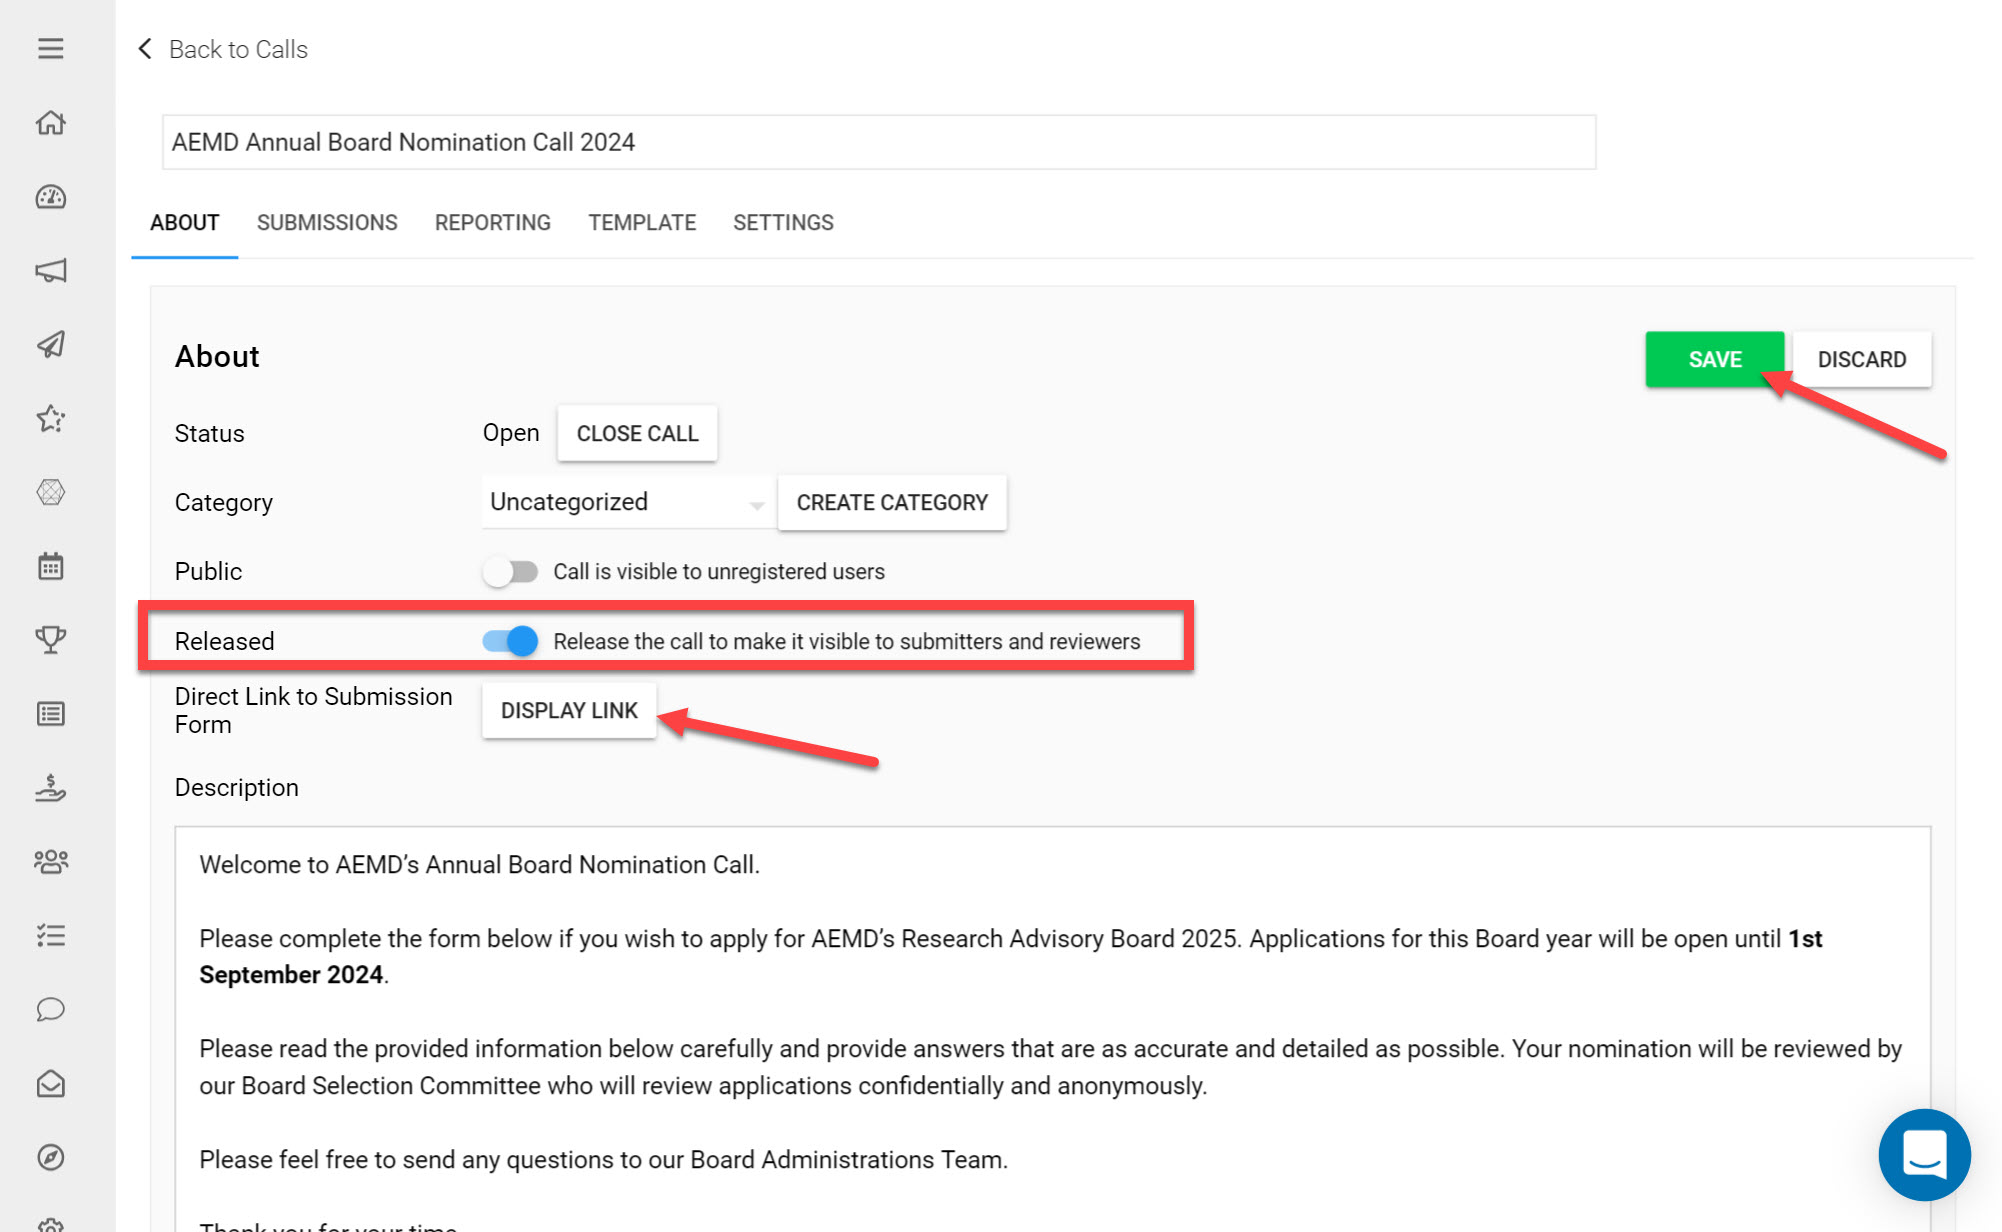
Toggle the Released/Public buttons on depending on which option you prefer
Click Save
You have now activated your Call and made it accessible to your users in Slayte.
You can display a link that leads directly to your Submission Form by clicking Display Link. This can be shared with users if you would like to direct them to the Submission Form. Alternatively you can share the general link to your Call by sharing the URL link from your Call Detail page.
