The Call Detail is home for all things related to your Call. You can control your Call Settings, Forms, view Submissions received, generate Call Reports and much more. Maintaining a good overview of the Call Detail will help you to stay up-to-date on the progress of your Call in real-time.
In this article we will run you through each tab on the Call Detail and the main features you can use to manage your Call.
These include:
- About Tab
- Submissions Tab
- Reporting Tab
- Template Tab
- Settings Tab
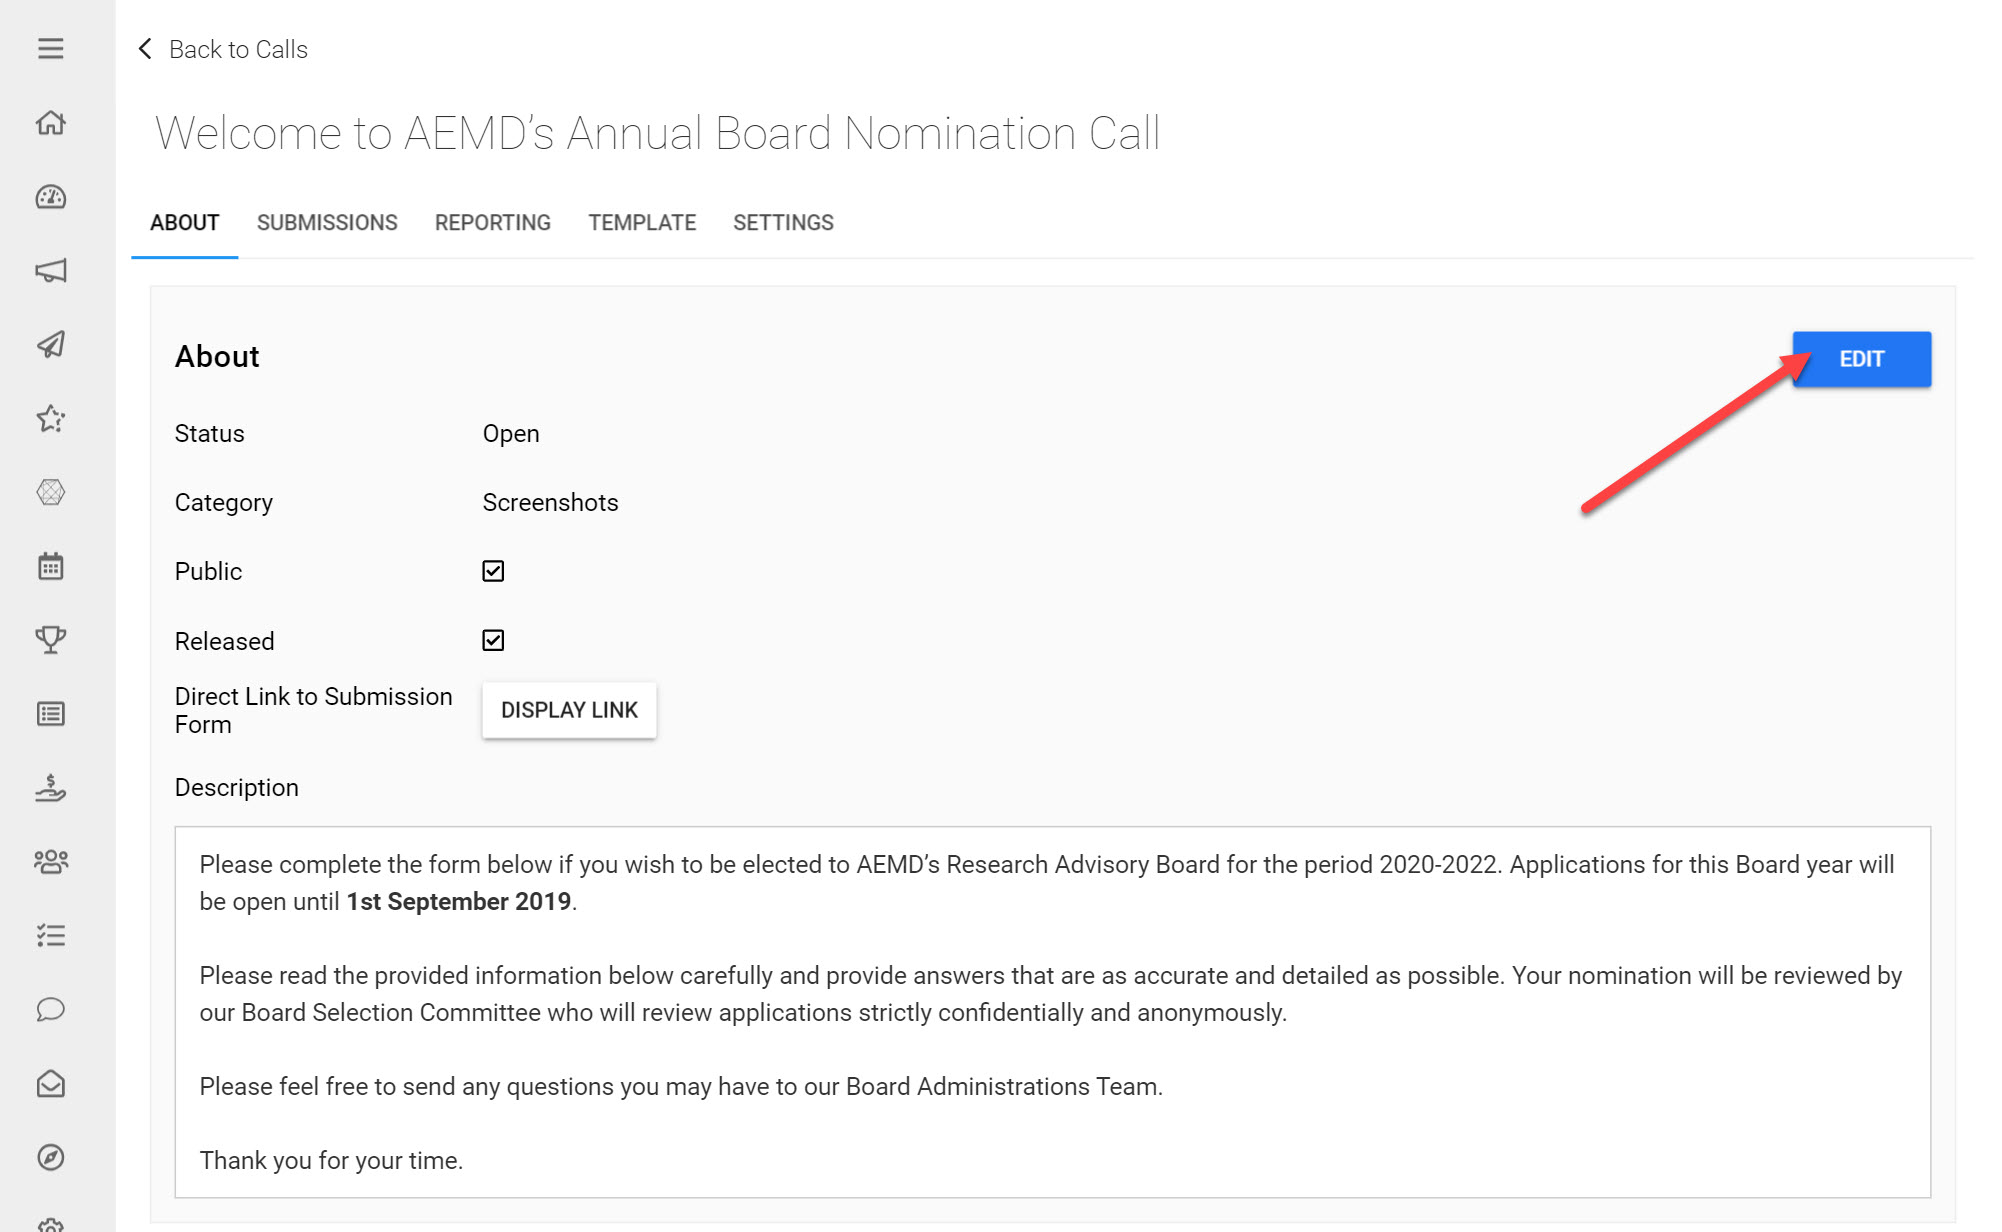
About
The About tab of the Call Detail provides a short overview of your Call. You are able to adjust the following details:
Status: The Status defines whether a Call is open for receiving Submissions or not. To ensure a Call is open you must set the status to Open and ensure the Phase dates include today’s date.
Category: Categories allow you to group Calls that are similar together on the Calls page. If you are holding several Calls for Research Proposals for example, you could create Call categories based on Research Topics. You can either choose a call category or create a new one to assign to.
Public: This option enables the Call to be visible to unregistered users visiting your Slayte site.
Released: This makes the Call available to your users in Slayte. For Submitters to submit to your Call and Reviewers to leave their Reviews, you will need to ensure the Call is set to Released/Public.
Direct Link to Submission Form: This displays a shareable link to the Submission Form that can be shared with Submitters, Reviewers and other Administrators.
Description: Fill in a short description for your Call that will be visible to all users accessing it. It may be helpful to add information about the Call, guidelines, and submission instructions to help guide users.
Submit: This feature allows you to experience Submitting to a Call from the perspective of a Submitter, whilst still being logged in as Administrator. This is useful for testing the Submission process without having to switch to a test Submitter account. This article on Experiencing How to Submit provides more detail on this.
Timelines: See an overview of the Phases in your Call, their corresponding dates, deadlines and any overlaps between them.
To modify any of these settings click Edit on the top right.
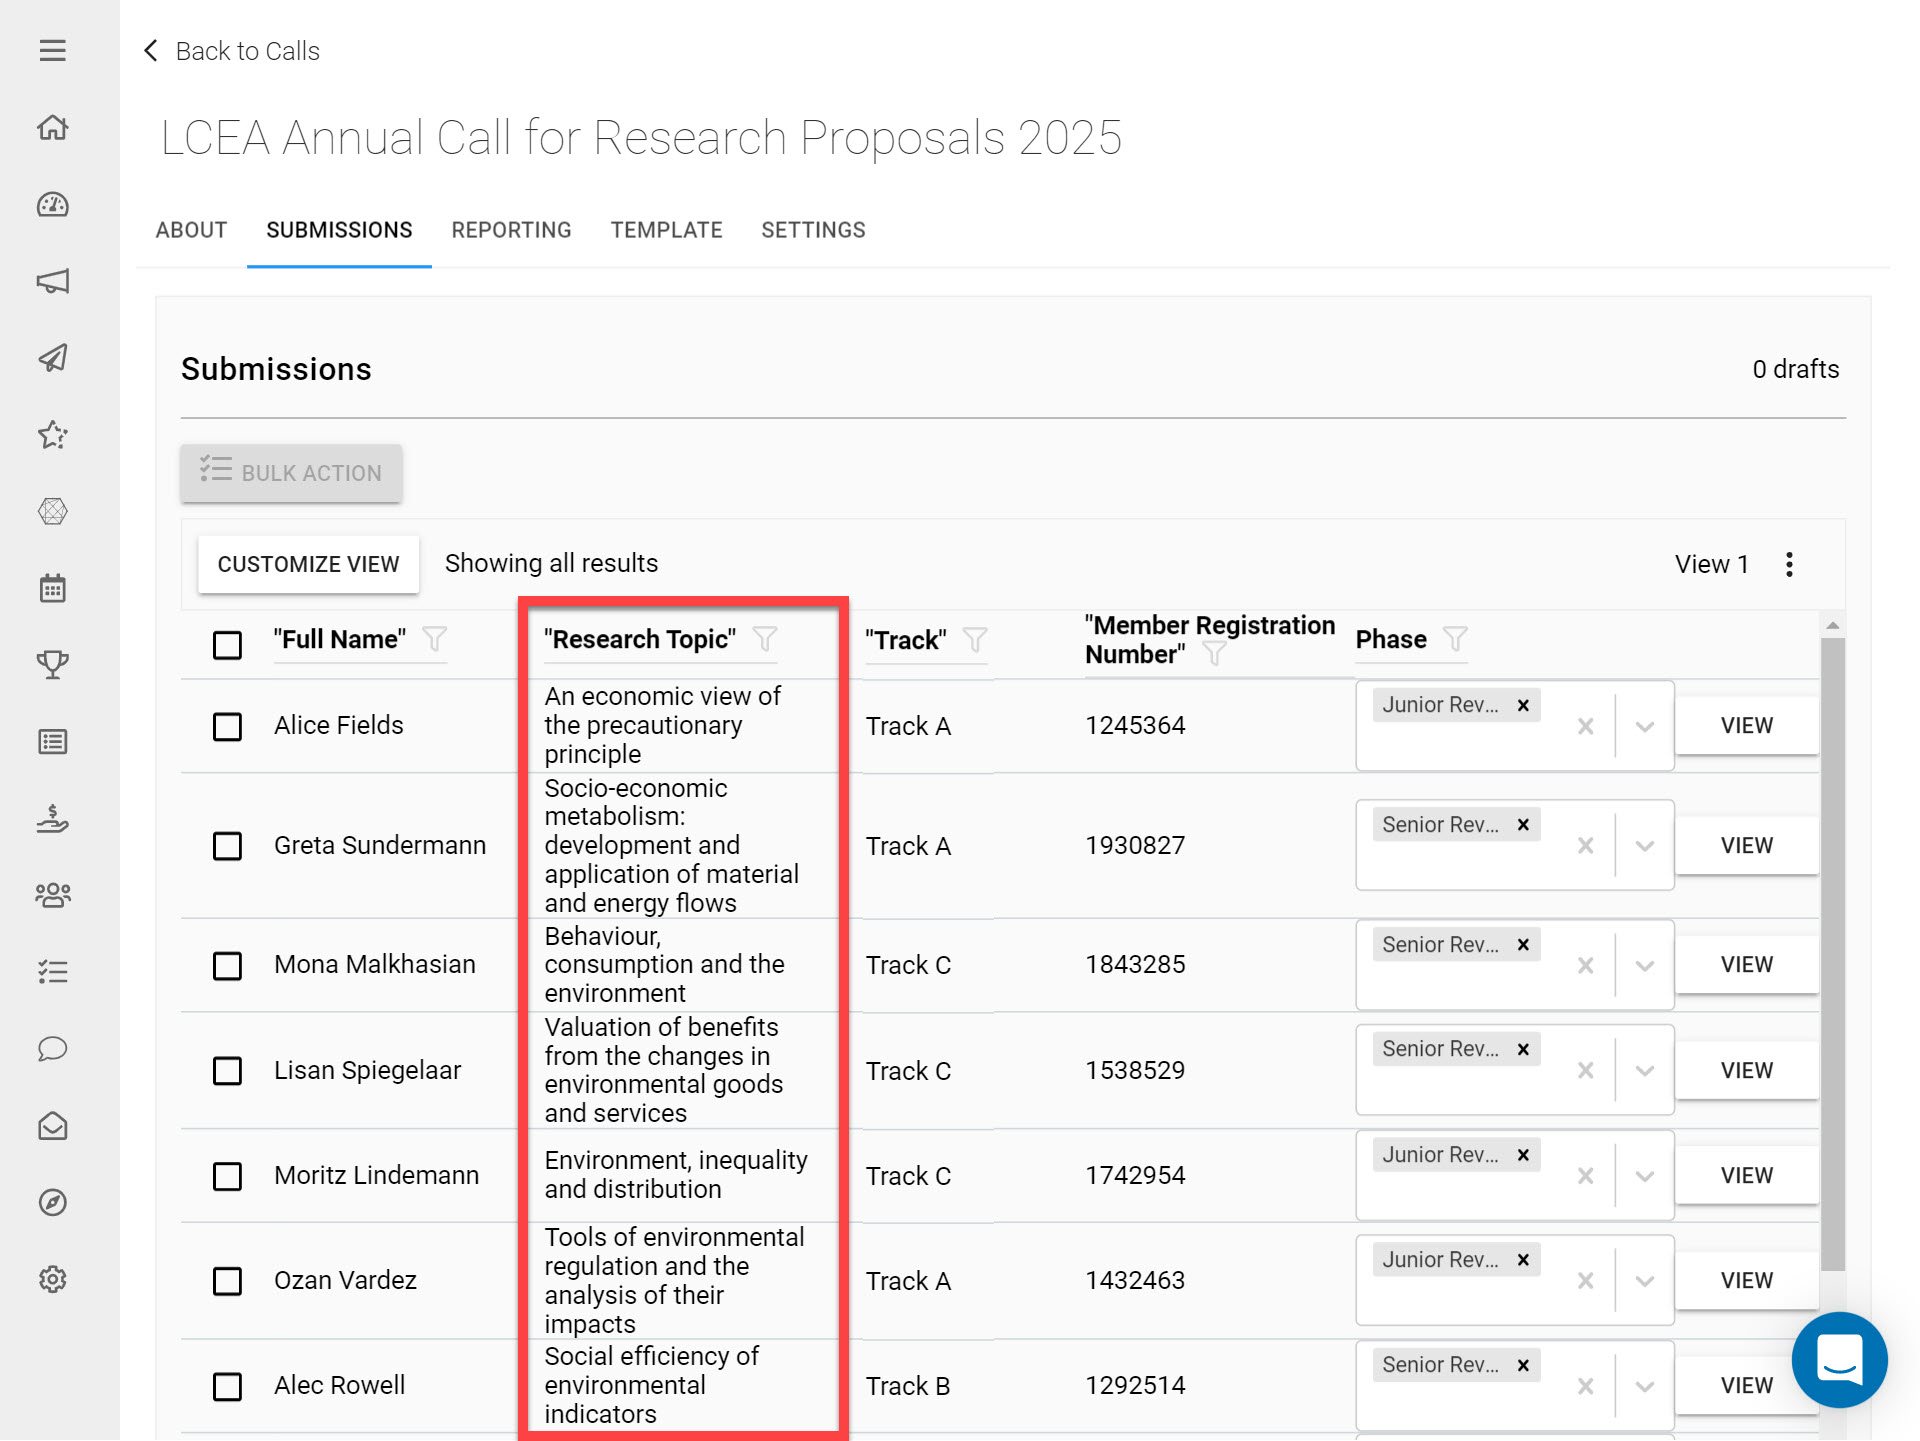
Submissions
Once you start receiving Submissions, you may need to take action to process them further. On the Submissions tab you can Manage Submissions either individually or in bulk. Customizing the Submission List View is a handy feature that allows you to modify the columns displayed in your Submission List View, to show Field results of your choice.
Assume you are viewing Submissions from a Call you have recently created, customizing the Submission List View will allow you to include any Field added to this Submission Form, as a column in the list view. Each row will then display a value captured from the Submitter for that specific Field added.
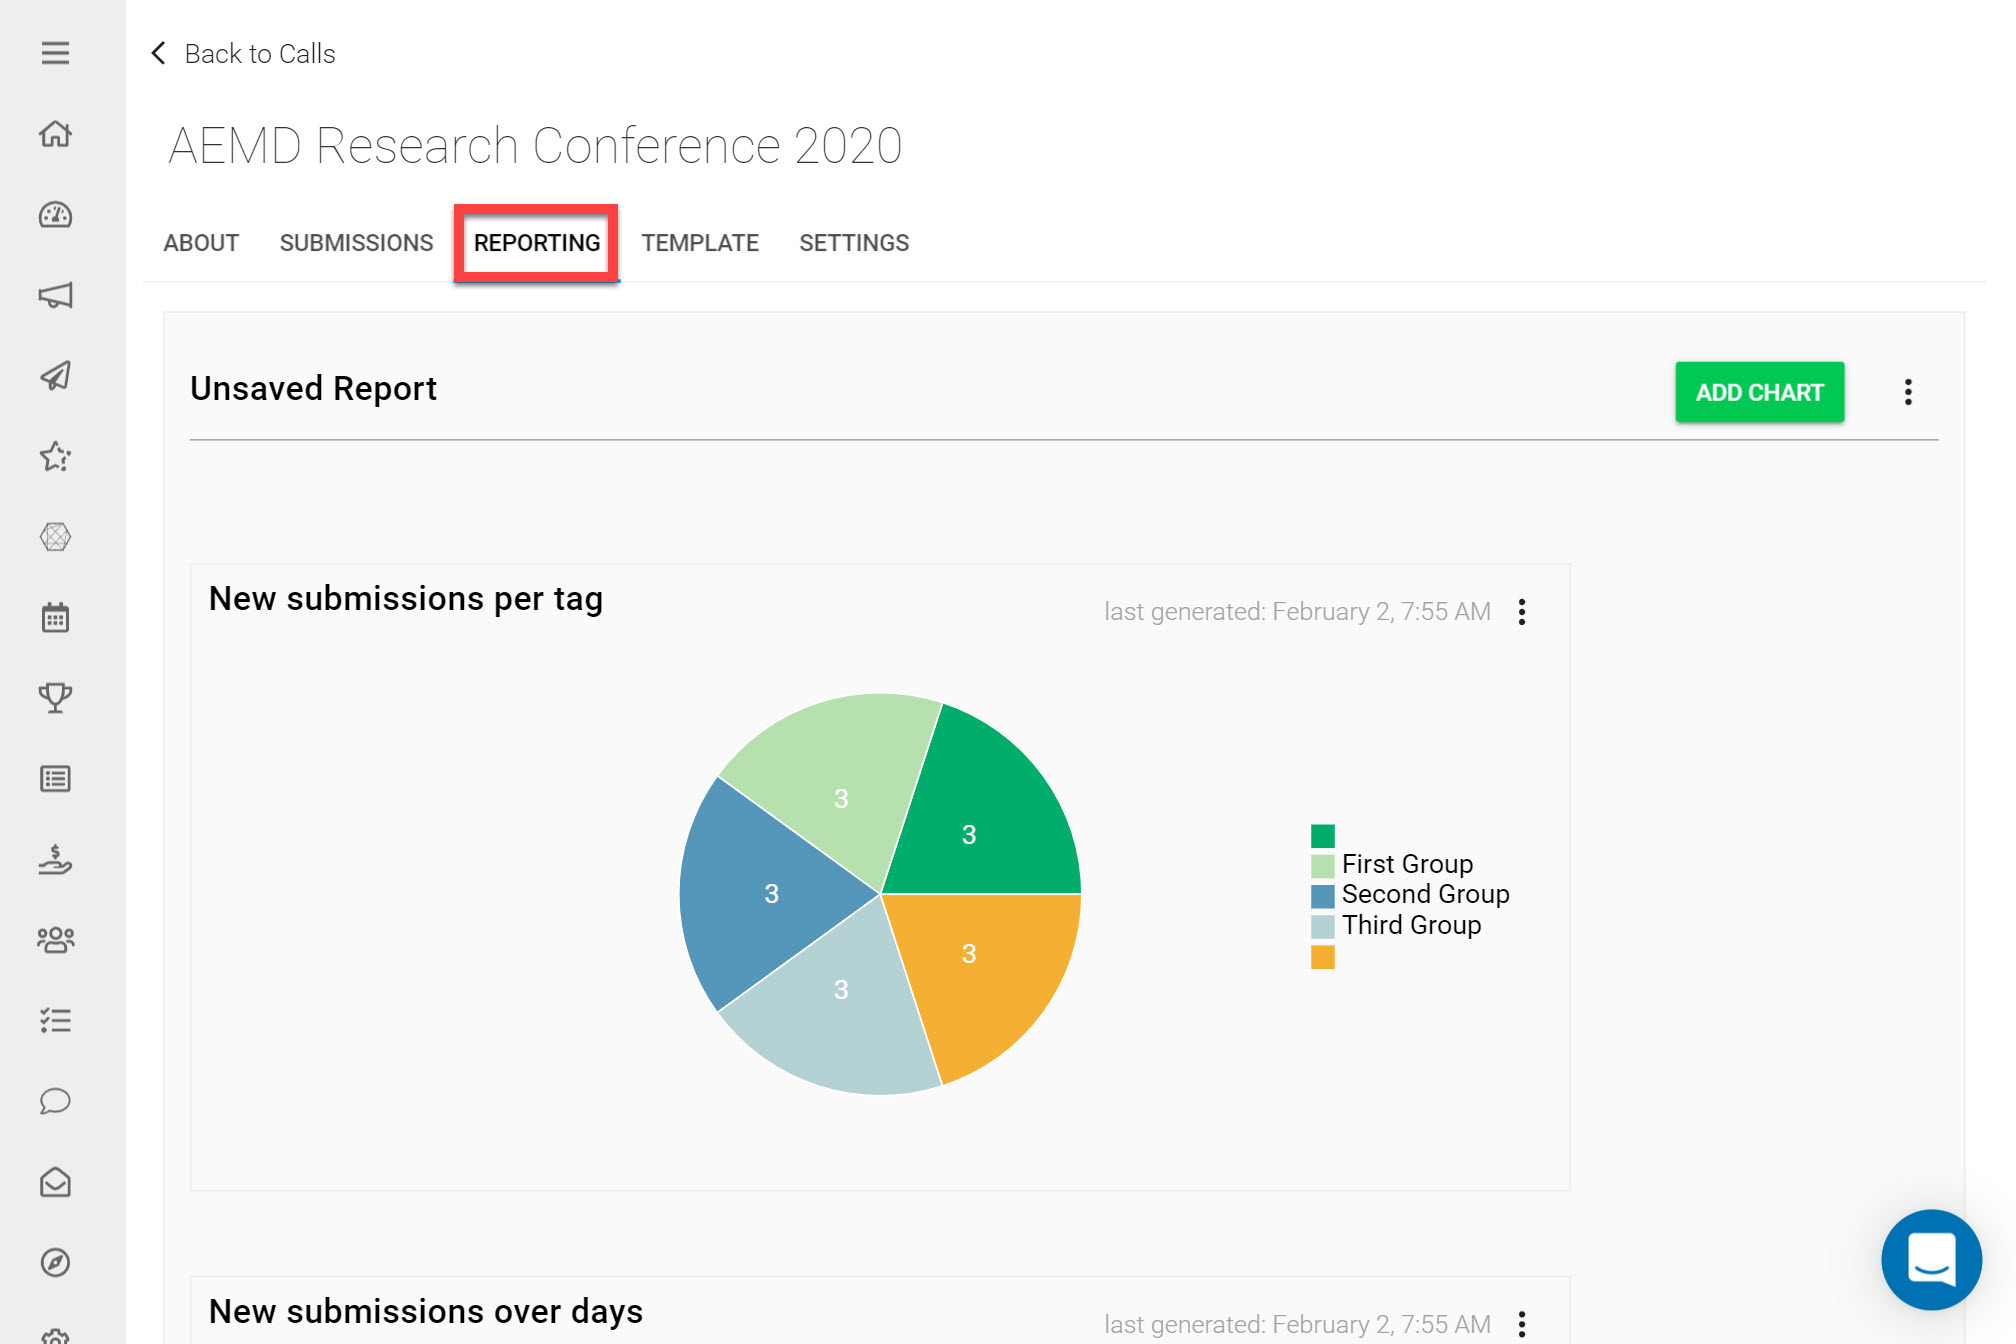
Reporting
Call Reporting allows you to keep up-to-date with the progress of your Call, through the use of visual charts. You can generate Call reports on Submissions Received, Field Distributions selected, Review Score Distribution and much more. Reports can be re-ordered to display your most important Call metrics on the top and you can decide which charts to include. You also have the option to Save and Reload reports for future use. This article provides more detail on generating Call Reports.
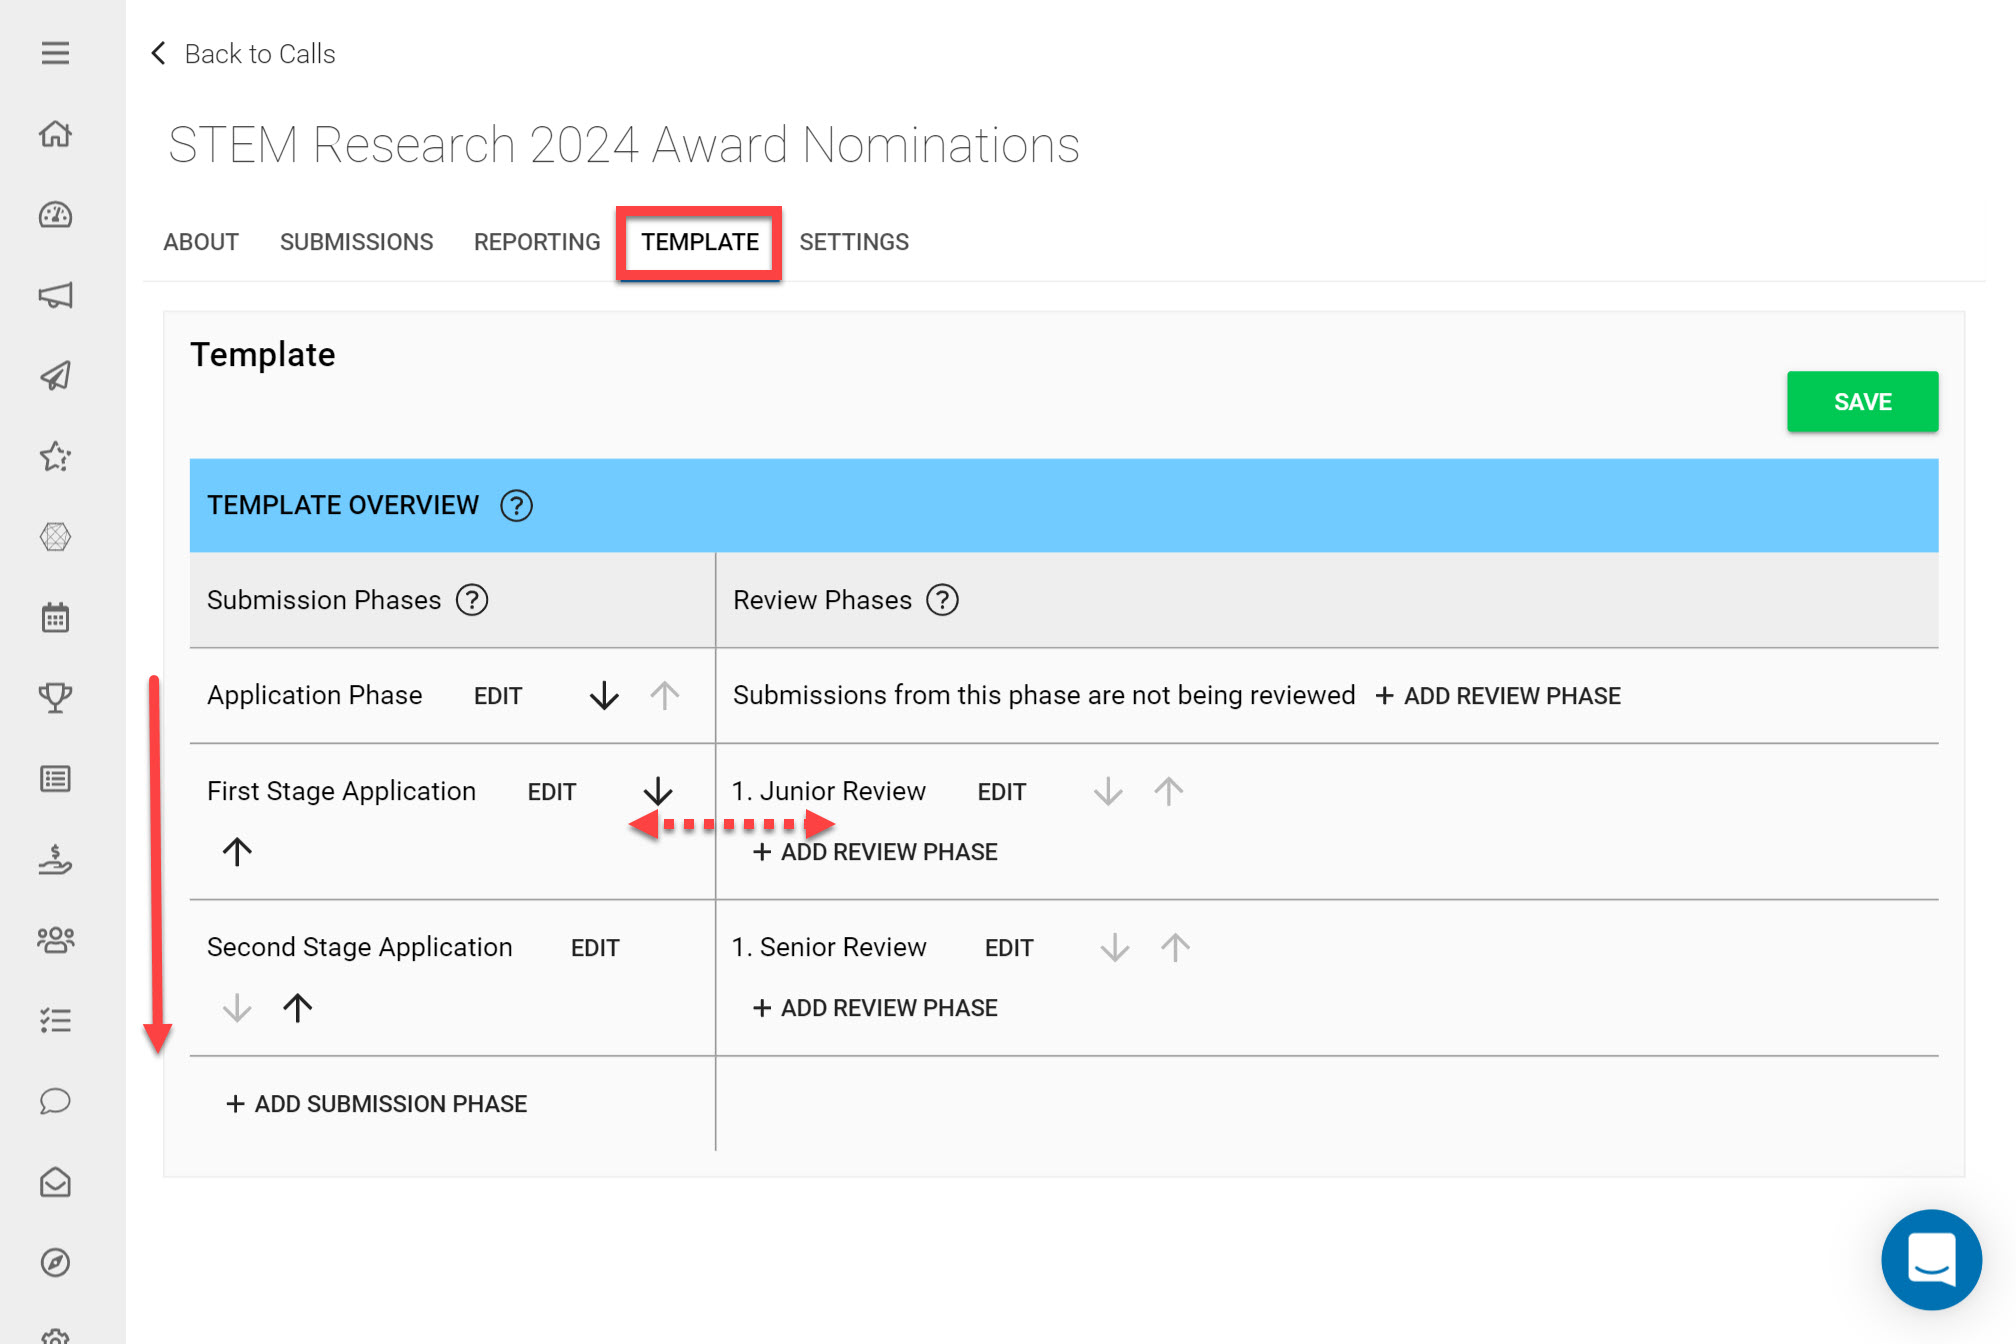
Template
Think of the Call Template as a list of all Submission and Review Phases in your Call, along with their Forms, Phase Dates, Settings and any dependencies between them. If you have multiple Submission Phases and multiple Review Phases, the ordering from left to right shows which Review Phase will be attached to which Submission Phase.
In the example below we can see this Call will have an Application Phase, followed by a First Stage Application, followed by a Second Stage Application. We can also see that the First Stage Application will be reviewed by the Junior Review Phase and that the Second Stage Application will be reviewed by the Senior Review Phase.
If you will have multiple Phases in your Call, there are a few important points to note:
- If you have more than one Submission Phase it is important that the dates from each Submission Phase do not overlap- otherwise Submitters will run into an error message when Submitting.
- When adding Review Phases it is important to attach each Review Phase to the corresponding Submission Phase. Review Phases cannot be switched to other Submission Phases.
Read more about Managing Multiple Phases, Submission Phases and Review Phases.
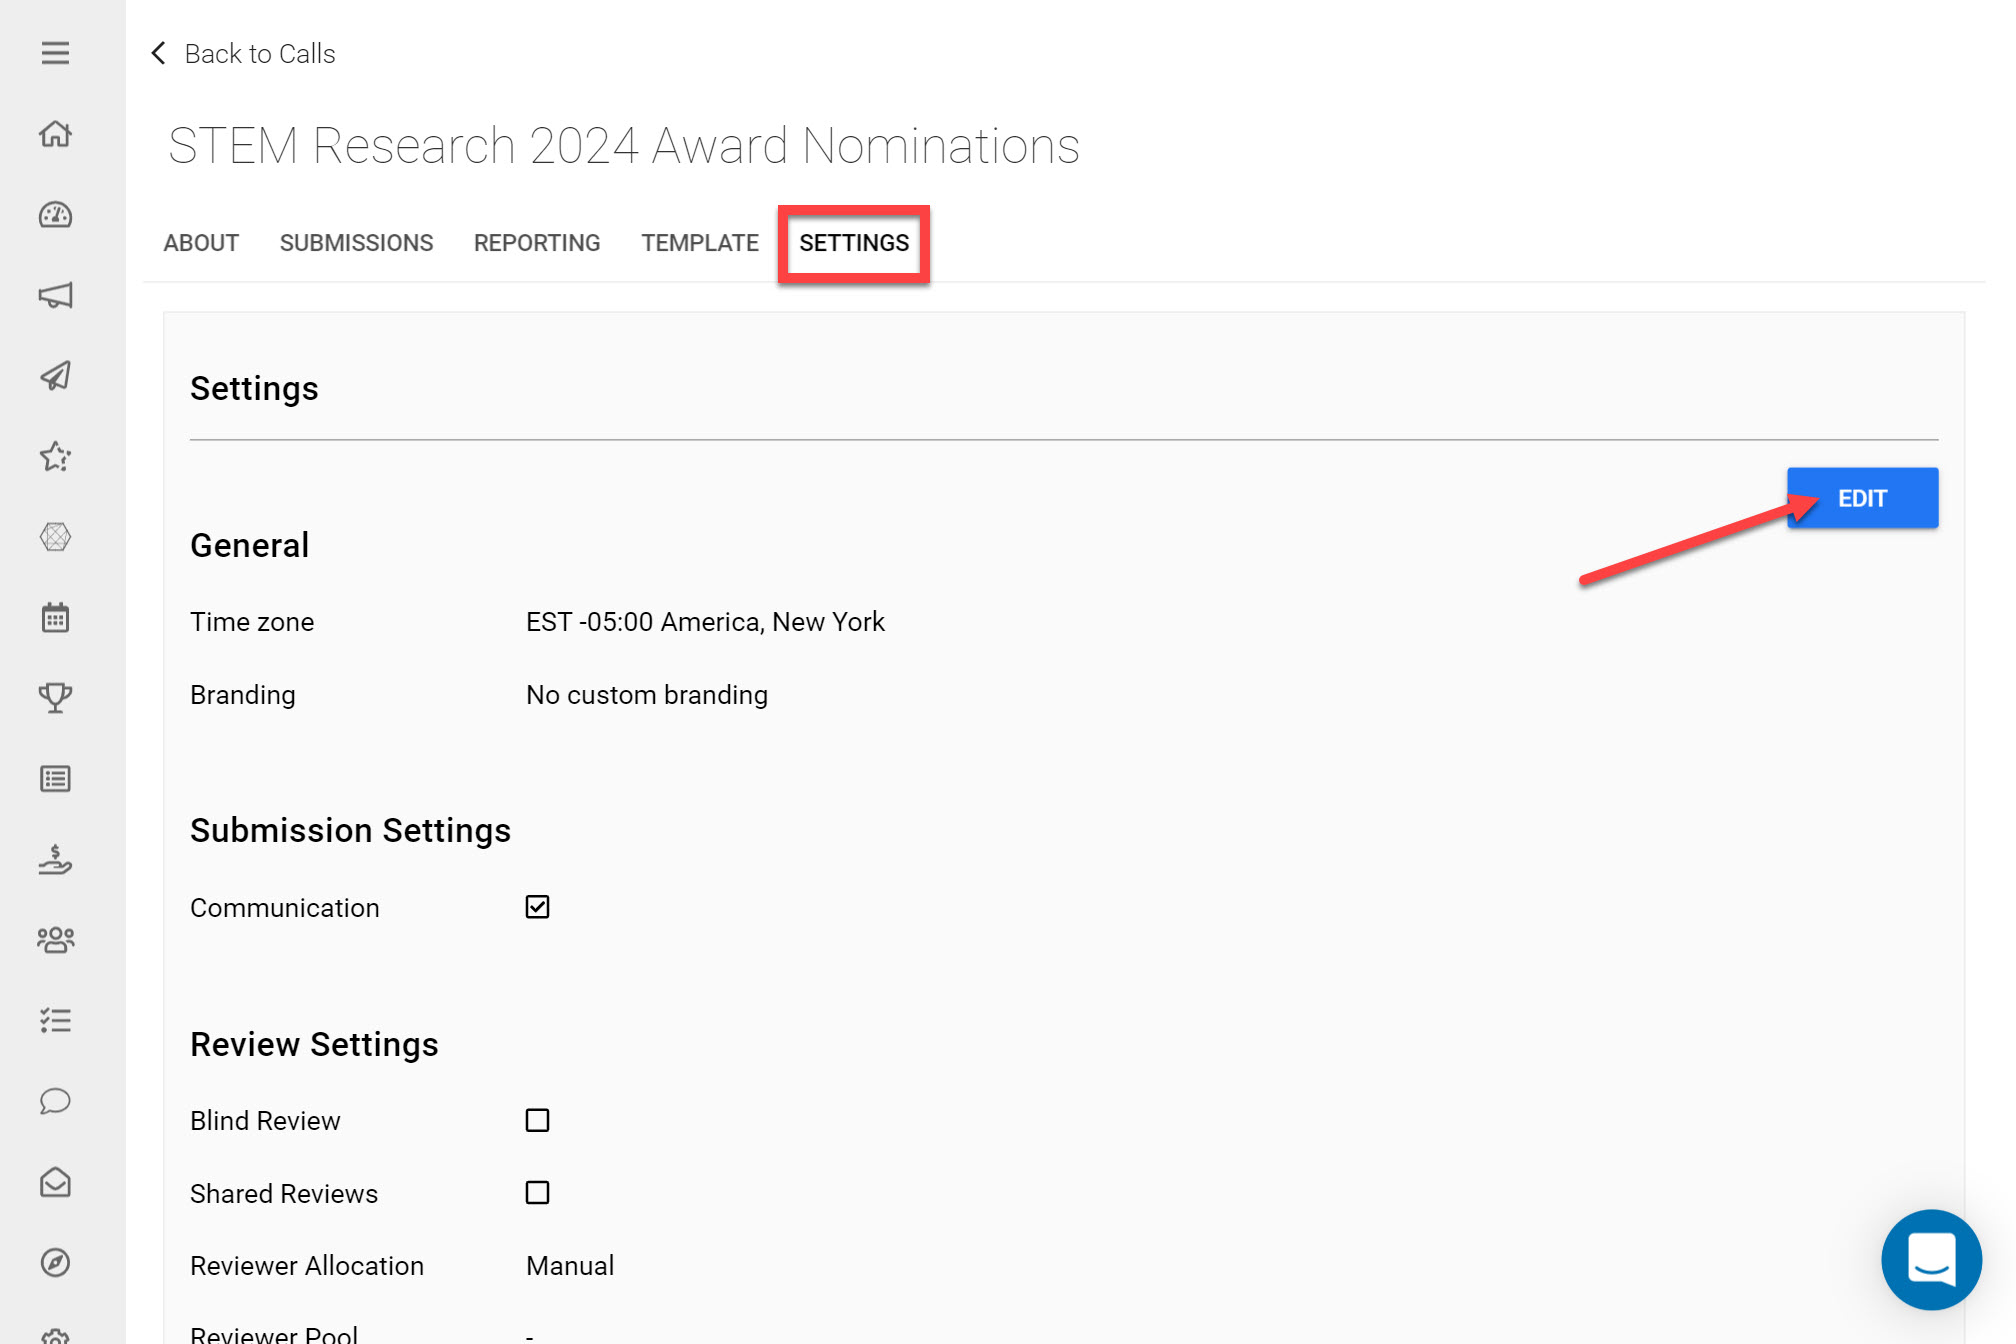
Settings
The Settings tab allows you to modify any previously configured settings on your Call. You can adjust the following:
Timezone: Choose an appropriate Timezone for your Call. All Phase dates and deadlines will be specific to the Timezone selected.
Branding: Customize your Call by adding a banner image that will be displayed at the top of your Call.
Submission Communication: This option will enable notifications to be sent to Submitters when they complete certain actions in Slayte. This could be e.g. a confirmation email sent once their Submission has been received. This article provides more information on enabling Submission Notifications.
Review Settings: The Review Settings control the level of privacy of your Review process and decide how Reviews should be allocated. These can be adjusted to minimize bias in your Review process. This article on the Review Phase provides more detail on this.
Re-fetch Serverfield for all Submissions: Serverfields added to the Submission Form allow you to automatically capture Submitter information from their impexium profile. The Re-fetch button updates the captured information from serverfields added to your Submission Form. The updated information will include the most recent Submitter’s details.
If for example you have completed a draft on behalf of a user, and the listed Submission author now displays your details, you can Change the Primary Author listed on the Submission and use the serverfield Re-fetch button to replace this information.
Copy this Call: This is a handy feature that allows you to create a duplicate version of your Call. If for example you would like to test the submitting process of your Call, but would like to make changes to the Submission Form after Submissions have been received, a useful tip is copying this Call and setting the status back to ‘Open.’ This will once again allow you to make changes to your Call until Submissions are received again.
To make changes to any of the settings listed above, click Edit on the top right.
*Note: Settings configured here can be overridden by settings added to individual Call Phases. More information on this can be found out on the following articles on Submission Phases and Review Phases.